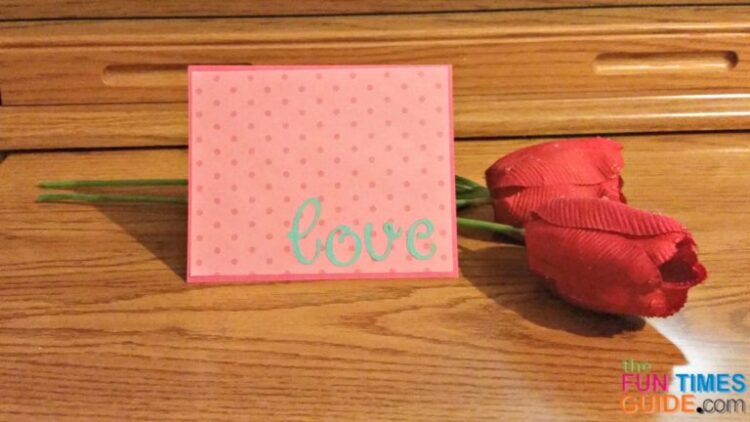
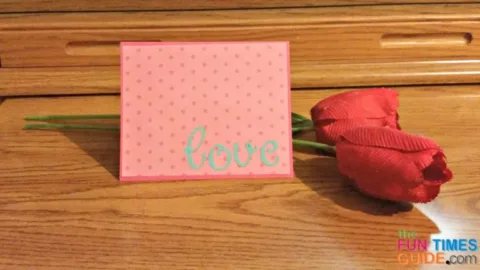
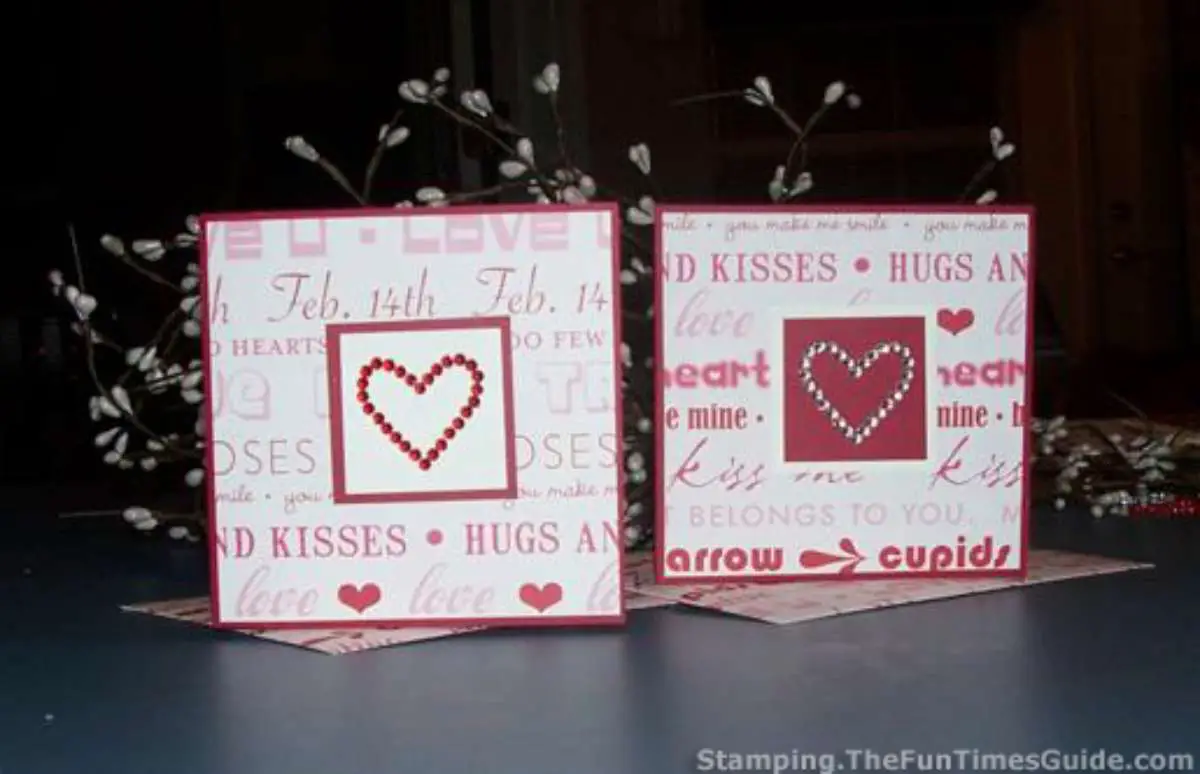
After seeing the clever inlaid word panels on this thank you card, I wanted to learn the technique and try it on a Valentine’s Day card.
Here’s how I used the inlaid technique myself…
Step by Step…
I started with a base of red card stock, measuring 4″x5” when folded from the top.
Next choose the patterned paper you want for the panel on the front of your card. This is a great way to use up those medium-sized leftover paper scraps.
I wanted to make a matching envelope, so I chose to use a 12″x12” sheet from my KI Memories Paper Pad. (I used Classic Prints.) The panel is 3-¾”x 4-¾” — which leaves enough left over to make the envelope.
You can use whatever die-cutting system you have – Silhoutte, Big Shot, letter punch – to cut the word “LOVE” from the front panel.
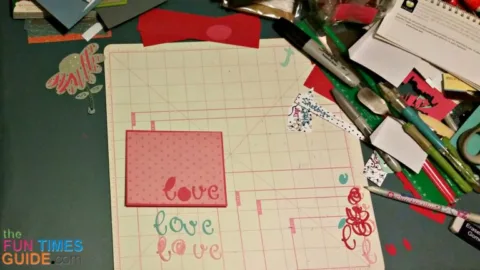
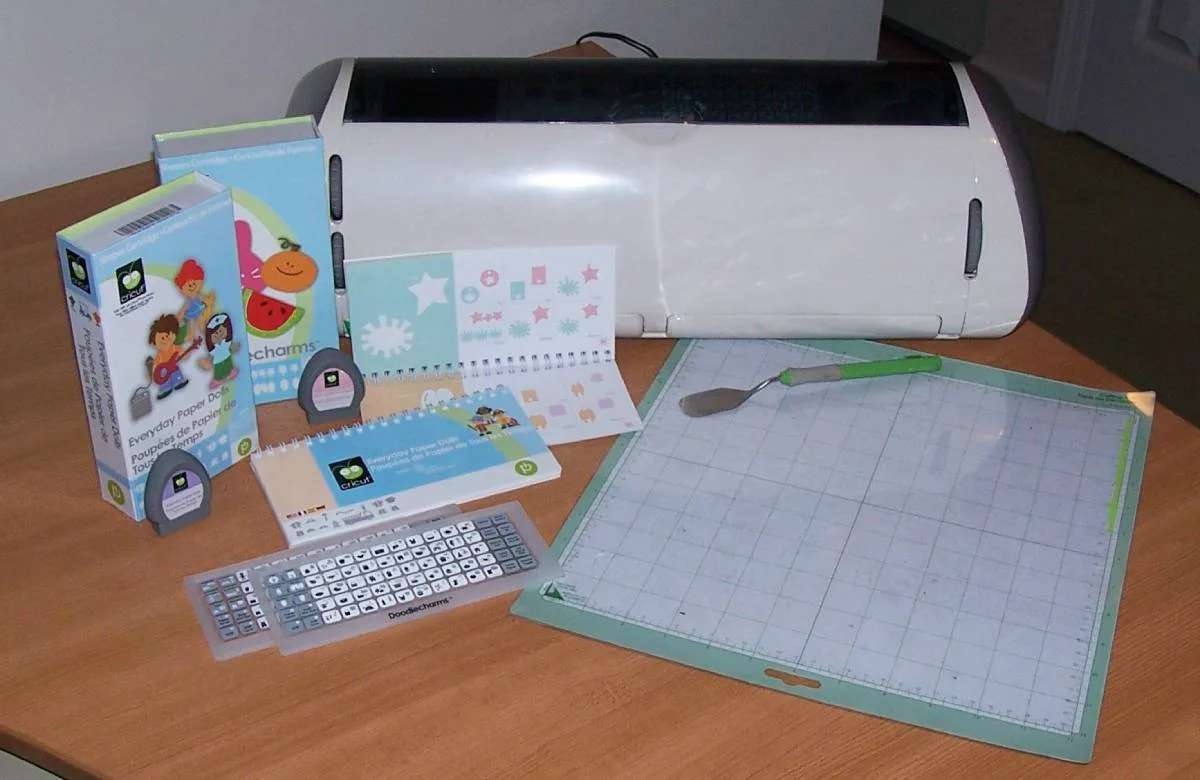
I used my Cricut Expression with the Lyrical Letters on the Loop Dee Loo setting to cut 1-½” letters, leaving a border of about half an inch on the bottom and side of the panel. (Be careful to save the inner pieces of the “l” and “o” when you remove the letters from the mat.)
Next, cut the same letters with your contrast color — I used teal.
Now you’re ready to set the panel and letters.
There are 2 methods to inlay the teal letters:
- Method 1: I used this method. I adhered the dotted paper panel to the front of the red card. Using tweezers and *quickie glue pen*, I set each teal letter inside the cut-out space on the card. Once those letters were placed, I inserted and glued the middle parts of the “l” and “o” letters. Smooth each letter so it lies flat with the dotted panel.
- Method 2: On the back side of the dotted panel, run a piece of clear one-sided tape over the letters, sticky side facing the front. Now when you adhere the panel to the red card, the sticky part will be waiting for you to place the teal letters.
This example shows how to give your words some dimension.
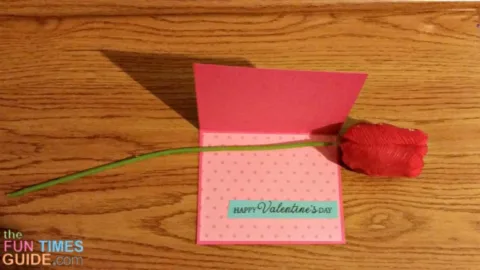
On the inside of the card I stamped a Valentine’s day sentiment from my Hero Arts polyclear stamp set (Celebrate Everyday) onto a thin 1/2” strip of teal paper.
I placed the strip onto a 2nd piece of the dotted paper — also cut at 3-¾’x4-¾”.
And it’s just that easy! Now you know a cool and clever technique to use on any of your handcrafted cards.
Other Inlaid Technique Examples
- Using The Inlaid Technique with Circles
- Valentine Card With A Bold Sentiment Using The Inlaid Technique
- Inlaid Card Technique For Birthday Cards
- A Valentine Card With Stripes And The Inlaid Technique
- Inlaid Card Technique For Valentines Day
I don't buy greeting cards or holiday cards anymore — I make my own! I also do some rubber stamping and scrapbooking. But mostly I enjoy creating handmade, one-of-a-kind cards. I’ve been an avid crafter for most of my adult life. My crafting addiction started with cross-stitching, then moved on to wearable art, projects with painted wood, fabric crafts, and then paper crafts — which has transformed primarily into card making. I also make the occasional wreath, snowglobe, and other holiday crafts.
