Following are DIY instructions to make 3 easy Valentine love cards — all made with supplies I had on hand, and you probably do too!
Each white card base is from a pack of blank cards in 3 different sizes.
All of the letters and hearts are 1″ cut on my Cricut Expression using the Plantin Schoolbook cartridge; Roly Poly setting.
How To Make Valentine Love Card #1
The card size is 5.25″ x 7.25″.
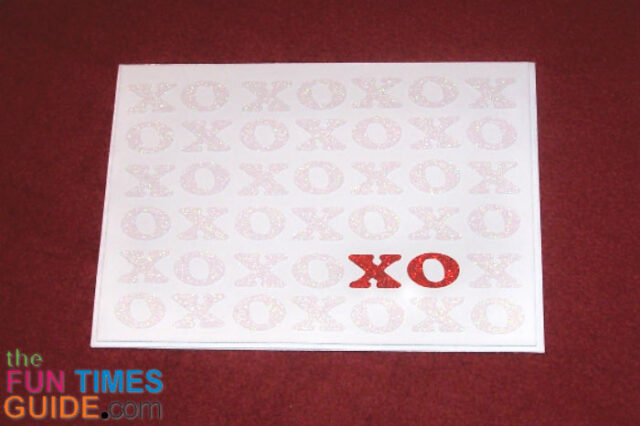
The X’s and O’s are cut from white and red glitter paper from the Christmas and Winter Glitter Cardstock Matstock by DCWV.
Both the front and the inside have a white cardstock panel — cut .25″ smaller on each side — on which the letters are placed. The panel provides a more sturdy surface for the letters and the card in general. Having it white helps create the look I wanted of all white-on-white, with only the glitter showing on the white letters. And the red glitter letters stand out completely.
As you can see on the card, the letters are placed in X-O-X-O order in 6 straight rows across the card — each row having 7 letters in it.
I like that the last letter of row 1 is an X, meaning the first letter of row 2 will be an O. This allows for a more visually interesting card. (It also becomes impossible to not see the word “ox” — but you’ll just have to let that go.)
There are 20 sets of white “XO”.
The red “XO” can be placed anywhere on the card. I chose the lowest right section of the card I could get without using the actual bottom row.
Lining up the letters so they are straight both across the rows and up and down the vertical columns is a bit tricky. Normally, I would use a pencil to lightly draw a grid to follow. But I didn’t want to do that on this card. Partly because even gentle eraser lines might be visible on a white card. And also because once the letters are attached it will be harder to maneuver the eraser around the letters.
Instead, I used the grid lines of my cutting mat (that I also use as a working mat) to provide some guidance.
To carefully align and place the letters I used craft tweezers (my favorite: Making Memories tweezers) and a Zig chisel tip glue pen. While the glue is blue, you can make tiny adjustments to the letters before it dries clear.
Once all the letters were placed, I secured the white panel to the front of the card using 1/8″ thick foam double-sided tape. It adds some depth to the card while enhancing the all-white vision.
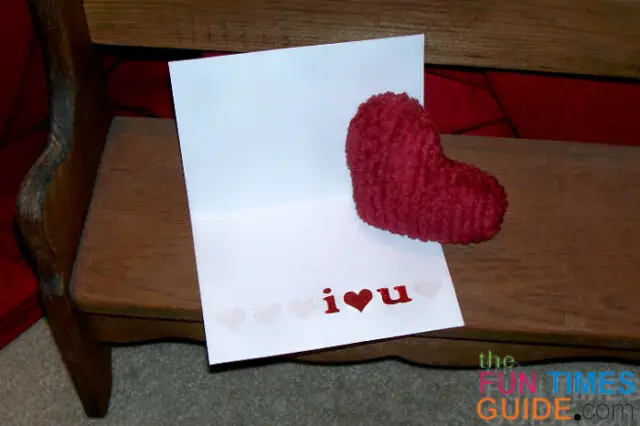
The inside of the card has the white panel, on which I placed one line of hearts and letters. I used Row 5 for my inside sentiment, to mimic the white and red placement of color. This panel is not placed with foam tape, just the regular Tombow tape runner.
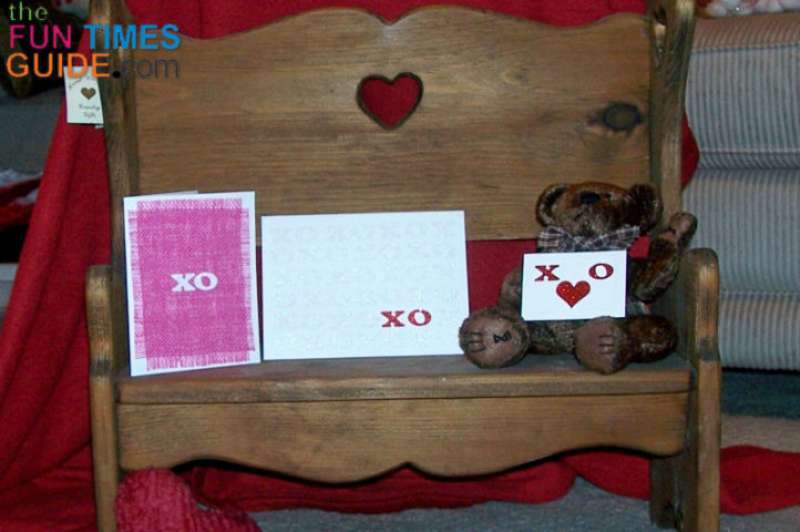
How To Make Valentine Love Card #2
The card size is 4.5″ x 5.75″.
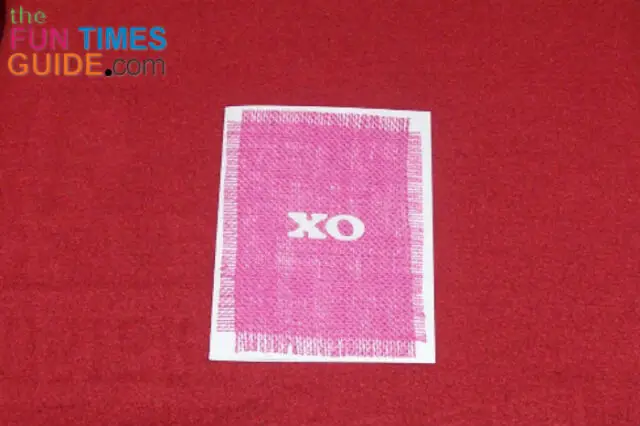
For this card, I used a hot pink piece of colored burlap from DCWV. I cut it to 4.25″ x 5.5″ and pulled out threads to fray all the edges to about .25″.
Then I adhered the burlap directly to the front of the card.
Right in the center, I added a white glitter X and O.
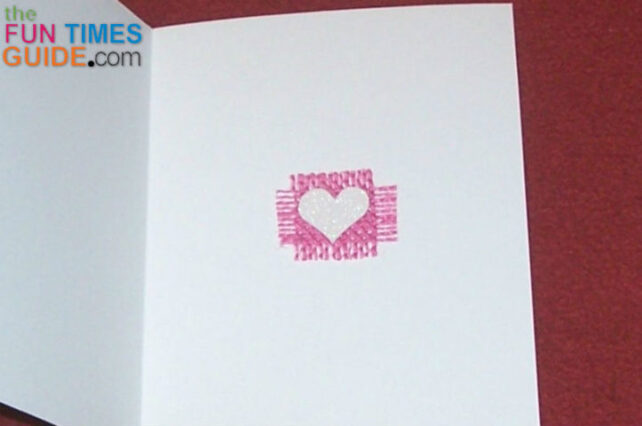
For the inside of the card, I used a piece of the scrap burlap cut from the front. I cut it to 1.25″ and frayed the edges. Finally, I added a white glitter heart, and that’s it!
How To Make Valentine Love Card #3
The card size is a 2.25″ x 3.25″ panel card.

This tiny card would be perfect to go along with a floral arrangement, or as a gift card.
Keeping it simple, I placed one X, O and a heart.
Easy peasy!