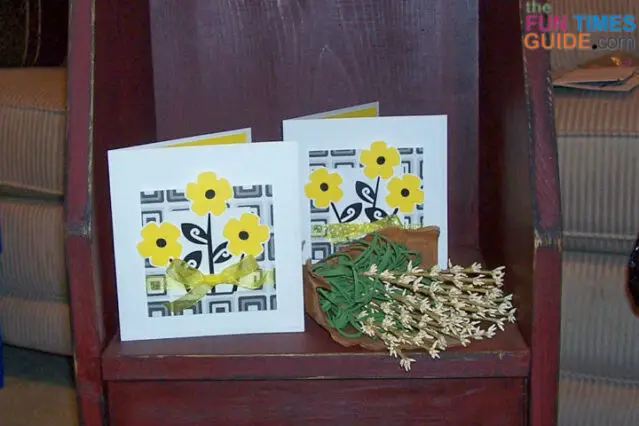
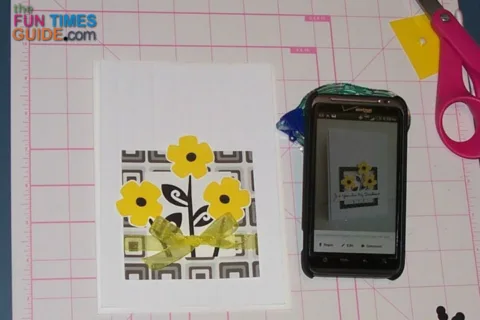
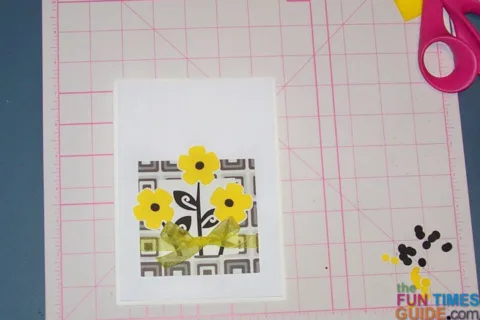
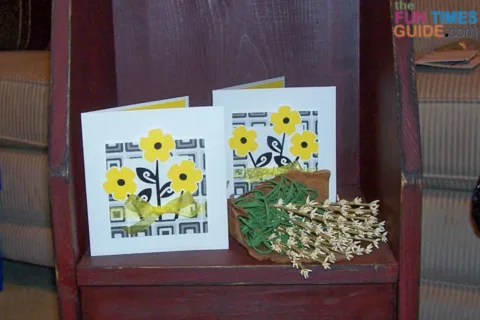
Inspired by this card I saw on Pinterest, I created a Happy Birthday card with yellow flowers and a black & white frame.
It’s a design that’s could be used for any occasion, including Thank You cards, Congratulations cards, Graduation cards, and more!
Following are the steps I used to make 2 yellow flower Birthday cards…
Step-by-Step Tutorial
I found a package of pre-made 5″ x 7″ cards and envelopes among my supplies, so I decided to use these as my card base.
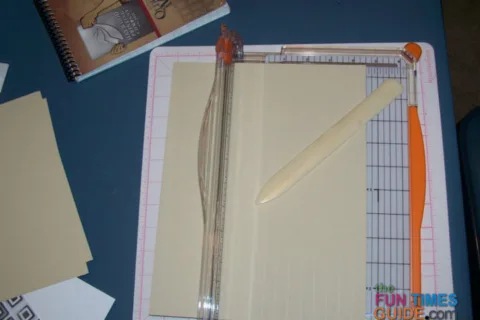
To create a front panel with embossed lines, I used my Fiskars paper trimmer and a bone bone folder. The cutting line on the paper trimmer helps create a perfectly straight embossed line.
I lined up white cardstock against the measurement lines so that the cutting line is 1/2″ from the paper’s edge.
Holding the paper down firmly, I placed the tip of the bone folder at the top of the cutting line and dragged it towards the bottom of the paper, gently pushing into the cutting line. The end result: a nice, straight embossed line!
You can create any pattern of lines you want using this method.
- The card from Pinterest has 2 lines close together with a 1/2″ separating each set.
- For my cards, I chose single lines spaced a 1/2″ apart.
There is an embossing “blade” that can be used on the paper trimmer, but the resulting line is very thin and intended to be used as a folding guide for the paper. I wanted a thicker line and the bone folder is perfect for that.
To create the black & white frames, I found 2 different kinds of black and white paper in my DCWV paper stack.
Using the Plantin Schoolbook cartridge on my Cricut Expression, I cut six 3-1/2″ frames.
To make the flowers, leaves, and stems, I used these steps:
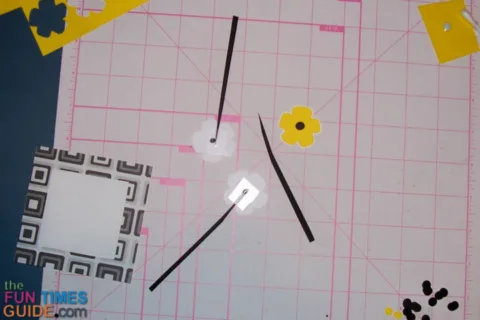
- The yellow flowers were cut from the Walk in My Garden cartridge at 1-1/4″ using the “blossom” shape. Save the white and yellow circles that are leftover from the flower shapes.
- Using the shadow feature, I cut white flowers of the same size. I cut about 20 flowers and shadows. Use Tombow double-sided tape to secure the white shadows behind the yellow flowers.
- Still using the Walk in my Garden cartridge, I selected the”leaf 3” shape and cut about 20 leaves at 1/4″. I didn’t cut any white shadows for my leaves — as you see on the original card. That’s your option.
- For the black flower centers, I used a hole punch to cut small circles. You could also use small black paper scraps that you have leftover. Tape them to the back using small pieces of regular scotch tape.
- Use regular scissors to cut black flower stems — very thin and about 4” long. Add a flower stem to each flower using scotch tape, but don’t add the leaves yet.
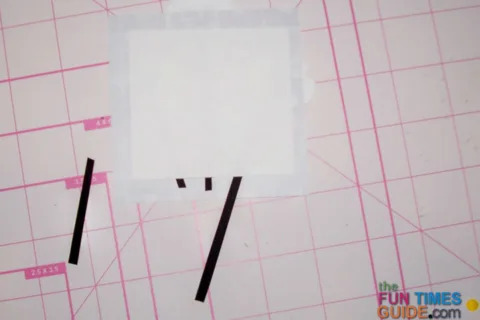
Next, cut six 3″ x 3″ squares from white cardstock to use behind your frames.
From the back, line them up in the center of the frame and use double-sided tape to secure the top and 2 sides.
Leave the bottom open for now.
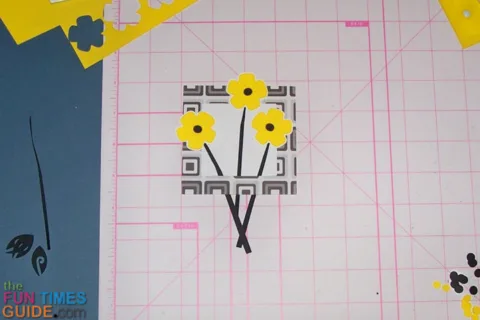
Back on the front side of the frames, set 3 flowers around the frame in a pleasing manner — tucking the stems gently into the gap at the bottom of the frame.
As you can see, mine are arranged similarly to the original Pinterest card.
Use a small piece of double-sided tape on the part of the flower that touches the frame to glue it down.
Then, turn the frame over and use scotch tape to secure the 3 stems. Cut off the remaining stems so they don’t show on the front of the card.
Finally, the leaves…
Anywhere you have white space on the front of the card, place a leaf there to see if you like it. Use 2 or 3 leaves per card. (Or go crazy and use as many as you want!) Use tweezers and a Quickie glue pen for these.
To add even more dimension to the front of the card, consider this…
Instead of following the example of the original card and using a sentiment banner on the front, I decided to place a bow there instead.
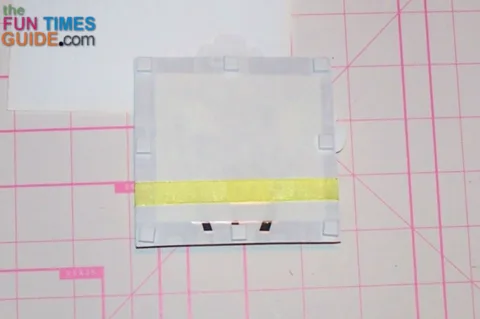
Using ribbon I got from the $1 bin at the craft store, I cut 8” strips and used scotch tape to secure the ribbon to the back of each frame, centered on the bottom piece. Then I gently tied a bow around the front. Be careful not to pull on the bow too tightly, or it will bend the frame.
I used ribbon that is mostly shear, but you can use any kind of ribbon that you like or have. If you just have a small piece you want to use, but there isn’t enough to tie a whole bow around the back, then just tie your ribbon into a knot — leaving the 2 ends streaming out. Dab a bit of glue on the knot and center it on the bottom row of the frame. It will look just as cute.
To place the frame onto your embossed panel, follow these steps…
As I was playing around with placement, trying the frame at different locations – top, middle, bottom — I realized that I didn’t care for all the empty white space on the front of the card. So I decided to cut my cards smaller and place the frame in the center. I cut the original 5″ x 7″ cards to 5″ x 5-1/4″ (not quite square) to allow for the flowers that flow from the top of the frame.
I cut the embossed white panel to 4-1/2″ x 4-3/4″. Then, I lined the frame with square pop dots and placed it slightly lower than center.
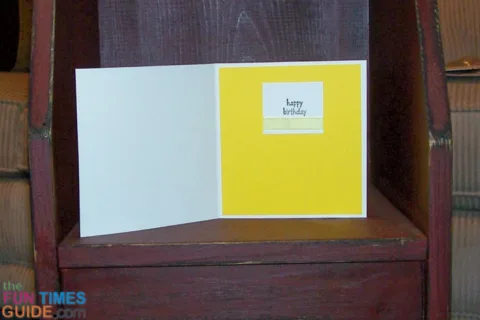
For the inside of the card, I created a 4-3/4″ x 5″ panel of yellow cardstock.
For the sentiment, I used 2″ x 1-1/2″ pieces of the white embossed paper (saved from making these panels smaller!) and stamped “Happy Birthday” and “Thank you very much” with my tiny Hero Arts tiny letters stamp set.
Having these options gave me some versatility with these flower cards.
I decorated the embossed paper with small pieces of ribbon, or the yellow and white dots from the flower centers.
And lastly, I left the envelopes at the original size of 5-1/4″ x 7-1/4″.
I enjoy making matching envelopes. But in this case, it was quicker to use the envelopes that came in the original package. Plus it’s more expensive to mail a square envelope.
Have fun making these cute cards in your favorite colors!
More Handmade Flower Cards
- Smile: Another Happy Yellow Flower Card
- Pastel Colored Flower Birthday Card
- It’s Your Day: A Simple Handmade Flower Card
- 12 Ways To Make Flowers For Scrapbooking & Cardmaking
I don't buy greeting cards or holiday cards anymore — I make my own! I also do some rubber stamping and scrapbooking. But mostly I enjoy creating handmade, one-of-a-kind cards. I’ve been an avid crafter for most of my adult life. My crafting addiction started with cross-stitching, then moved on to wearable art, projects with painted wood, fabric crafts, and then paper crafts — which has transformed primarily into card making. I also make the occasional wreath, snowglobe, and other holiday crafts.
