I wanted to make a card for a preteen who was performing in a dance recital. I made a cute tutu card for her younger sister, Shelby.
But that wasn’t going to work here. Stephanie is 11 and way too cool for cute.
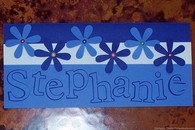
So I decided to work with her favorite color (blue) and showcase her name.
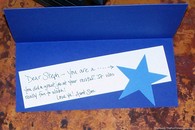
I started with 12×12 dark blue cardstock and cut it to 10×10 and folded it in half, so the final card size was 10×5.
I added strips of white and medium blue paper, adhering them with Tombow Mono Permanent Adhesive.
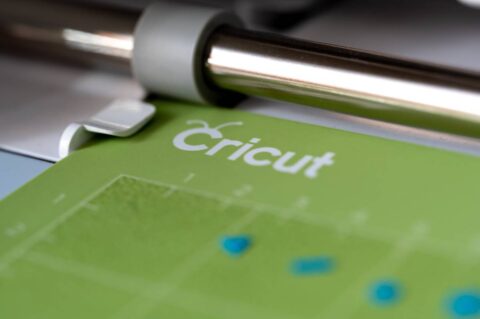
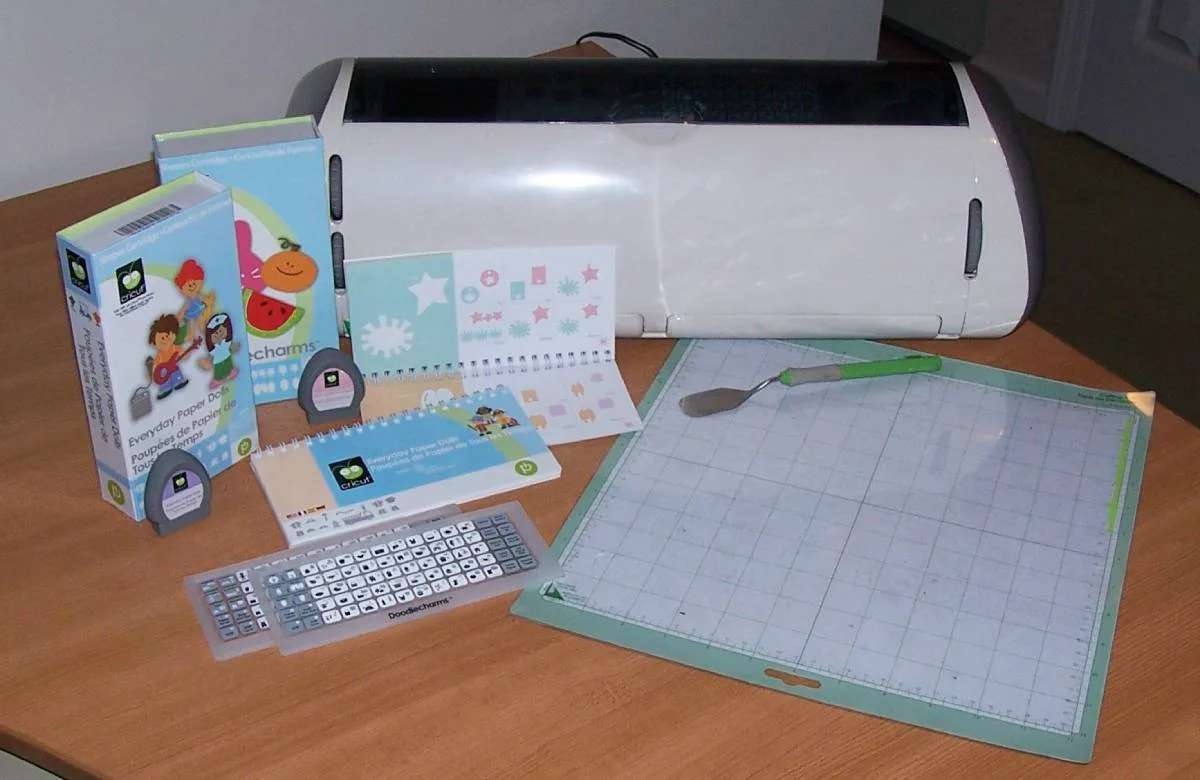
For the letters in her name, I used my Cricut Expression machine with the Plantin Schoolbook cartridge and the Shadow feature so I could use 2 colors of blue.
I used the same blue colors for the flowers (also cut on the Cricut). Each flower has a different color eyelet for the center.
About Those Eyelets…
Eyelets are fun to use! They can be used for decoration (like in this project) or to secure 2 pieces of paper together. 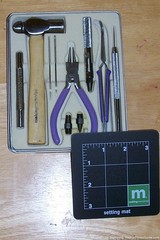
You need some special tools to use eyelets:
- hole puncher
- setting tool
- setting mat
- hammer
My tool kit is by Making Memories and also has a couple of other tools.
You punch the hole the same size as your eyelet, insert the eyelet, turn it over, and hammer it closed.
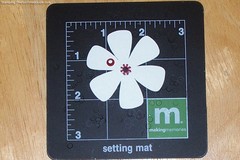 You can see in the closeup photo the eyelet that has been hammered closed in the middle of the flower, and the open one next to it. If you use an eyelet to join 2 or more papers together, just insert the eyelet through all of them and hammer closed. Simple.
Stephanie likes this card so much she has it displayed on her room door. Yeah, I scored one with a preteen!
I don't buy greeting cards or holiday cards anymore — I make my own! I also do some rubber stamping and scrapbooking. But mostly I enjoy creating handmade, one-of-a-kind cards. I’ve been an avid crafter for most of my adult life. My crafting addiction started with cross-stitching, then moved on to wearable art, projects with painted wood, fabric crafts, and then paper crafts — which has transformed primarily into card making. I also make the occasional wreath, snowglobe, and other holiday crafts.
