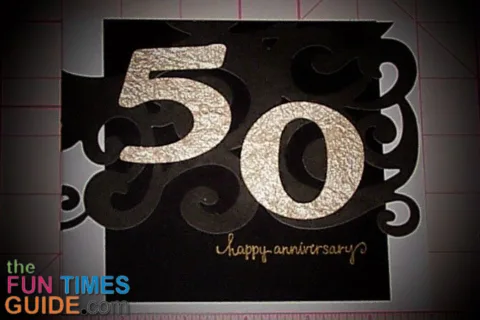
I wanted to make an elegant 50th wedding anniversary card for a special couple.
So I decided to use special gold crinkled paper and a romantic black lace to make this 50 is Gold anniversary card:
Here are the steps I use for handmade anniversary cards…
A Simple Anniversary Card Tutorial
The base of the card is white cardstock — 5.5″ tall and 12″ across, folded so the front of the card is 6″.
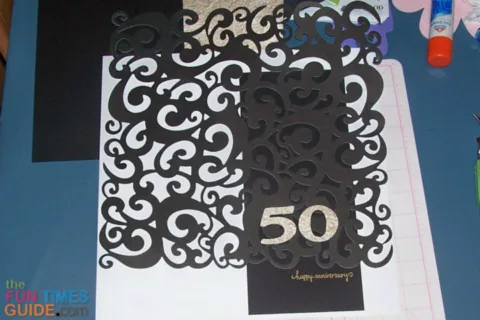
The next piece is black cardstock — 5.25″ tall and 4.5″ across, placed at the top of the card and centered.
Now for the fun part: the “lace”.
I found this 12″x12″ black lace cardstock at Michael’s (sold in single sheets). The paper is not quite as thick as regular cardstock, but much more solid than regular paper.
I knew I wanted the lace paper to wrap around to the back of the card, but I wasn’t sure what kind of paper to put behind it. At first I tried using gold, and then black crinkled paper under the lace But it turns out that regular black cardstock allows the lace to stand out
Cut the lace into a piece that measures 3.5″x12″, folded in half.
Using a Zig Memory System glue pen with chisel tip, I carefully adhered the front part first.
The glue starts out blue and turns white as it dries, so you can see how quickly you need to move with the glue. You will be able to adjust the lace paper slightly as you set it down — so take your time to line up the lace with the top edge of the card. Clean up any glue that squeezes out from under the lace.
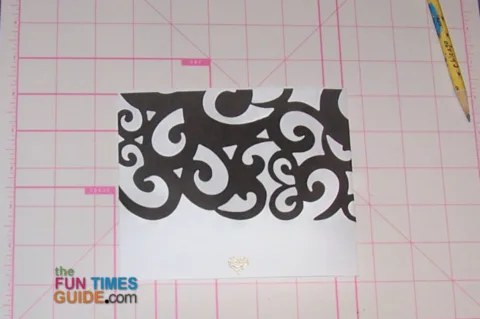
Once the front lace has been placed, go ahead and set the back.
I know, no one looks at the back. But I think it’s a nice touch and adds to the professional quality of handmade anniversary cards.
Now it’s time for the golden accents.
My happy anniversary stamp is from Hobby Lobby. And I used ColorBox pigment ink in gold.
I placed the stamped sentiment just under the lace — leaving about 1″ at the bottom.
It’s always a risk to stamp directly onto your project, so I practiced several times first — mostly making sure I pressed down evenly so the ink would be smooth. Even if it wasn’t, that would be part of the character of a handmade card!
I used my Cricut Expression to cut 2″ numbers (5 and 0) out of the gold paper (Plantin Schoolbook, roly poly mode) and placed them on the front.
If you don’t have a Cricut, there are loads of fun stickers out there that will help you achieve the same effect.
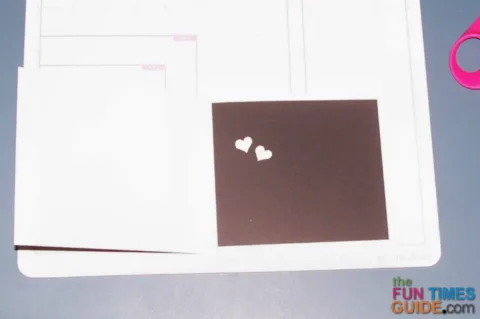
For the inside of the card, I cut a second piece of black cardstock the same size as the front (5.25″x4.5”) and centered it at the top — just like the front.
Then using the same gold paper, I cut three ½” hearts (again, using Plantin Schoolbook on the Cricut machine). Two of them I placed randomly to go along with my handwritten message.
I’ll used a Sharpie metallic gold pen to write my message, keeping with the theme.
The final heart I placed on the back — for the space where I put my initials and the year.
For the envelope I used the black crinkle paper that I had tried out earlier for the card and these DIY envelope instructions. The crinkled paper makes a nice first impression for this handmade anniversary card.
I know my aunt and uncle will enjoy this card. I hope it becomes part of their memories of 50 years of marriage.
And… now I have some leftover black lace cardstock that I can use to enhance another handmade card!
UPDATE: See the wedding card I made with the extra black lace cardstock.

