Do you need a card for a special person?
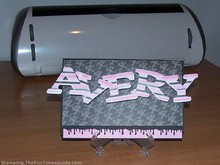
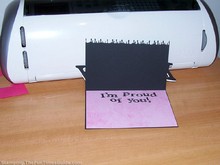
Try this unique “name” card to let someone know that you’re proud of them.
I love making personalized cards for kids with uncommon names, and the sentiment inside can be for any occasion.
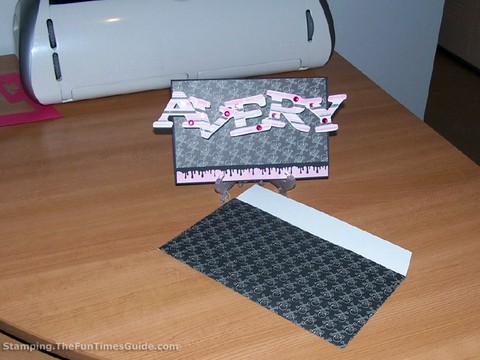
This card was created for a 7-year-old girl who is into skulls, pink and black.
Supplies Used
All measurements are inches.
For the card and card front:
- Black cardstock 10 x 7.5
- Skull paper 7-3/8 x 4-1/8
- Paper letters 1.5 (one set each in black, white and pink/white/black striped)
- Martha Stewart Drip border punch
- Assorted “crystal” stickers
For the card inside:
- Skull paper letters 3/4
- Pink marble paper 7-3/8 x 4-7/8
For the envelope:
- Skull paper 12 x 12
How To Make This Personalized Card
Start with a base of black cardstock — folded so the card is 7.5 x 5 (with the fold at the top).
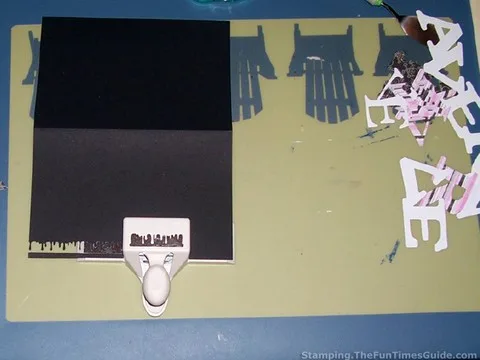
Use the border bunch to cut drips along the bottom of the card front. Martha Stewart border punches are great because they allow you to line up the punches to be continuous along one line — there’s no guessing where the last punch ended.
Attach the skull paper to the card front, starting along the top of the card, allowing an equal border on all sides.
Attach the pink marble paper to the card inside, again with equal borders. I use the Tombow Mono permanent double-sided adhesive for this, but you can use any glue or paper adhesive.
Must read: How To Know Which Craft Glue To Use When
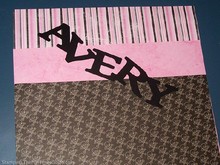
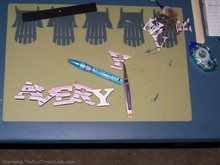
For the name, I used my Cricut Expression machine and Design Studio to weld the black letters together. The other 2 sets of letters were cut individually on the Cricut. I used Plantation Schoolbook cartridge on the Roly Poly setting at 1.5.
TIP: You can use any template or stencil you have for letters. A very easy way to make a template for small letters is to choose a font on your printer and print them at your selected size. Cut them out on cardstock paper or old manilla folders and they will last for future use.
Lay the black letters together, overlapping as you desire. You can use glue or small pieces of tape on the back side to hold them together.
Next, place the white letters on top of the black, showing a very small black border (like 1/8-inch). The black will show as a “shadow feature.” Keep the black in the same location on each letter — mine is the lower right corner.
Repeat this process with the striped letters. Randomly place several of the crystal stickers over the letters (mine are dark and light pink).
I used the skull paper and Cricut to make letters for the inside message. You could also use a sentiment printed from your computer, rubber stamp, stickers, etc.
I made the envelope using a full sheet of skull paper, following this example:
This is an excellent card to customize for any occasion or name — just mix up the paper!

