 Are you looking for a unique graduation card for someone special?
Thanks to designer papers, you can find a wide array of sentiments, designs, and colors that will make your card stand out from all the rest.
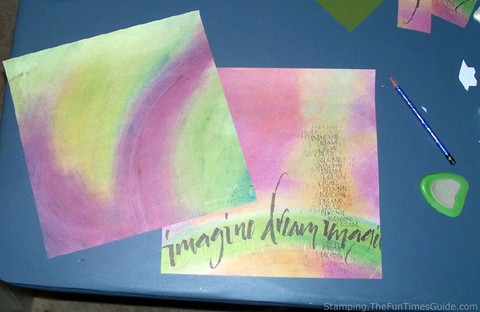
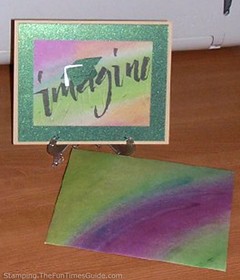
I got this 12×12″ Imagine – Dream paper at Michaels, and I love that it has a coordinating page.
This is true for much of the paper that you can purchase by the sheet. If there isn’t a specific matching page like this, there may be pages with complimentary colors and designs available. The paper often has a title on the back to help you identify these sets. For example, these are called “Imagine – phrase” and “Imagine – swirl”.
Here’s how to make your own graduation card…
First, The Outside…
The base for the card is made from 8.5×11″ tan cardstock, cut to 7×11″ and folded in half to form a card of 7×5.5″ with the fold at the top.
Next, I used Bazzill Basics Paper shimmer paper in green for the front and inside.
A tip for buying shimmer paper: Check to see if it is shimmery on both sides. The pack I bought is not; the back side is black. I couldn’t tell that from the pack in the store, because the packaging showed a shimmery page on the front and the back. Next time, I will ask a store staffer to open the package so I can see it. It doesn’t matter for this project, but it might for the next!
Each piece is cut to show an even border of 1/8″ — except the inside green piece is flush with the bottom of the card. (Front size is 6-3/4×5-1/4″. Inside size is 6-3/4×5-3/8″.)
To be honest, when I make cards and cut pieces like this, I don’t usually measure first. My cuts are not always perfect, and this method allows me to adjust the piece accordingly. I lay the green paper on one corner of the tan and “eyeball it”. Then, I make a pencil mark to indicate the borders on the remaining corners and cut out the square. I can place it on the tan card and make any adjustments necessary to show an even border. Please keep that in mind as you make your measurements and cuts!
Next, The Embellishments…
For the Imagine piece on the front, I carefully cut this word from the larger paper, knowing that I plan to use more of this paper on the inside.
The word itself is 5″ across, so the vertical measurement is 3.5″, allowing a 1″ border of the green paper.
You can use any glue or paper adhesive you like to secure the papers. I used Tombow permanent double-sided tape.
Must read: How To Know Which Craft Glue To Use When
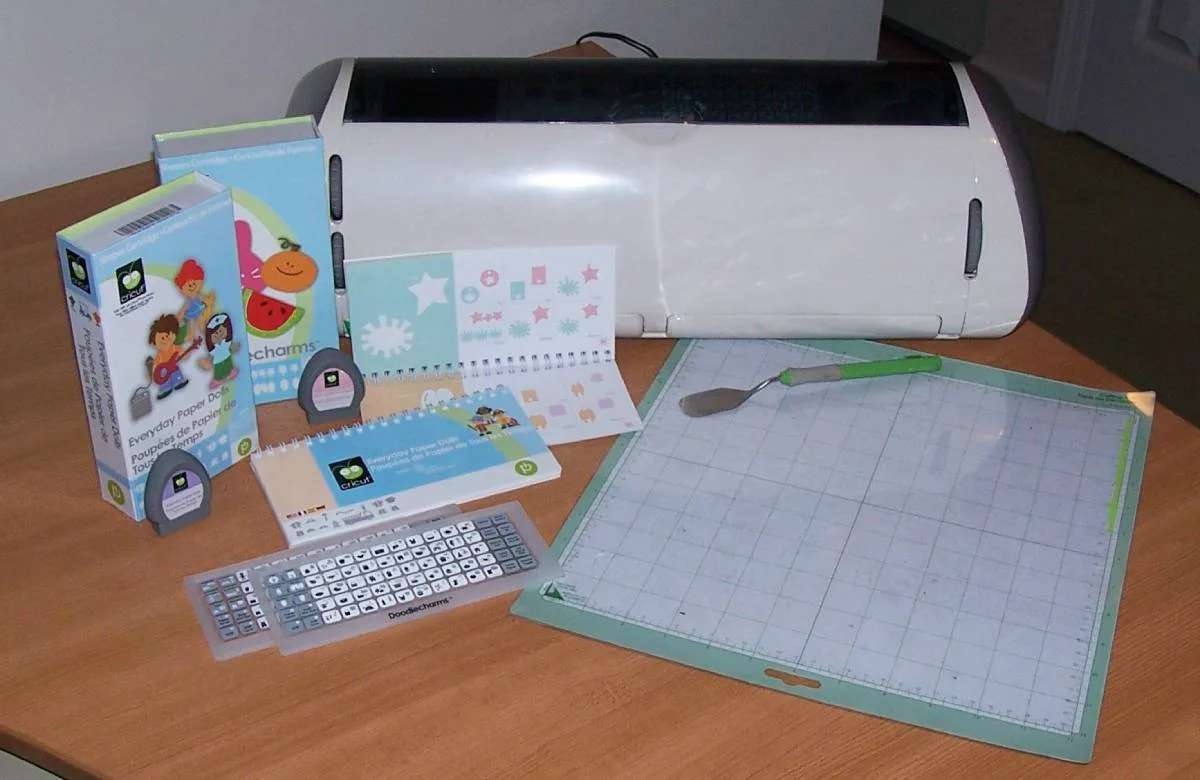
I cut the graduation cap using the green shimmer paper and Wild Card cartridge on my Cricut Expression. Instead, you could use an embellishment from any craft store, such as Jolee’s Boutique or Jolee’s By You stickers.
Use a foam pop dot on the back of the graduation cap to make it dimensional and stand out.
Now, For The Inside…
The inside of the card features more phrasing from the designer paper.
As you can see, the column of inspirational words is longer than the inside of my card. I wanted the list of words to extend to the very bottom of the card — with no border — giving the illusion that it goes on and on… just like my wishes for this graduate!
The size of the piece is 3.5″ across and 5-1/4″ down. Next to that is a piece of white shimmer paper on which I will write my sentiment (2.5×4.5″).
I made an envelope from the matching swirl paper, following these instructions.
Other Handmade Graduation Cards
- Video: How To Make A Graduation Card
- Handmade Graduation Card Ideas
- Graduation Card Idea Gallery
- Making A Grad Cap Card Or Invitation
- How To Make A Marine Graduation Card
- DIY Graduation Cards On Pinterest
I don't buy greeting cards or holiday cards anymore — I make my own! I also do some rubber stamping and scrapbooking. But mostly I enjoy creating handmade, one-of-a-kind cards. I’ve been an avid crafter for most of my adult life. My crafting addiction started with cross-stitching, then moved on to wearable art, projects with painted wood, fabric crafts, and then paper crafts — which has transformed primarily into card making. I also make the occasional wreath, snowglobe, and other holiday crafts.

