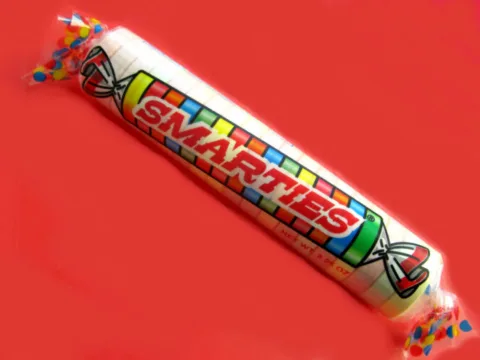
I saw this Smarties candy card on Pinterest and just knew it would be perfect for my nephew’s 7th birthday.
Because who doesn’t love Smarties candies?
It could also make a fun birthday party invitation or Valentine card.
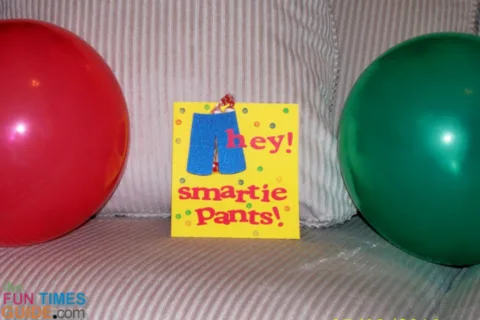
I decided to use the theme, “Hey Smartie Pants!” to make this Smarties candy card.
How To Make The Pants
The Pinterest link above has a great free printable pattern for the pants, and it is very easy to follow those directions.
My version was made using that pattern as a guide. The base of my card is yellow cardstock, 5.5″ x 6″.
I used my Cricut to make the pants, which are cut from the Everyday Paper Dolls cartridge, set at 7.5″. The pants themselves are about 3″ long, but this cartridge does not cut true to size.
I used dark blue Recollections Gemstones shimmer paper to resemble jean material.
I love that the Cricut cutout has indentations for pockets and a zipper.
I traced around the pants on yellow cardstock and made the paper-doll tabs. The tabs are each 1″ long, with marks at 1/2″ for folding.
Before I attached the pants to the card, I cut the edges off of the yellow pants, so they would not show under the blue pants. I used double-sided tape to attach the blue pants to the yellow ones first. And then to attach the tabbed pants to the card.
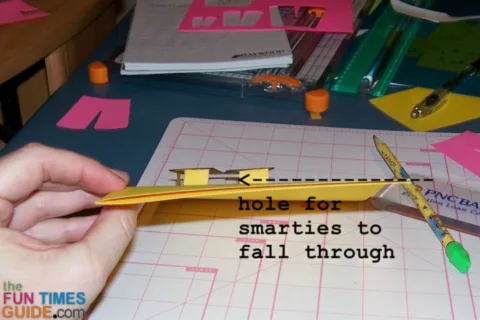
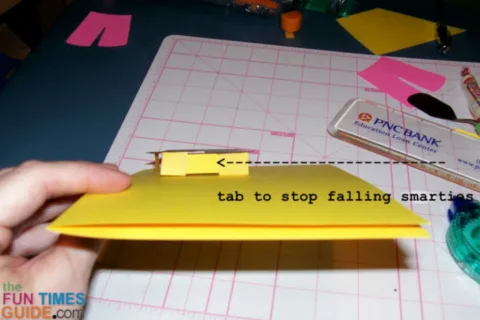
I tested ahead of time to make sure the Smarties candy would fit inside the pants — problem! The space between the pant legs is bigger than the Smarties and they fell out. (Please, no comments about the dummy pants trying to make the smartie pants.)
So I cut a new yellow tab, about 1″ long and 1/2″ wide. I placed this tab across the 2 tabs at the bottom of the legs and yay… problem solved!
(The free pattern from the original link has extra paper in between the legs to solve the problem that way). The Smarties candies fit the pants no problem, but they roll around a bit. A small piece of scotch tape on each of the Smarties holds them right in place.
How To Make The Letters
Now for the letters…
I cut them from red cardstock using the Plantin Schoolbook cartridge, 1″ on the roly poly setting.
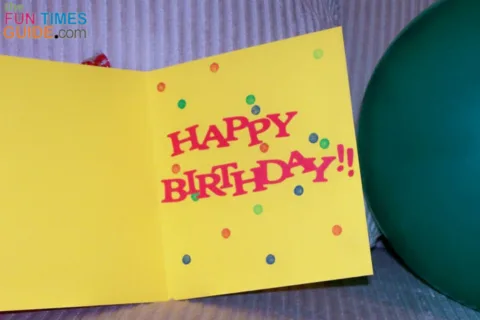
To follow the 3D theme, I placed the first letter “H” on top of the blue leg and lined up the next letters on the yellow cardstock. The inside letters for HAPPY BIRTHDAY are in all caps.
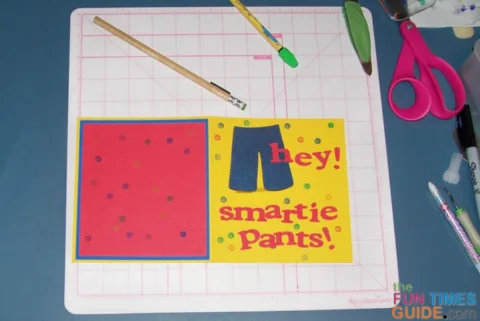
I had no problem with any of the letters, but as I was holding the card with the pants on the front, I realized the card is pretty “front heavy”. To counter that weight, I added 2 squares of colorful paper on the backside of the card — in blue and red. That helped to stiffen up the back of the card.
One Final Tip For This Card…
I used a new pencil eraser to make “Smartie marks” randomly all over the card — both inside and outside.
Do do this, I touched the round tip to different color ink pads and stamped the circle onto the card. It looks like confetti!
This made the card a little more fun.
Overall, this card was very easy to make. And the 7-year-old loved it! I hope the recipient of your card loves it, too.

