Whenever I receive a fun or unique card I keep it in an “idea file.”
For example, I realized that this tri-fold card used as a baby announcement would also make a great birthday card.
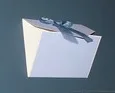

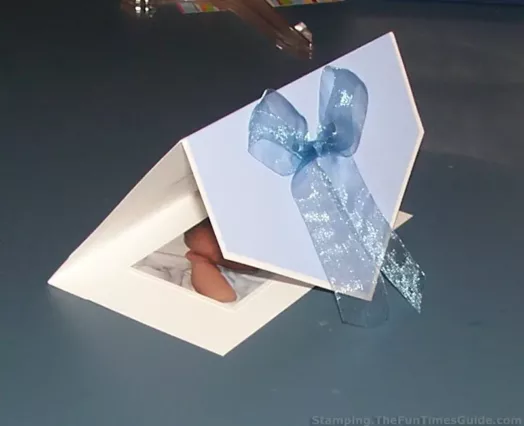
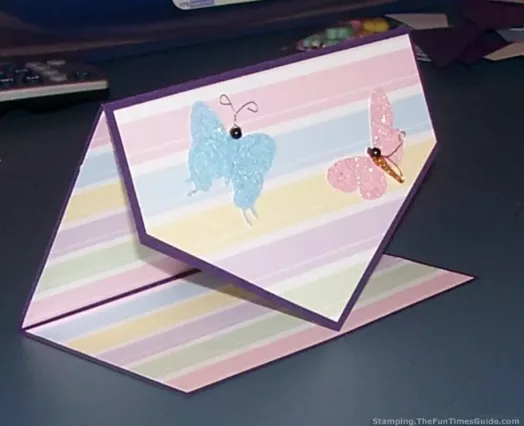
The baby card had a blue bow on the pointed front. My tri-fold birthday card has 2 pretty butterfly stickers (from a 4-pack set of Jolee’s By You).
You can see in the pictures that the baby announcement has 3 panels — 1 somewhat pentagon-shaped and 2 shaped as rectangles.
Here’s how to adapt this card to make your own fun tri-fold cards…
How To Make The Pentagon Shape Card
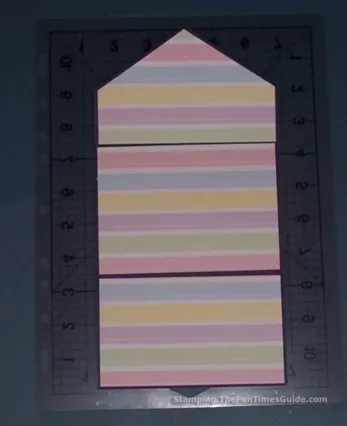
For your own tri-fold card, start with a large rectangle of your base-color cardstock that is 5.5″x11″. (Mine was dark purple.)
Starting at the bottom, measure up 3.25″ and 7.25″ and make score marks. These will become your folds.
“Scoring” means to make a slight indentation that will make it easier to fold the card and get a nice smooth fold. Some paper cutters (such as the Fiskar’s Paper Trimmer) have special scoring blades that will make the indentation for you. You could also lightly pull a scissor blade or bone folder along the edge of a ruler instead.

Once the lines are scored, fold both lines up, towards the top of your rectangle. Crease both folds with a bone folder (or flat edge of a ruler) and waa-lah, you now have your card panels.
Now it’s time to turn the top one into a sort of pentagon. With the card folded closed, the top panel (currently a rectangle) should be nearly the size of the one under it.
Cut off about half an inch (or more if needed) so that about half an inch shows when the top panel is closed down.
Make a pencil mark along that edge exactly in the center. On both the right and left edges, measuring from the top of this panel (NOT the edge you just cut), make a pencil mark at 1-3/4″.

Then, use a straight edge or ruler to make a line from the center point to the right and left points you just made. When you cut these, you will now have a pentagon shape! (Is it still a pentagon shape if the sides are not all the same size? I don’t really know.)
How To Decorate The Card
Now it’s time to choose your paper, embellishments, trims, etc.
If you have cardstock with prints or shapes on one or both sides, you can use that.
With plain cardstock, like mine, I wanted to jazz it up a little. I covered each panel with a pastel striped paper I had in my stash to compliment my butterflies. It was easy to cut each piece to leave 1/4″ showing around each and every edge.
With 2 butterflies on the top, the next panel to display will have my sister-in-law’s name on it. I cut the letters from the Plantin Schoolbook cartridge for my Cricut Expression machine.
The options are endless as to how each panel of your tri-fold card is decorated. You might want to leave this 2nd part blank, so the inside has all the surprises. It’s up to you. On mine, when the CINDY part is opened down, all 3 panels on the inside will show.
I cut 2 sentiments from the Wild Card cartridge: ANOTHER BIRTHDAY? and CELEBRATE.
I decided to leave the top pentagon panel blank and ad
d one each to the bottom 2 panels. I will write my personal message under the word CELEBRATE on the last panel.
Other Tri-Fold Card Options
One fun option would be to create a 3-paneled scene that takes over all 3 panels on the inside. Maybe I’ll make one like that and update this article later!
This tri-fold card will fit into a standard A2 sized envelope (5.5″ x 4.25″). Or, you can custom make your own envelope.
Well, there you have it! Now, it’s time to be creative with your own tri-fold cards. Have fun!!