Tis the season for some good grapevine picking — well, in my backyard anyway! This time of year, the wild grapevines are easier to spot and pull away from the trees since the leaves are disappearing.
The wild grape vine is truly a vining plant — which means it has no solid, upright trunk. This climbing, multi-stemmed vine can grow so well it can totally envelop bushes and trees. Although the wild grape vine is also known as the riverbank grape, it grows well in locations other than riverbanks. There are dozens of species of wild grapes found growing throughout the world. All are perennial, woody vines that are deciduous. Grape vines grow thicker and higher than most other native vines. ~Edible Wild Food
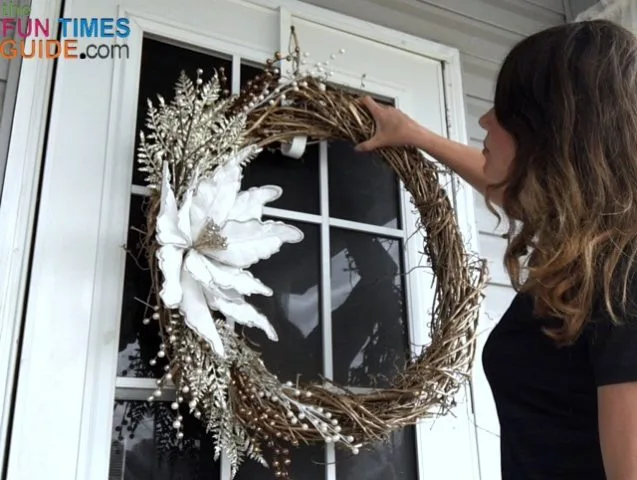
I try to make a new front door wreath each month — to celebrate that month’s main occasion. I often choose a mix of natural and artificial materials, according to the theme of the wreath. For most of my front door wreaths, I use the grapevines as a base.
Since the Christmas season is here (and will be over in the blink of an eye), I decided to get a jump start on January’s wreath to hang on New Year’s Day.
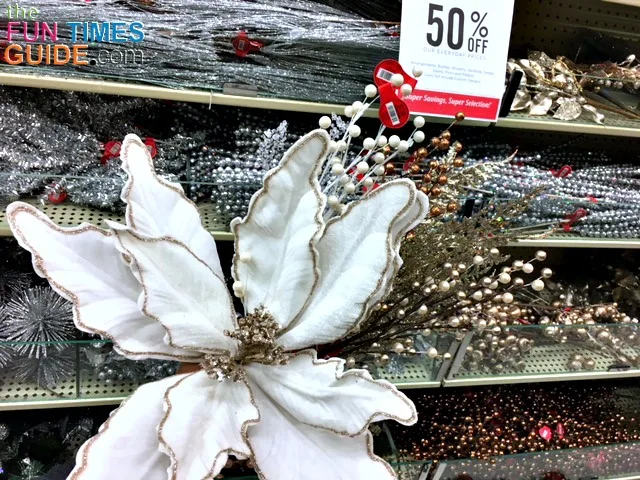
I was inspired during a recent walk through Hobby Lobby’s individual foliage Christmas aisle. Everything was 50% off — so I decided to get just a couple pieces to finish off the blank grapevine wreath I had already started. I chose a giant white poinsettia, some gold trim, and a few other white & gold accent pieces.
Here’s how I put it all together to make a large grapevine wreath…
Materials Needed
This is a list of the supplies I used to make this winter wreath:
- Grapevine wreath (I make my own and I’m going to show you how below, but you can also purchase them pre-made at any craft store.)
- 1 can of gold metallic spray paint
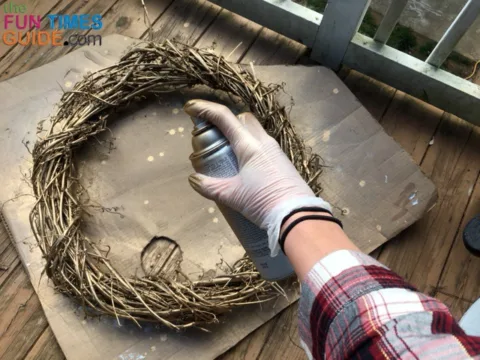
- Vinyl gloves (I don’t know what was going on with my spray paint can, but it was spraying paint everywhere — including my spray hand!)
- Zip ties
- 1 large white poinsettia
- Various pieces of white & gold artificial foliage
If you’ll be collecting the vines yourself, then you will also need:
- Wild grapevines (from your yard or neighborhood)
- Pruning shears
- Garden gloves
How To Make A Grapevine Wreath
These are the steps I used to make the winter wreath you see pictured:
- I pulled some wild grapevines from our live privacy fence (a giant wall of trees, vines, and shrubs).
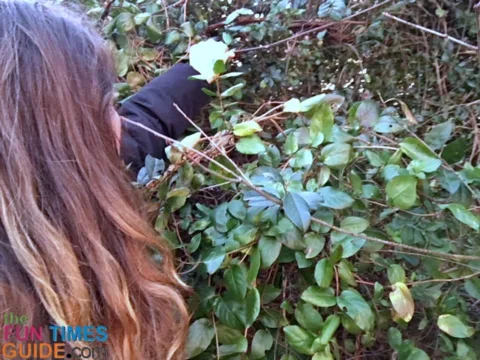

- I cut several lengths with my pruning shears and let the vines dry for about a week to allow the leaves to fall off.
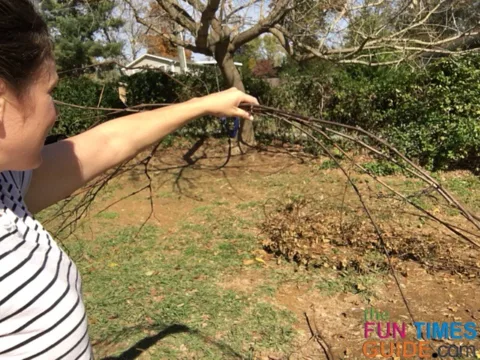
- Once the vines were dried, I chose the longest grapevine available and started making a circle in the desired diameter.
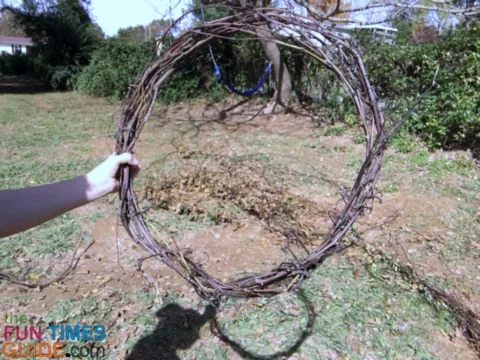
- Once I had the base circle established, I just kept adding and wrapping more grapevine — until it was the size I wanted. (I insert a new grapevine basically anywhere on the wreath and keep wrapping through and over continuously.)
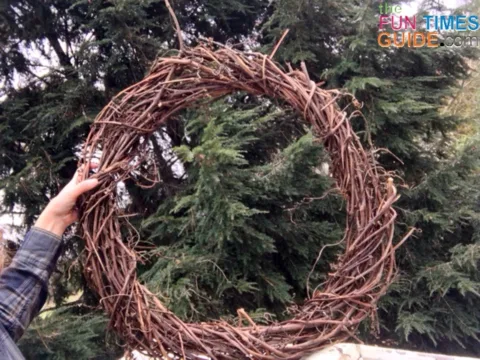
- I spray painted the grapevine wreath. (At first, I thought I would lightly spray paint the wreath white and allow some of the original brown tones to remain. But then I changed my mind and decided to spray paint the entire wreath in a metallic gold.)

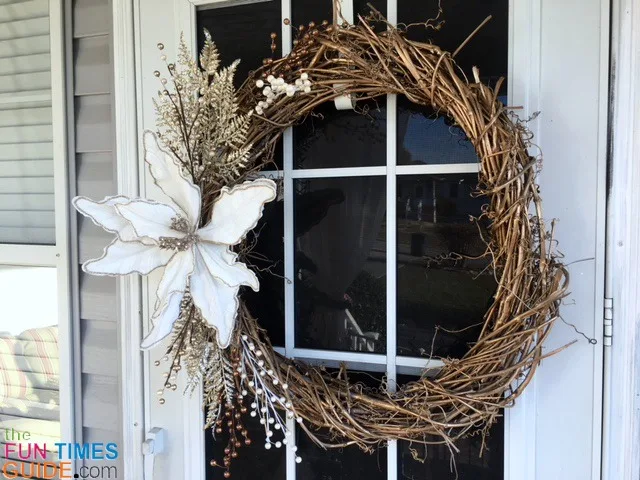
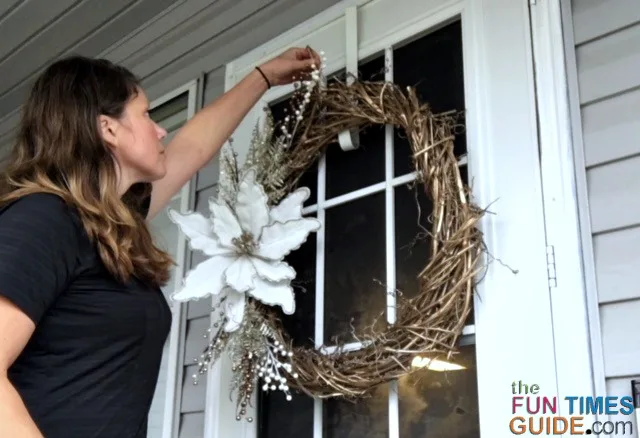
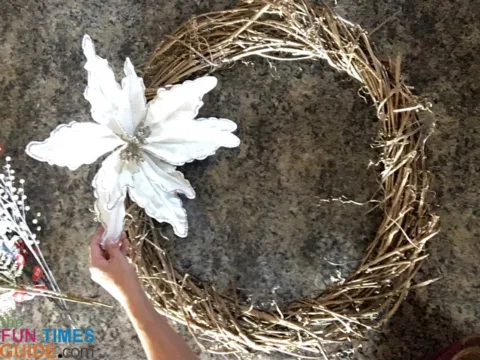
- Once the paint was dry (which doesn’t take very long), I added the large white poinsettia to the left side and positioned the remaining gold & white foliage around it.
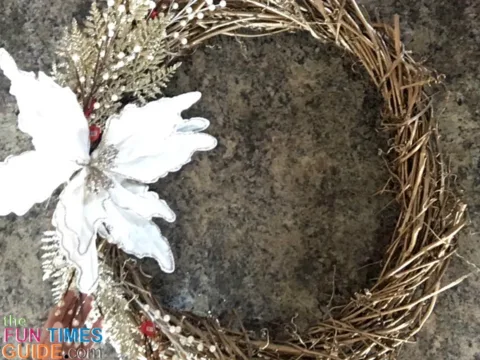
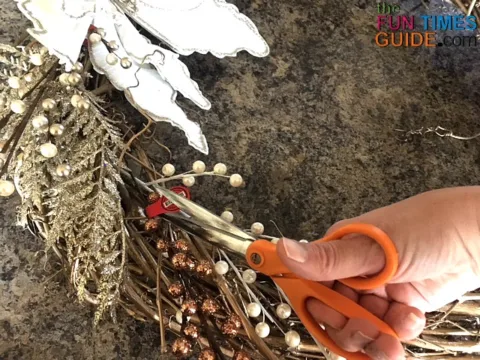
- Once I was happy with the position of the items, I cut the tags and secured the foliage to the wreath using zip ties. TIP: I like to position the items first before removing any price tags — in case I decide not to use something. That way, I can return any unused items for a full refund.
I love the crisp and simple look of this winter wreath!
The Bottom Line…
I had some creative fun with this one, and I’ll have a new wreath to hang once all the Christmas decorations come down and the winter blues set in.
By making my own door wreaths, I can switch up my front door whenever the mood strikes for very little money.
I spent about $10 on the Hobby Lobby sale items — which is a great deal when I compare prices of brand new front door wreaths this size.
I also find the process quite therapeutic, as I enjoy making new creations.
I hope this tutorial is helpful and gives you a little burst of inspiration… Happy wreathing!

I’m a first-time mom. I work from home and write — mostly about my outdoor adventures, DIY projects, newly discovered products, and helpful tips as a first-time mom. I also like to share details about the alternative choices I’m exploring, as I enjoy this journey called motherhood. My family includes a toddler, 2 stepchildren, 1 dog, 1 cat, and a wonderful husband. My pre-pregnancy life was full of freedom and adventure, so I have a fresh new perspective when it comes to walking away from a career to become a full time stay at home Mama.


