• Skip to main content
  • Skip to primary sidebar
  • Skip to footer
  • Seasonal Crafts
  • Craft Supplies
  • Cardmaking
  • Scrapbooking
  • More
    • Electronics & Gadgets
    • Health & Beauty
    • Hobbies & Crafts
    • Home & Garden
    • Jobs & Money
    • Outdoor Fun
    • Travel

Art and Crafts Guide

Real People. Real Experiences. Real Helpful.

a Fun Times Guide site

search

Home » Hobbies & Crafts » DIY Christmas Tree Tutorial: Here’s How To Make A Simple Lighted Window Christmas Tree

DIY Christmas Tree Tutorial: Here’s How To Make A Simple Lighted Window Christmas Tree

71 Shares
Pin7
Share64
Tweet

We write about products and services that we use. This page may contain affiliate links for which we receive a commission.


Christmas is fast approaching, and I can hardly believe I finished all of my Christmas decorating before December 1st this year! Now, I get to enjoy the most wonderful time of the year focusing on the real reason for the season.

Recently, I made a really cool Christmas tree of PVC pipe. I had a Christmas tree shaped wood frame left over from that DIY project — so I thought I would put it to use by making yet another type of window Christmas tree.

The PVC tree was made specifically for a window in my eat-in kitchen. Since I had another large window that wasn’t decorated yet, I figured the best way to put the wood frame to use and light up our front porch window was to wrap some lights around this simple DIY Christmas tree frame!

I wrapped some lights around a simple DIY Christmas tree frame to make a lighted window Christmas tree!

See how I made this window Christmas tree with lights…


Materials Needed

These are the supplies I used to build the lighted window Christmas tree:

  • 1-inch x 3-inch x 8-foot wood trim. (The number of pieces depends on the size of the tree.)
  • Measuring tape
  • Gorilla Glue
  • A few screws for the tree frame angles for support
  • Cordless drill
  • Miter saw
  • 3 light strands


DIY Christmas Tree Instructions

These are the steps I used to build my window Christmas tree:

  1. I measured the window space and figured where I wanted this DIY Christmas tree to be placed. I included a tree stem because I wanted some space at the bottom of the isosceles triangle.
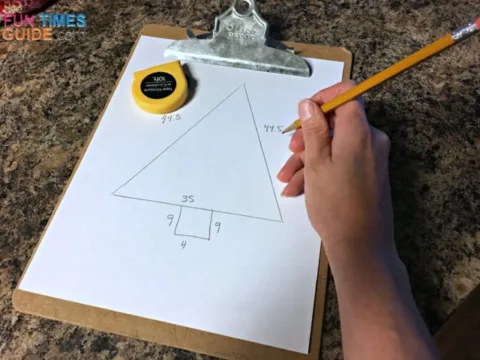
    First I measured the window space and figured where I wanted this DIY Christmas tree to be placed. I even made a stem for the bottom of this window Christmas tree.
    NOTE – I didn’t measure the wood frame specifically for this window. If I had, I probably would have made it slightly taller and wider. As mentioned above, this was a window Christmas tree frame left over from a previous project — using the dimensions of a much smaller window:
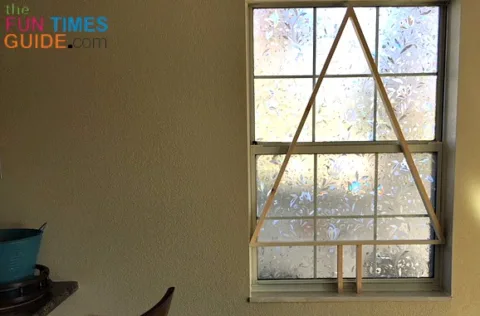
    This is the window that my DIY Christmas tree was originally designed for.
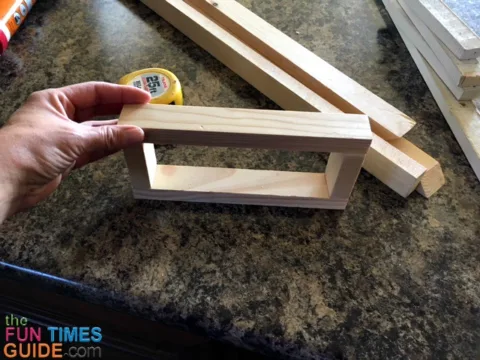
  2. I created the wood frame using 1-inch x 3-inch x 8-foot pieces of wood trim. I first measured the length, and then used a miter saw to cut the required angles — using this formula.
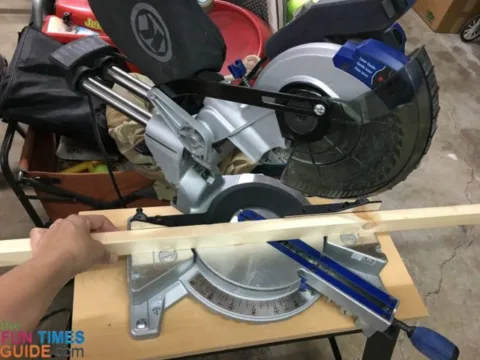
    I used a miter saw to cut the wood pieces at various angles.
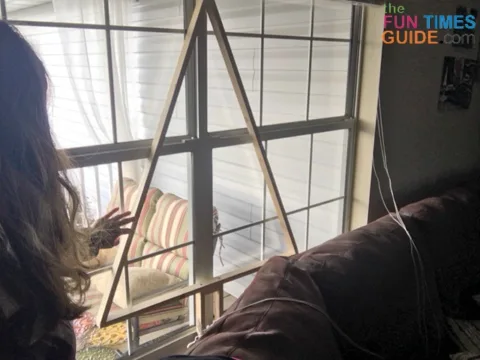
  3. I glued the wood frame together with Gorilla Glue. I started with the rectangular base and basically built the frame up by gluing the pieces together while it sat within the window frame. Then, I waited a full 24 hours before touching it — to ensure that all of the glue was dry.
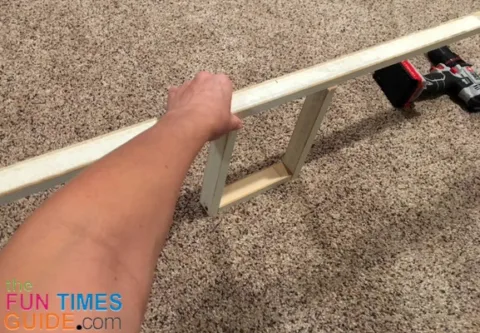
    The bottom of this wood frame Christmas tree includes a wooden stem for the base. This is the actual window that I decided to put the DIY Christmas tree in.
  4. I screwed the corners and angles of the wood frame Christmas tree together for added stability.
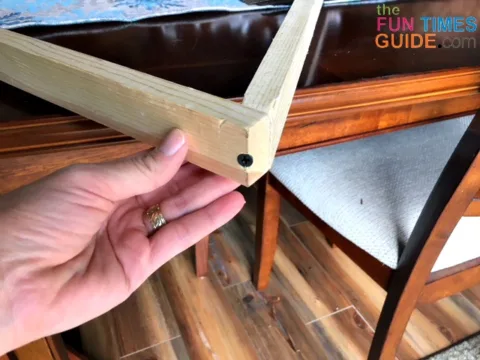
    I screwed the corners and angles of this wood frame Christmas tree together for added stability.
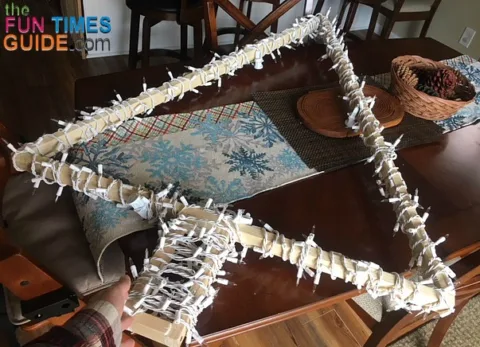
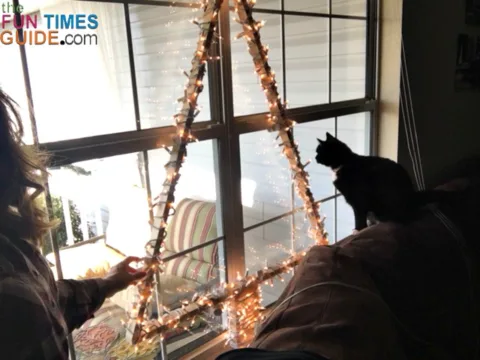
  5. I wrapped the entire wood frame of this DIY Christmas tree using 3 strands of white lights. I started at the stem (leaving enough slack to reach the wall outlet) and worked my way up.
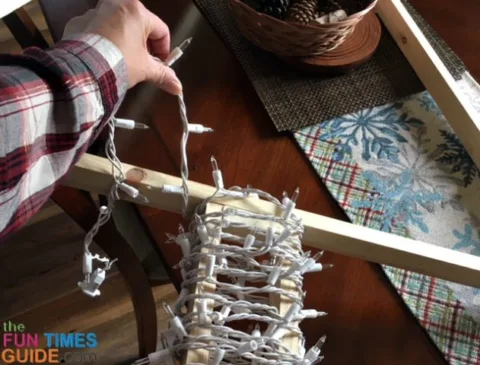
    I used 3 strands of white lights to wrap this wood frame Christmas tree from bottom to top. Make sure to leave enough of the lights free to reach the wall outlet.
  6. I pulled up the blinds and placed the Christmas tree frame on the window sill. The frame supports itself — so no further anchoring was required.
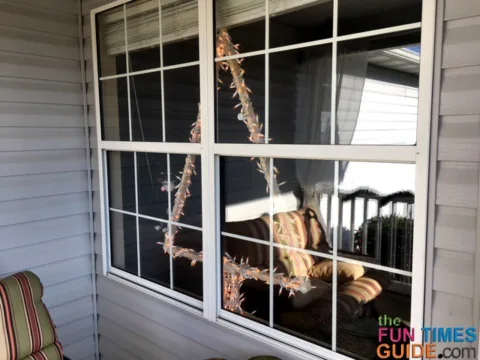
    This DIY Christmas tree stands solidly in the window without additional anchoring.
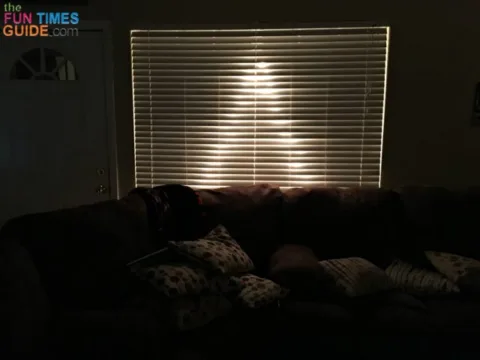
  7. I plugged the lights in and rolled the blinds back down. Yep, this DIY Christmas tree frame is slim enough to fit behind the window blinds — even wrapped in lights! (The blinds in our living room remain closed because we have a couple of neighbors directly across the road from us.)
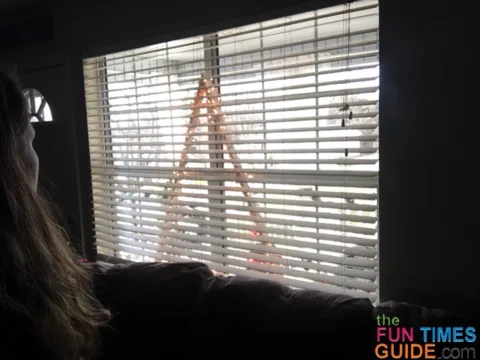
    This DIY Christmas tree frame is slim enough to fit behind the window blinds too -- even wrapped in lights! What this lighted window Christmas tree looks like at night with the blinds closed.

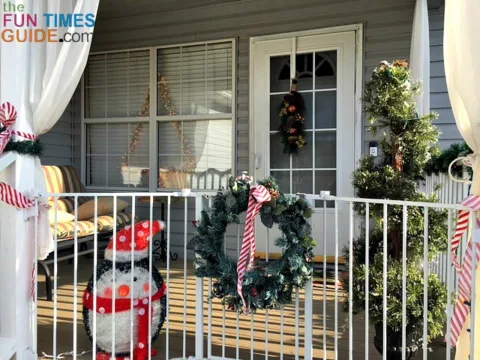
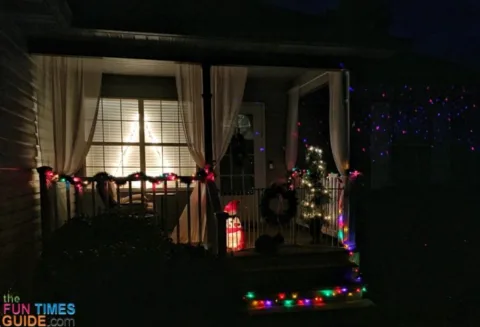
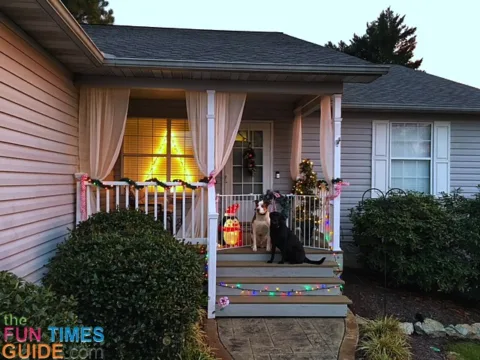
At night, this front porch window Christmas tree is the perfect addition to our other Christmas decorations. I love how the outline illuminates the shutters from the inside too!

This is what the window Christmas tree looks like during the day. This is what the window Christmas tree looks like during at night.


The Bottom Line…

This is a simple and lightweight design for a DIY Christmas tree.

By adding lights to this simple wood frame Christmas tree, you can have a really pretty window Christmas tree that works well in almost any window you choose — providing it has a sill to stand on.

This is a simple and lightweight design for a DIY Christmas tree that can be made to fit in any window of your house.

A window Christmas tree is especially practical if:

  • You don’t have a lot of space.
  • There’s a window on one side of your house that could use some Christmas love but is too hard to reach from the outside.

I hope you enjoyed this DIY Christmas tree tutorial… Happy decorating!

Avatar
Candida

I’m a first-time mom. I work from home and write — mostly about my outdoor adventures, DIY projects, newly discovered products, and helpful tips as a first-time mom. I also like to share details about the alternative choices I’m exploring, as I enjoy this journey called motherhood. My family includes a toddler, 2 stepchildren, 1 dog, 1 cat, and a wonderful husband. My pre-pregnancy life was full of freedom and adventure, so I have a fresh new perspective when it comes to walking away from a career to become a full time stay at home Mama.

71 Shares
Pin7
Share64
Tweet

Filed Under: Hobbies & Crafts, Other Crafts Tagged With: Christmas crafts, home decor

Primary Sidebar

About Us

SuzieI don't buy greeting cards or holiday cards anymore -- I make my own! I also do some rubber stamping and scrapbooking. But mostly I enjoy creating handmade, one-of-a-kind cards. I’ve been an avid crafter for most of my adult life. My crafting addiction started with cross-stitching, then moved on to wearable art, projects with painted wood, fabric crafts, and then paper crafts — which has transformed primarily into card making. I also make the occasional wreath, snowglobe, and other holiday crafts.

Suzie: View My Blog Posts

LynnetteI'm a lifelong scrapbooker who's been documenting every moment of my life in pictures... for decades! I currently have 171,285 photos saved in 6,034 albums online (backed up in 3 different locations). I switched from old-school photo corners and thick paper binders to archival quality tape and Creative Memories albums after college. To me, there is absolutely nothing better than preserving your life's memories in photographs... and scrapbooks! Then I added rubber stamping and cardmaking to my craft talents... followed by candle making, paper crafts, and other DIY projects. When I'm not crafting, you'll find me at the corner of Good News & Fun Times as publisher of The Fun Times Guide (32 fun & helpful websites).

Lynnette: View My Blog Posts

AbbyCardmaking is my jam! I enjoy using rubber stamps and scrapbooking materials to make my own homemade cards. I use Stampin' Up products for a lot of my cards.

Abby: View My Blog Posts

Popular Searches

Baby crafts bags and pouches beach themes birthday cards Birthday crafts candy christmas cards Christmas crafts craft rooms crafts for kids craft tools Cricut machine Easter crafts embellishments embossing Father's Day crafts flowers fun with digital photos girly cards glitter graduation cards Graduation crafts halloween cards Halloween crafts home decor ink invitations journaling money-saving ideas Mother's Day crafts mothers day cards paper and cardstock punches ribbons rubber stamps school scrapbooking stores stickers storage ideas St Patrick's Day crafts thank you cards Valentine's Day crafts valentines day cards wedding cards Wedding crafts

Footer

  • Facebook
  • Pinterest
  • RSS
  • Twitter
Fun Times Guide logo
Shop Our Favorite Items

Copyright © 2004-2021 The Fun Times Guide | Privacy Policy | About | Contact | Sitemap