We have 4 big pine trees in our yard — which means I have access to hundreds of FREE pine cones all year round!
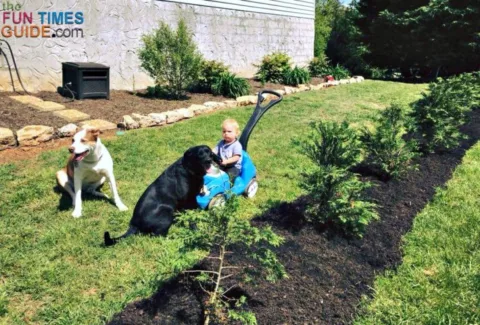
Every day when I let the dogs out, my son and I typically go outside too so we can get some fresh air. We walk the yard together. Sometimes I push my son in his push ride on car. We keep ourselves busy by:
- Weeding the flower beds
- Picking up doggy doo
- Picking up broken branches
- Picking up all the lovely pine cones
We stockpile the pine cones we find at the edge of our property — leaving them underneath a row of Leyland Cypress trees that we planted.
Stockpiling the pine cones at the base of the trees does a couple of things:
- It gives me a place to store the harvest outside, without having to use up any space or create a special storage system.
- It keeps the pinecones protected from being crushed, while acting as mulch for the Leylands until we are ready to use some of them for crafts.
We’ve made pinecone wreaths in the past. But now… with all of the cute craft possibilities I’ve found on Pinterest, I have a whole new interest in collecting pine cones by the dozens for future projects!
With Christmas just around the corner, I thought I would get a jumpstart on some fun handmade gifts and try to make pine cone fire starters this year.
And although we don’t have a fireplace or a wood burning stove, we love making a campfire in our backyard — so these pine cone fire starters will be a nice addition for us.
Supplies Needed To Make Pine Cone Fire Starters
Here is a list of supplies I used to create a batch of pine cone fire starters:
- Pine cones – I used 12 pine cones for my first batch of homemade fire starters. I think 12 was a good number to manage — especially while working with hot wax and a toddler at my feet.
- Baking sheet or pizza pan – to bake your pine cones first, to kill any insects inside them.
- Wax (or leftover candles) – I used a big, red, cinnamon scented candle. The color and scent transferred amazingly well with just 1 dip!
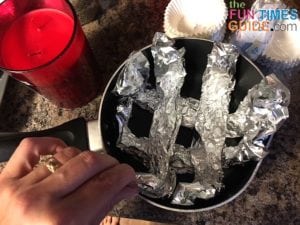
- Double boiler – Instead of using a double boiler, I used a medium pot with a makeshift tin foil grid and a glass Pyrex glass measuring cup with a handle.
- Newspaper or wax paper – to catch all the wax drips. I won’t sugar coat it, wax is messy. But I found if you clean it up while the wax is still warm, it is rather easy to clean up with lots of paper towels.
- Candle wick spool – I used this organic hemp wick spool with natural beeswax.
- Spoon – I used a metal tablespoon to scoop the pliable wax and to stir the melting wax.
- Empty toilet paper rolls – as a base for the pine cone to rest on.
- Glue gun –
- Dried daylily stems (or any flower stems you might have from your garden) –
- Paper towels – to clean up the mess.
How To Make Pine Cone Fire Starters
Here’s how I made my pine cone fire starters:
- I gathered my pine cones.
- Since I was bringing the pine cones into my home and potentially into other people’s homes (as gifts), I wanted to bake them to kill any small insects. I baked mine on a pizza pan at 200 degrees F for 2 hours. This also helps open up any cones that are still closed.
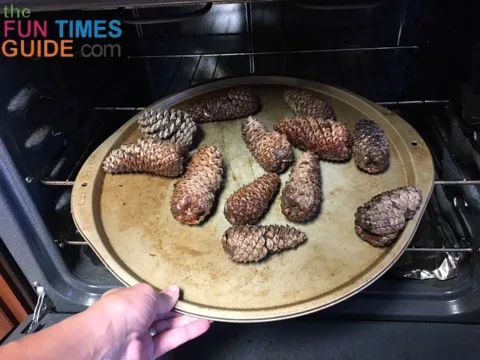
NOTE: My pine cones were very wet when I gathered them — so I had to leave them in the oven 1 additional hour to get them to open up. If your pine cones are dry and already open, then 1 hour in the oven would be plenty of time. - I let the pine cones cool.
- I got my workspace ready and laid out newspapers to set the pine cones on (after they’ve been dipped).
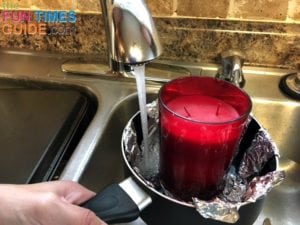
- Since I don’t have a double boiler, I placed a tin foil grid in the pot, filled 1/4 of the pot with water, placed the entire glass candle in the pot, and turned the burner on medium-high to start heating the wax.
- As the wax was heating, I placed a length of candle wick through each pine cone.
TIP: I found it was best to tie it near the top of the cone — leaving a tail to keep the wick from unraveling. This tail is also used to light the pine cone fire starter and it’s helpful to grab onto when retrieving the pine cone out of the melted wax.
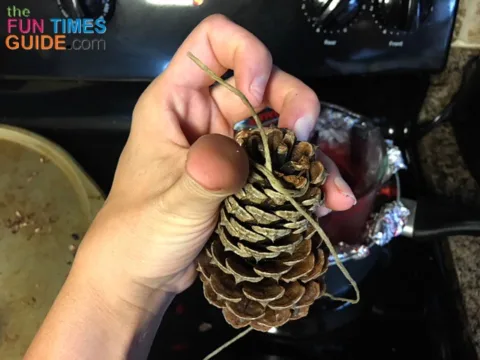
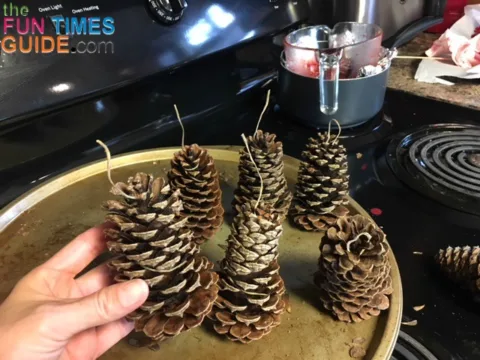
- Once I got the candle wax warm enough to be pliable, I turned down the heat and removed the entire candle jar — using oven mitts.
- I placed the Pyrex glass measuring cup into the boiler pan.
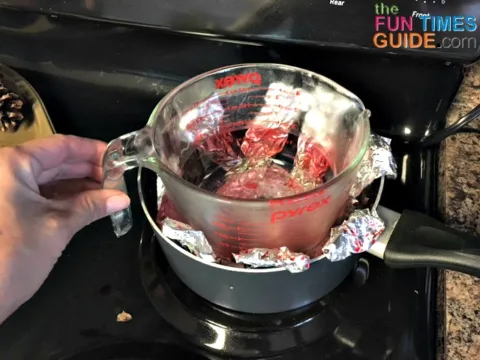
NOTE: Because of the handle, it was much easier to work with than trying to melt the wax in the candle jar. - I scooped small amounts of wax into the Pyrex glass and constantly stirred the wax as it melted.
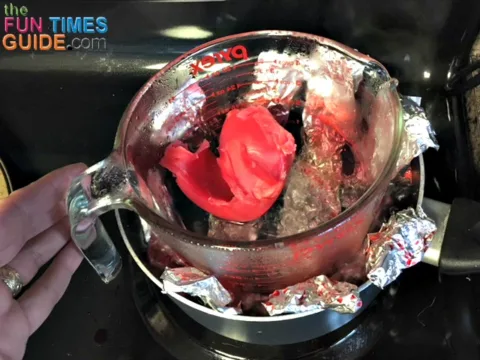
- Once I had all of the candle wax melted, I placed one pine cone at a time into the wax — rolling it and using a spoon to help get even wax coverage.
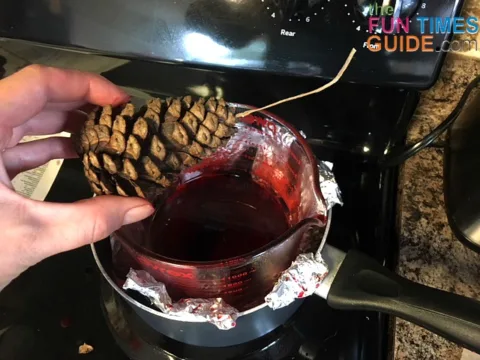
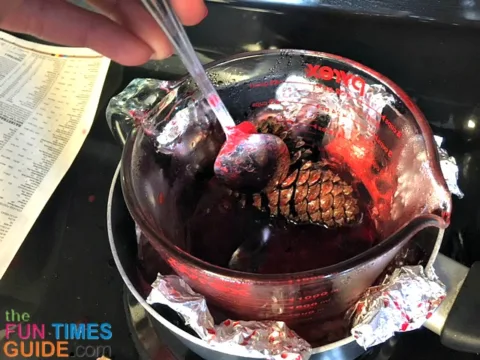
- Then I set each dipped pine cone aside — to let the wax dry.
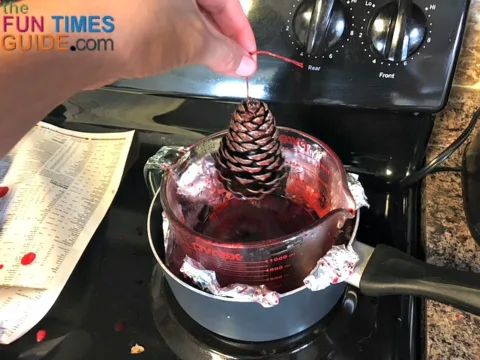
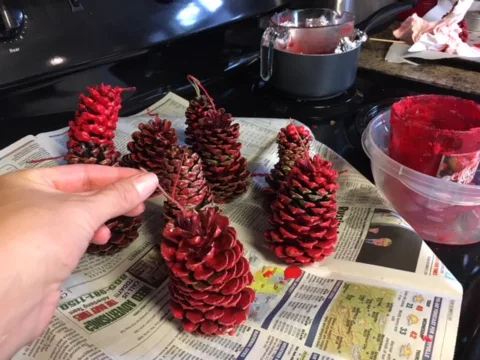
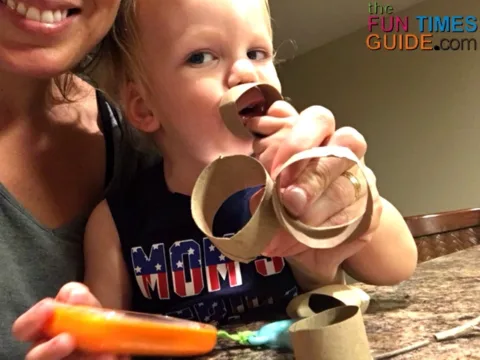
- As the pine cones were drying and setting, I went to work on the bases for the pine cones to rest on. Using empty toilet paper rolls, I cut the tubes in various heights from 1 to 2 inches.
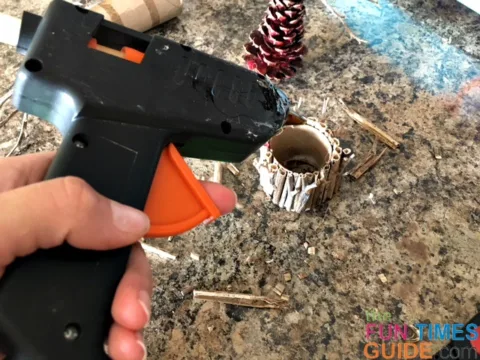
- I plugged in my glue gun to get the glue hot.
- Then I started cutting up my daylily stems into varying lengths of 1 to 2 inches.
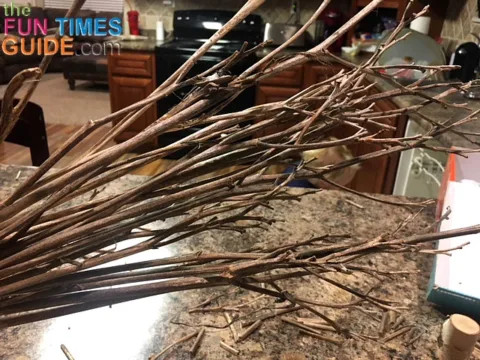
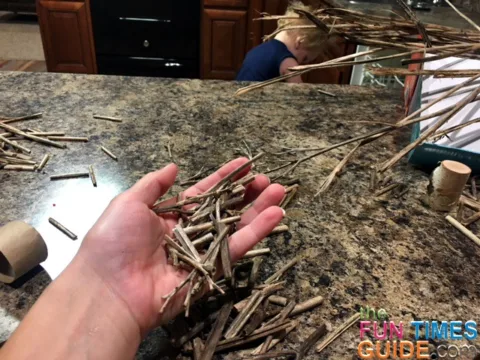
- From there, I just started gluing the tiny little flower stems onto the remaining toilet paper tubes.
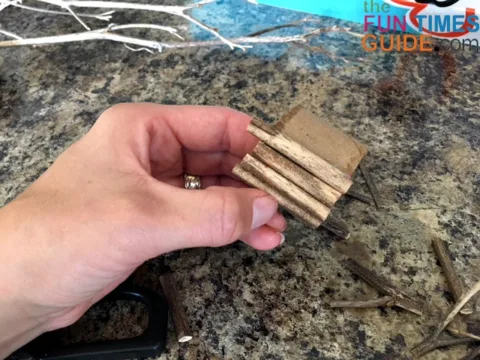
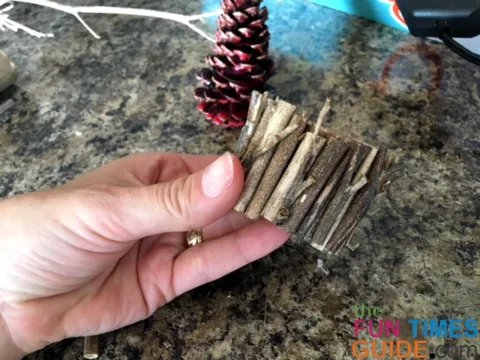
TIP: I happen to like the varying lengths — so I just trimmed where it made sense to have the pine cone rest as vertical as possible. - I used part of the dried daylily stems to roll up the wick to tuck into the top of the cone.
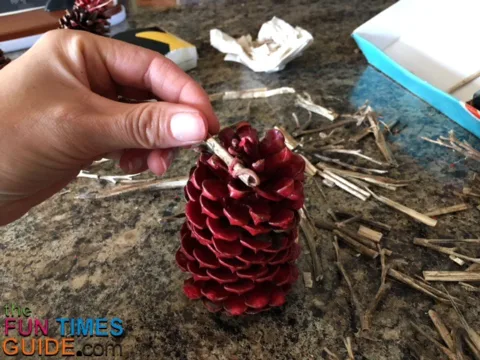
- Then I put a bead of glue around the perimeter on top of the base, then stuck the pine cone on top of it.
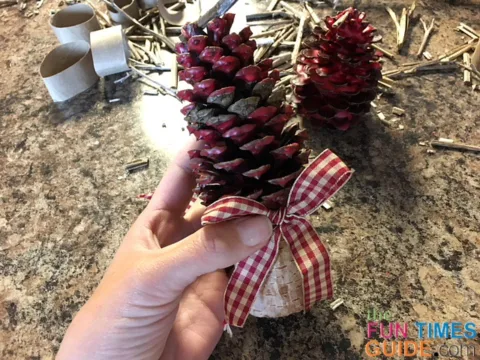
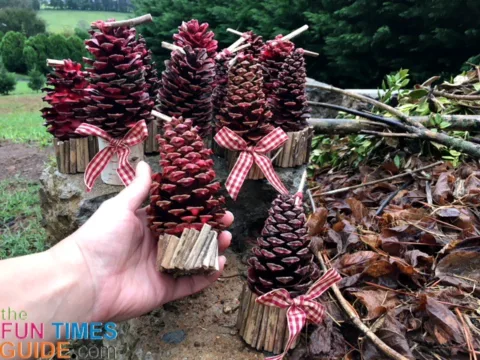
I had a couple of pre-made ribbons, so I decided to glue them on a few of the pine cones.
I also had a single mini birch log which I thought would be cute for a base, too.
I’m super pleased with this first batch! They’ve been sitting on my kitchen counter for a few days now and my house smells amazing from the yummy cinnamon candle wax I used on the pine cones.
I’m excited to experiment with different colors and scents of wax next — it will be a good way for me to get rid of all my candles and Scentsy wax which I no longer use, since I’ve become a fan of diffusing essential oils.
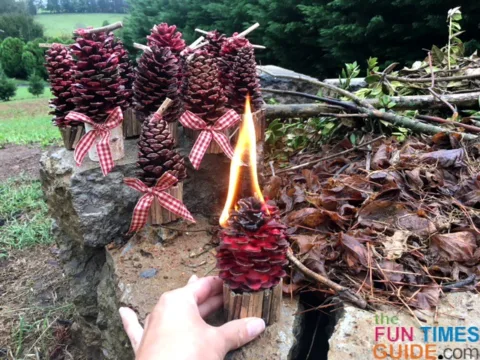
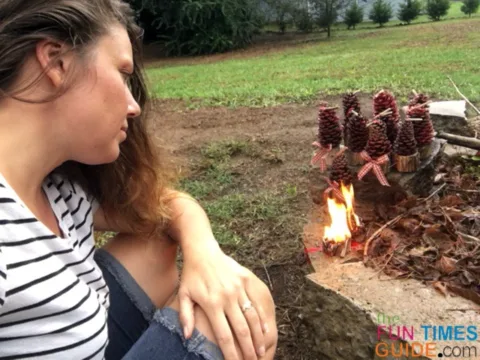
Just for fun and because I was curious, I lit one outside on a drizzly day and let it burn. It definitely had no problem staying lit or catching fire — plus it smelled great and made me forget that it was a cloudy, dreary day.
I actually quite enjoyed the process of making these homemade fire starters while thinking about all the fun fires they will be starting and all the people who will be gathered around them.
I look forward to seeing your creations in the comments below. Happy fire starting! (Please burn responsibly.)
Related Ideas…
If you like these tips for DIY fire starters, then you’ll also enjoy these fun ideas:
- Our Top 10 Camping Tips For New Campers — with a tip for using dryer lint as a fire starter
- 25 DIY Pine Cone Crafts — lots of clever ideas for holiday gifts and home decor using pine cones
- Aromatherapy Tips For Newbies Using Essential Oils For The First Time — find the right scents for your needs
- DIY Campfire Cones – a fun idea for a kids party, camping, or anytime you want a sweet treat
- 10 DIY Fragrances To Make Your Fireplace Or Chiminea Smell Really Aromatic — lots of other DIY fire starter ideas


