Eeek! Halloween is right around the corner and I need to make 10 Halloween cards… quickly!
Following is an easy way to use cardstock you already have on hand and any kind of stickers to make multiple cards — assembly line style.
These instructions can be used to make mini cards and envelopes for any holiday or special occasion.
Choosing Your Paper
I was gifted a packet of black metallic paper, 8.5″x11″.
It’s black onyx metallic cardstock, 107#. This is the perfect base paper for my folded Halloween card.
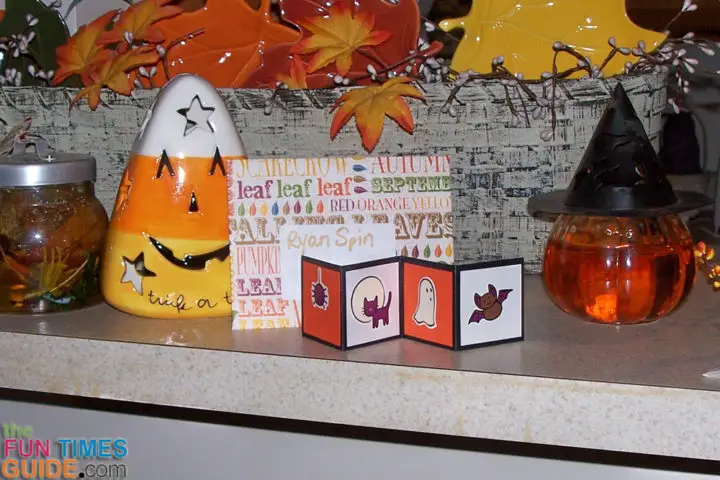
I wanted to take a long and narrow strip of card stock paper and fold it accordion-style with 4 panels. Each panel will then have orange or white paper with a Halloween sticker on it.

Sizing & Folding Your Paper
To accurately cut my base paper, I needed to check the size of my stickers.
I used Stickety-Doo-Da Halloween stickers (4 sheets). The highest one is 1.5″ and the widest is 1.5″.
So my white and orange papers could be cut into 1.75″ squares, and the black strip would need four 2″ panels (or 8″ wide by 2″ tall).
Fold the 8″ strip of paper in half, then fold each end back towards the middle — for 3 folds.
Use a bone folder (or the edge of a ruler) to smooth each fold.
Putting All The Pieces Together
Use a glue stick or double-sided tape to secure the orange and white squares. I alternated mine, but you can do all white, all orange, or any other color you like.
If you don’t have black metallic cardstock, you can use any kind of cardstock for your base.
The squares for each panel do not need to be cardstock, so typing paper or any other type of paper will work. They could also be printed patterns or designs.
I used the Halloween stickers one sheet at a time, to avoid repeating stickers.
Finally, to write on the back of the metallic paper I used silver, bronze, and gold metallic Sharpie markers.


Making Envelopes & Mailing Mini Cards
Now I just needed to figure out how to mail these little cards!
I know there are postal regulations on the smallest envelope they will mail, but I have no idea what the size is.
I had an envelope 4.25″ tall and 5.5″ wide, so I decided to use that as my template.
First, I used small pieces of scrap paper to make an envelope for the 2″x2″ card using this DIY envelope method with 1 modification: no top flap.
Basically, my tiny Halloween card envelope is just a little pouch.

Now choosing fall and Halloween papers from my DCWV Stack, I used the same envelope method with my template taking the place of the card. Before gluing the envelope together, I used double-sided tape to secure the little pouch to the inside of the envelope (what will be the back flap).


See the picture for placement, making sure the top of the pouch is even with the edge of that flap. Now the card can fit into the little pouch — safe inside a properly sized envelope.
To add some substance to the rest of the envelope, I glued the orange and white scraps from cutting my squares. This step is not necessary, but I believe it will protect the thin parts of the envelope from tearing during the mailing process.
Must read: How To Know Which Craft Glue To Use When
Similar Idea: DIY Mini Birthday Cards
Here is an example of a mini Birthday card, using stickers from the Dollar Store.
I had not created my new style of mailing envelope yet, so I left the card unfolded for mailing — not as cute.

The best part of this card style is it can be used for any occasion. Have fun playing with this new mini card style!


