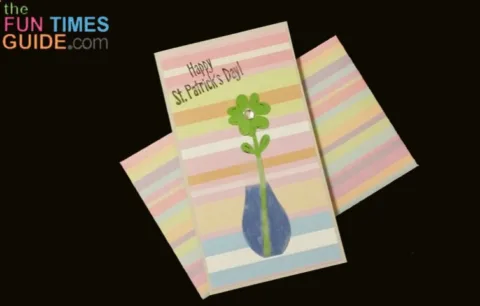
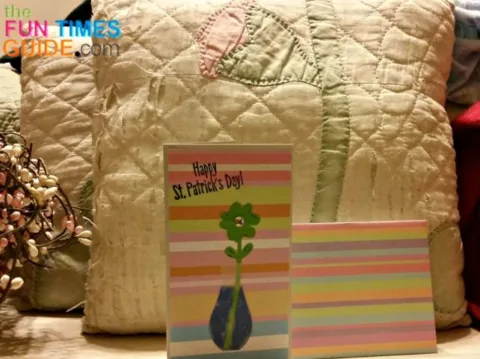
Whether you use a true shamrock or a lucky four leaf clover, send the luck of the Irish with sweet handmade St. Patricks Day cards like this one:
Cardstock For The Base
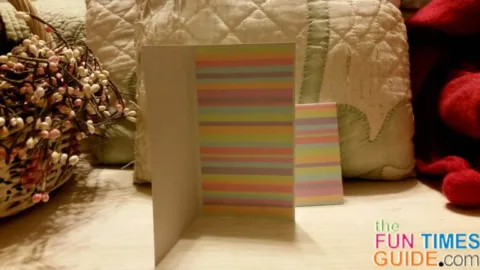
The base of this folded 3″x5” card is light grey card stock.
I was able to use 1 sheet from my old DCWV Spring Stack designer paper for the striped panels on the front and inside of the card as well as the matching envelope.
You can use any paper you like — maybe using up some of those leftover paper scraps!
Each panel is 2-¾” x 4-¾“.
How To Make The Vase
Because this card is small and the clover leaves very delicate, I decided to create and place the vase and stem onto the front panel of the card before I attached the 4 petals of the clover.
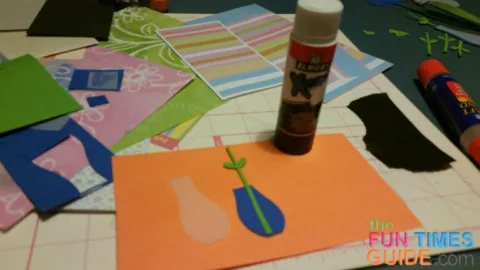
- Using my Cricut Expression, I cut the vase from clear vellum paper, using the Walk in My Garden cartridge. I chose the “vase2” image at 2-½” .
- I made another cut of the vase on dark blue paper to make the water.
- Then I made 2 cuts of the “stem2” image with green paper. I cut off the leaves from one of them and used the remaining stem to make the other stem longer.
TIP: Anytime I use vellum on a handmade card, I struggle with how to adhere it without showing any glue or adhesive marks. In this case, that flaw works in my favor — because it looks just like water!
- I cut about half an inch from the top of the blue vase to indicate the water line. Then I attached the green stem. I lined it up to appear as if it’s leaning against the side of the vase.
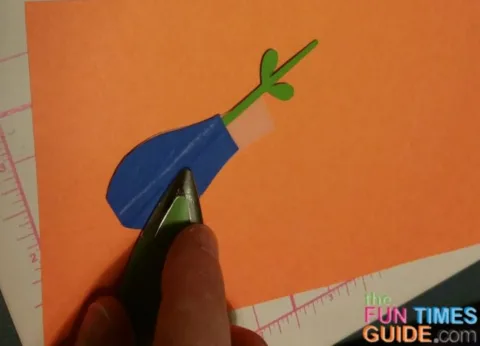
- I used an Elmer’s extreme glue stick to completely cover the blue vase and green stem.
TIP: I chose a glue stick rather than liquid glue so I could have better control over the coverage. Be sure the glue covers every part of the blue vase before you attach it to the clear vase.
- From the back side of the base card, use a tool to press down against the blue paper so it will show the glue marks on the front side. I used my Cricut folding tool, but you can use any flat tool or credit card.
TIP: You will be able to see from the front if there is a part that is not showing the glue, and you can press that section a bit more firmly. Be sure to press along the edges of the stem as well.
And now you have a clear vase filled with blue water!
Attach the vase to the front of the card, about half an inch from the bottom.
How To Make The Four Leaf Clover
Now you can place the petals of your clover!
While a true Irish shamrock has only 3 leaves, I decided to use a lucky 4-leaf clover for my card.
- I cut 4 half-inch hearts with the Cricut Expression, using the Doodlecharms cartridge “heart-s” image. You could also use a small heart punch to do the same thing.
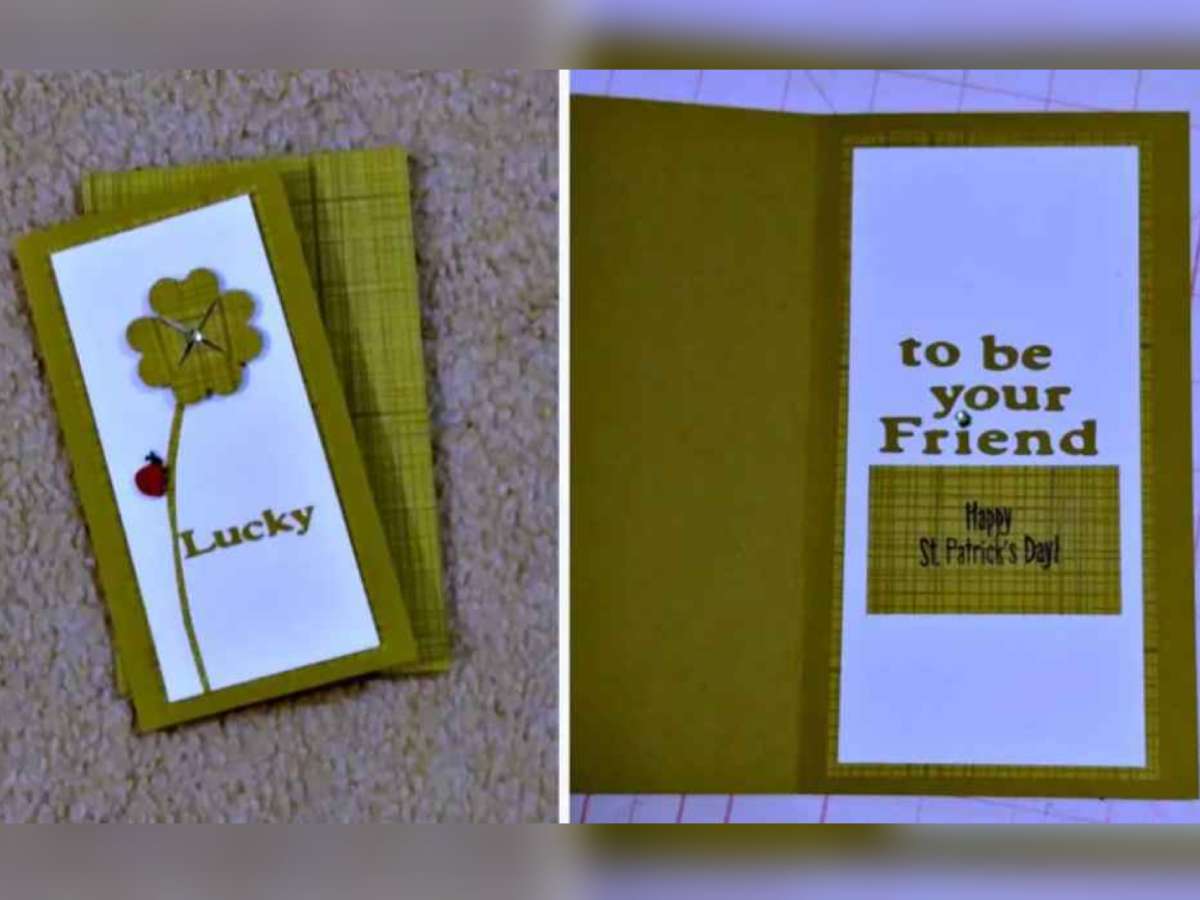
- Using tweezers and my favorite Tombow glue pen, I arranged the hearts around the top of the stem. You could also put a ladybug on the stem of your four leaf clover card.
- I used a fine-point black Sharpie marker to add accent marks to the petals and leaves.
- I added a clear rhinestone sticker to the center of the petals for some bling.
- Finally, I used a Happy St. Patrick’s Day stamp with black ink.
And now the card is finished!

