 Spring is finally here and that means one very important thing to me:
Flowers!
They’re everywhere right now and I can’t get enough of them.
Pink ones, purple ones, yellow ones, and white ones… there’s just something about the fresh colors of spring flowers.
While you’re out enjoying the weather, collect some of those beautiful spring flowers to use in your arts and crafts projects.
Which Flowers To Use
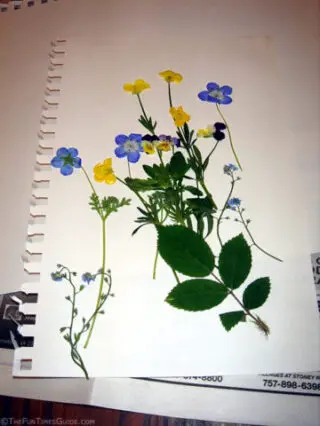
For pressing flowers, look for more flat flowers like violets, pansies, and daisies.
Thicker flowers will work, but they take longer to dry.
Don’t forget that green is good, too.
So, collect interesting leaves from flowers, trees, ferns — wherever you find them.
These will make your crafts even more interesting and natural looking!
After you have collected your flowers, pressing them is easy.
How To Press Flowers
1. Place the flowers and leaves in a single layer on a piece of drawing paper.
2. Put another piece of drawing paper over them — sort of like a flower sandwich!
3. Put the whole thing flat between the pages of a heavy book. Close it up and let the weight of the book do its work. Leave the book closed and lying flat for 7 to 10 days.
4. When you open up the book, carefully lift the top piece of drawing paper to see your newly pressed flowers. Pressed flowers are fragile, so use care when handling them.
You can use these in all kinds of craft projects — it’s all up to your imagination!
Here is one idea…
Make Pressed Flower Bookmarks
One easy and very pretty way to use them is in making bookmarks with clear contact paper.
Here’s how to do it:
- Cut one piece of contact paper about 4 inches by 4 inches.
- Lay it flat with the sticky side facing up. If it curls, just use small pieces of scotch tape to hold the corners down.
- With the backing on the contact paper peeled off, arrange the pressed flowers on one half of the contact paper.
- Fold the contact paper in half so that the sticky side seals itself. Trim the edges if necessary.
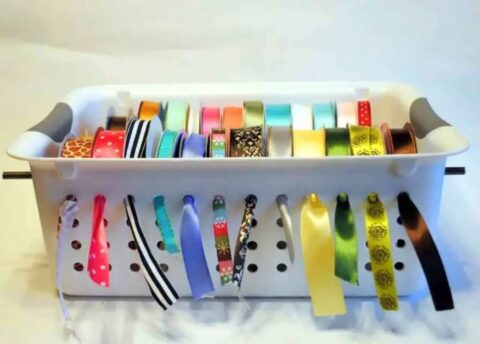
- Use a hole punch to punch a hole in the top, and tie on a coordinating ribbon if you like.
