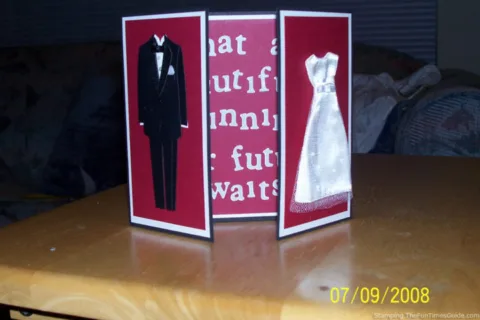
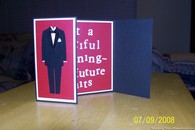
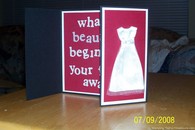
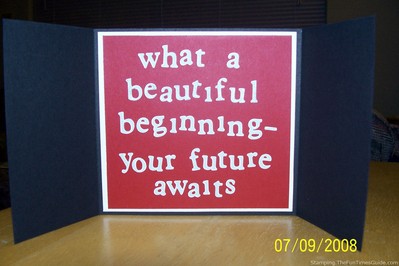
This elegant wedding card was created to match the wedding colors (red and black) and theme (bling).
It was a cinch to make and can easily be adapted for any occasion. Simply exchange the stickers or colors to match your event.
Here’s how I made this wedding card…
The Stickers & Embellishments
I started with the embellishments: the dress and the tux.
Dimensional stickers can be found in many stores — from craft specific stores to WalMart and dollar stores.
I like to watch for sales at Michaels and Hobby Lobby, where I frequently shop with weekly 40% off coupons (from the free emailing list I signed up for, or the weekly newspaper).
I positioned the stickers to fit on maroon cardstock, then added those to white cardstock leaving a small white border.
The dimensions for these 2 papers should be whatever suits the stickers.
You can play with more or less space around your sticker and choose the best look.
My white pieces were 3″ x 7″ (actually slightly less than 3″, but for this purpose I’ll say 3″).
Cutting & Folding
I like to cut my paper with a paper trimmer (Fiskars is one kind) or you can use scissors.
The paper trimmer takes a little practice to consistently produce a straight line.
The black cardstock must measure 12″ across, and a little over 7″ tall.
I wanted a very tiny black border around the white card, so mine is about 7-1/2″ tall.
It can be tricky to cut and fold the black piece smoothly, so the card closes with straight lines in the front.
I practiced with newspaper or scrap paper before I used my good paper.
I like to use a bone folder to get good creases, but you can use anything (edge of a ruler also works).
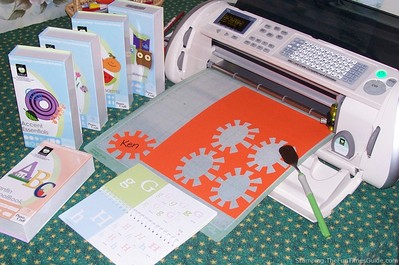
The letters on the inside were cut on my Cricut Expression, the Plantin Schoolbook cartridge, at 1″ Roly Poly.
Tweezers & Adhesives
I laid them out to determine the spacing. Then while holding them with craft tweezers, I used a glue pen (Sakura Quickie Glue Pinpoint Roller) on the back of the letters. The tweezers will help you place the letters easily. You can press the letter down with your finger, and it will dry quickly.
I use double-sided tape on a roller (there are many varieties – one I like is Tombo Mono permanent adhesive) for all other paper adhesive. It goes on smooth and dry and is a strong attachment.
Must read: How To Know Which Craft Glue To Use When
What About The Envelope?
This card requires a custom envelope. Here are the instructions showing how to make an envelope for any size or shape of card.

