With graduation season upon up, I thought I’d share how to make a DIY grad card yourself.
When my oldest nephew, Josh, graduated from high school, I wanted him to have a personalized graduation card in his school colors — so I made it myself.
Here’s how to make DIY personalized graduation cards like this one…
The Paper I Used For This DIY Grad Card
Josh’s school colors are blue and gold, so I decided my card base would be a dark blue shimmery cardstock.
The backside of this paper is black — which is perfect for the inside of the card (as opposed to many papers that are white on the reverse side).
I used a 12″ x 12″ sheet and created the card to be 5″ x 6″ when folded.
Making The Letters & Graduation Caps
I used my Cricut Expression to cut all the letters and graduation caps.
You could create this card almost entirely using stickers, if you don’t have a Cricut:
My letters and numbers are cut at 2″ using cream shimmer paper (from the same package), using the Suburban cartridge and the Housewife font.
The graduation caps are from the Wild Card cartridge, also 2″.
I cut about 12 graduation caps from the blue shimmer paper. For the 3 caps in the center of this DIY grad card, I cut 2″ Blackout shapes — 2 from cream shimmer paper and 1 from gold foil paper.
Scattering The Grad Caps
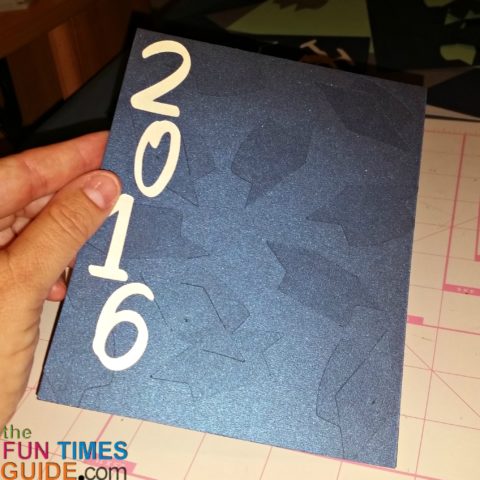
I wanted the front of the card to look like a field of grad caps flung into the air, so I used my Tombow glue to randomly scatter about 9 of the blue caps all over the front of the card — allowing some of them to hang off the edges of the card.
I trimmed those caps to meet up with the edges, as seen here:
Then, I added the “2016” and “JOSH” down each side of the card front — leaving room in the middle for the 3 main grad caps.
Making The Tassels
I cut 6 tassels — 3 from black card stock and 3 from the gold foil.
Instead of using all black or all gold tassels, I cut the fringe part of each gold tassel and added it onto the black ones using my Quickie glue pen.
Then I added the tassels to the 3 remaining caps — 2 of the graduation caps were glued on top of cream blackout shapes and 1 was glue on top of the gold foil.
I used pop dots to add the 3 remaining grad caps to the center of the card, angling each as shown. (The one in the middle is the one with the gold shadow.)
The Inside Of This DIY Grad Card
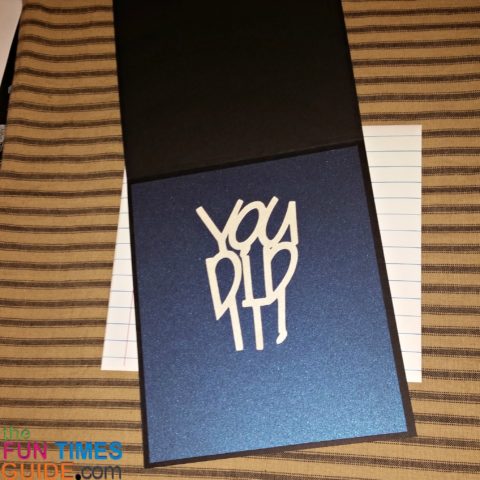
The inside of this DIY personalized graduation card is covered with a panel of blue shimmer paper (4.75″ x 5.75″).
I cut “You Did It” using the Wild Card cartridge on my Cricut at 4.5″ and added it on top of the blue panel — slightly top of centered, as seen here:
DIY Customization Ideas
This type of DIY grad card could be customized in several different ways:
- Use the school colors of the graduating high school/college or the school they plan to attend next
- Use the letters from the school (such as MHS for Miami High School or MSU for Michigan State University)
- Use the graduate’s name (longer names would require smaller letters, or make the card bigger or more horizontal)
- Use a shorter graduation year (such as ’18 for 2018).
Matching Grad Card Envelope
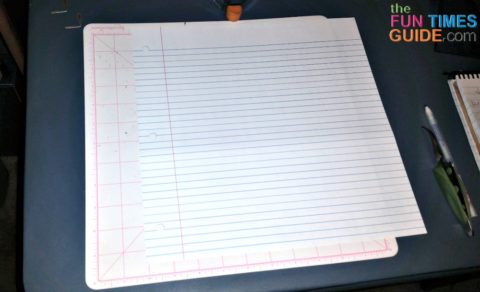
I made a clever envelope for this card using a sheet of designer paper that looks like a piece of the blue-lined notebook paper — seen here:
Have fun making a card for your special grad!

