You would think a card-making girl such as myself would be on top of birthdays and never be late with a card.
But you would be wrong!
Here is a cute Belated Birthday card that I now keep on hand for missed birthdays.
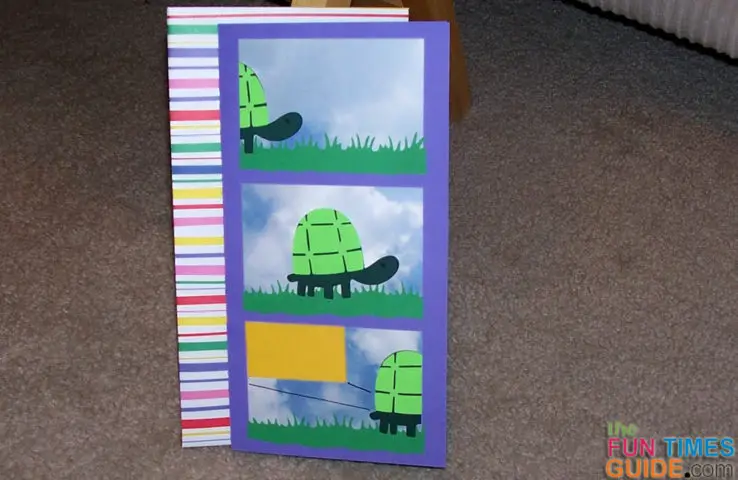
Making The Outside Of This Card
The base for the card is purple cardstock (8.5″x9″), folded for a vertical card.
The 3 sky pieces are from a 12×12 piece of cloud paper, 2.5″x3.5″ each. I like that the clouds make it look like the turtle is actually moving, as the sky changes in each view.
Using my Cricut Expression, I cut 3 slices of grass at 1.5″ (1 for the inside) from the Everyday Paper Dolls cartridge. I cut each side edge straight before covering the bottom edge of each square of sky.
The turtles are from the Walk in My Garden cartridge, 1.5″ each and I cut 4. (I realized too late that I only needed 3 turtles, since I planned to cut one in half.)
I placed the turtles as you see in the picture.
For my card, I used 3 different shades of green cardstock for the turtle and the grass, but you could use any colors you like for the turtle.
And finally on the front, the yellow cardstock in the corner of the bottom square is a preview of the inside.
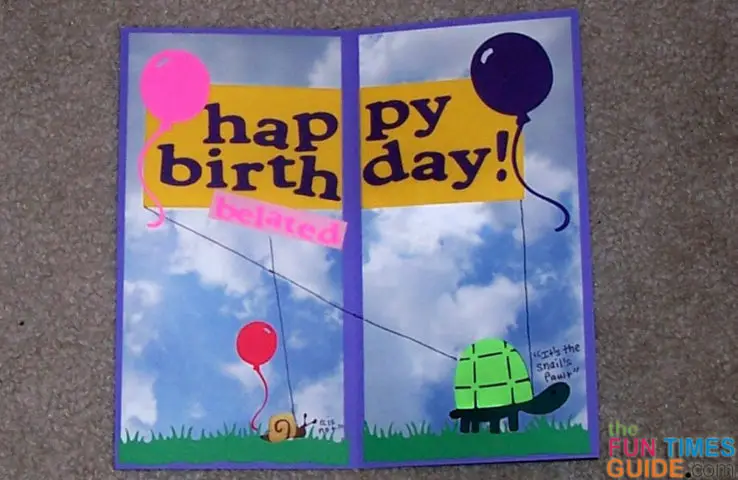
Making The Inside Of This Card
For the inside of the card, I used the rest of the 12×12 sky piece, cutting it into two 4″x8″ pieces.
I did it this way (in 2 pieces instead of one solid piece) because I often have trouble with the way a card folds if I glue one piece on top of another and then fold it.
I have also tried to glue the inside piece while it is folded (instead of open and flat), but it still pulls or pinches and does not fold properly. So I avoid that problem by leaving the fold with just the base paper.
Of course I may be biased, but I think it looks pretty good this way!
Must read: How To Know Which Craft Glue To Use When
The inside pieces are all cut from my Cricut:
- Balloons: Stretch Your Imagination cartridge – one at 3″ and one at 4″
- Snail: Walk in My Garden cartridge – 1/2″
- Happy Birthday letters: Plantin Schoolbook cartridge – roly poly 1″
- Belated letters: Plantin Schoolbook cartridge – roly poly 1/2″
I created banners for each set of letters and secured them to the sky.
Next, I added the turtle, snail, and balloons.
Using a Sharpie thin black marker, I drew the ropes for the banners, leading down to the snail and turtle. I wish I had used thread or something dimensional for the ropes, but I couldn’t figure out how to secure it to the paper with confidence. I’ll work on that for my next one!
And, finally, a bit of humor…”It’s the snail’s fault” says the turtle. “Is not” replies the snail.
I made the envelope from a 12×12 piece of paper with colorful stripes, using this method.
I plan to make several of these in different colors and sizes, for any future missed birthdays!


