If you are lucky enough to have your very own room to do your scrapbooking and stamping, then you are way ahead of the game when it comes to organizing.
Hopefully, you keep most of your supplies in your craft room — even if they aren’t organized. My problem is that my office is both my scrapbooking, stamping, beading, reading and writing area, and you can only imagine how difficult it is to keep all of that organized!
Still it is possible. Here are some fun tips to organize your craft room so you can actually spend more time creating, rather than thinking, “Oh, man what a mess!”
#1 First, draw a layout of your craft room including where your furniture is and where your computer equipment is.
#2 Next, plan how you want the room to look while looking at your room’s layout. Consider drawing a new layout that shows where you would like to put the different pieces of furniture, storage, and computer equipment.
#3 Make a list of all the different types of craft supplies you have. Be sure to include actual scrapbooks and stamping crafts that you’ve completed which still reside in the room.
#4 Get several boxes and begin sorting all your craft supplies into different boxes. For example, you might put your cardstock in one box, your embellishments in another, your stamps in another, and your ink pads in yet another, and so on. The idea is to get all your supplies sorted so that you can then organize them effectively.
#5 Take note of the organizational supplies that you already have and how they could be used to organize your supplies. If you are short on storage items, then make a list of what you think you are going to need. Then go out and purchase it — or create it if you are one of those crafty people that can take a plastic crate and make it into a filing cabinet! At the very least, you’ll need something to store your papers, stickers and other paper products in, plus another for embellishments, and another for stamps and ink pads.
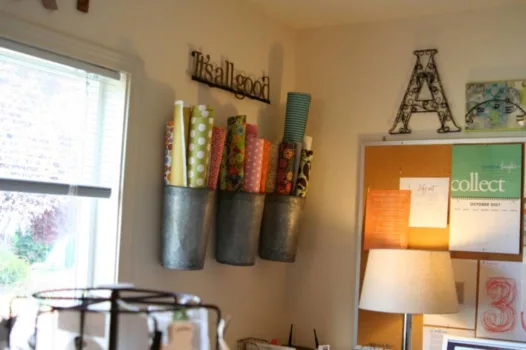
#6 Consider shelving and other storage items that can be hung on the walls in your craft room. This will help to get all of that clutter off the floor!
#7 When organizing your craft room, keep the items that you use most closest to your workspace and the items that you use the least farther away from your workspace. That way, when you’re ready to work you will be able to easily access those things you like to use to create your projects without having to dig for them in another part of the room.
#8 Once you have all your storage items at hand and you’ve sorted all your supplies into boxes, begin putting things away in their proper storage areas. Shelves or a filing cabinet for your papers are a good idea, glass storage jars for embellishments like buttons and sequins work well also. It’s a good idea to have a bookcase to keep boxes of photos and your scrapbooks in one place. Be sure to store your scrapbooks vertically to protect the photos and papers inside.
#9 It’s a good idea to label each storage area with what’s inside, so you can keep track of what you have and where it resides permanently. This goes for those picture boxes too where you keep the photos you want to use in future scrapbook pages.
#10 Need a place for inspiration when you’re scrapbooking or stamping? Post your favorite scrapbook pages or stamping ideas on a bulletin board above your desk. That’s a great resource for ideas when you’re stumped.
#11 Finally, having a box or other container to put new stuff in is a good idea. Then when you have time, you can put things away where they go. One the easiest ways to get disorganized again is to leave new stuff lying around without putting it away. That actually goes for the supplies you use as well, putting all but what you absolutely must keep out if you aren’t finished is a good way to help yourself stay organized.
With all these ideas, you can organize your scrapbook or stamping room quickly and easily. It’s really not that difficult, it just takes a little time and perseverance. And after you do it, you’ll wonder how you went so long without having an organized craft space!


