 When my mother retired after 38 years of teaching elementary school, my siblings and I asked her how she wanted to celebrate. She gave us some gift suggestions, and she made it very clear she did not wish to have any kind of a party.
I knew that her friends would want some way to commemorate the occasion, so I decided to make secret scrapbook for her. I had never made a scrapbook before, but I had seen many that were made by friends and in stores.
My best resource was my friend Lynnette and watching her scrapbook over the years. Also, I was comfortable with paper crafts and cardmaking, so I thought this would be a fun project — and it was. The hardest part was hoping no one would give away the secret!
Albums & Page Sizes
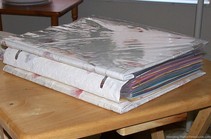
I knew I needed an album where I could add as many pages as I wanted, rather than one with bound pages.
I also wanted plastic page protectors.
So I browsed the aisles of Michael’s and Hobby Lobby and decided on a post-bound album.
Each set of additional top-loading page protectors comes with screw extenders, so I knew album size would be no problem.
I decided to use 8.5×11 pages (instead of 12×12), thinking it would be easier to have smaller pages, being my first scrapbook.
However, once I started working on this album, I wished I had used 12×12 pages. It was very challenging to fit things onto the 8.5×11 size pages — especially when I wanted to add pictures or embellishments to smaller papers. Now I realize that some blank space on a 12×12 would have been no big deal!
Inviting Others To Participate In The Retirement Scrapbook
Content for this album was a combination of pictures and school memorabilia my mom has collected over the years and things we collected from her friends.
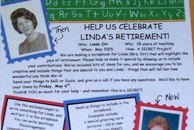
Several months before her last teaching day, I sent an invitation to everyone she knows, asking them to secretly send in something for the scrapbook:
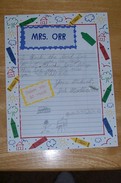
This became one of the first pages in her retirement scrapbook.
IMPORTANT: If you invite others to participate like this, be sure to indicate what size the scrapbook will be. I forgot to do that and several people had to call and ask since they wanted to make their own page.
I knew that some people were scrapbookers and would know exactly what I was asking for, and many others would have no idea. Since we wanted to have as many contributions as we could get, I had to make it as easy as possible for everyone.
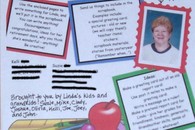
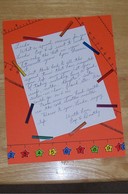
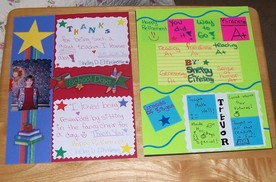
Along with the invitations, I sent blank sheets of paper for people to write on and mail back. I then took those papers and added them to 8.5×11 paper along with embellishments like stickers and colored paper:
Filling The Pages Of A Retirement Scrapbook
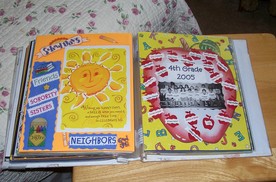
I created several pages with pictures of mom throughout her teaching years (see above) and another page with the newspaper article about her retirement (gotta love small towns!).
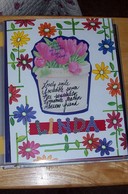
Some of the pages sent by very talented scrappers were able to be used exactly as they sent them — I just slipped them into the page protector:
One of them was a letter from a special friend. I happened to have a picture of my mom with that friend, so I put the letter and picture on the same scrapbook page with some colored paper.
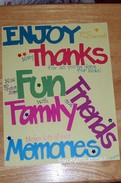
Some of the pages my mom appreciated the most were sent in by her former and current students. I was able to include those exactly as they were submitted:
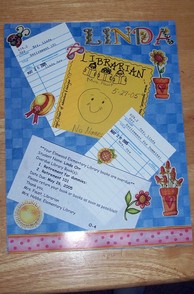
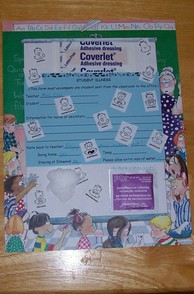
The school librarian and school nurse each created unique pages:
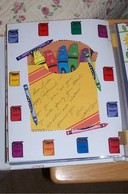
A couple of very creative teachers use old school supplies to create their scrapbook pages for my mom’s retirement scrapbook. Those pages included a report card and a math assignment. One teacher even created a page to look like a chalkboard, and one niece drew a special page.
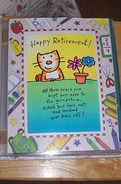
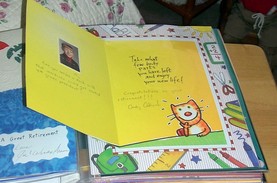
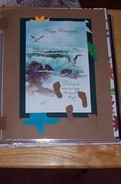
Several people sent greeting cards, and I wanted to find a way to display them where mom would not have to take them out of the protector to actually open them.
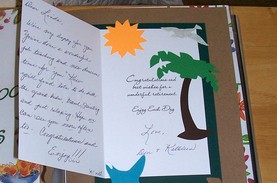
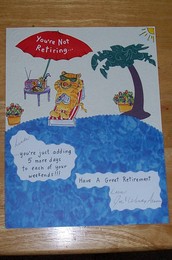 I had fun with this and found 2 “scrapbooky” ways to do it. For example, this card has a beach theme, so I created a page of water and sky and cut out all the elements of the card. Adding a stencil palm tree, I made a little scene using the front and inside of the card. I love it and thought it was cute!
I did worry that the sender of the card might not be happy that I totally cut apart their lovely card, so my second method preserves the actual card…
I glued the card onto the center of 8.5×11 paper (you can use either patterned or plain paper). Then I slid the card into the plastic page protector and used a pencil to make the left edge of the card from top to bottom. Taking the card out, I put in a thick piece of cardboard. Then, using my craft knife (like an exacto knife), I cut the top layer of plastic — with the cardboard to protect the bottom layer. Removing the cardboard, I put the card back in, carefully sliding the card front through the slit.
Wah-lah! Now the card can be opened, closed and read without removing it from the retirement scrapbook. Yay! This card looked so cute on school-themed paper that it didn’t need anything else.
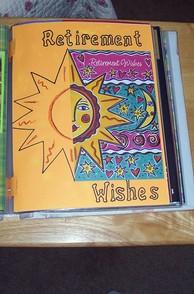
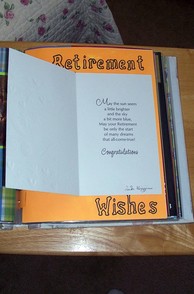
I got a little more creative with the next card. Looking at it now, I think I would have a little more fun with the great colors on the card, but the sun was fun and easy. I used stencils to copy the phrase on the front and let the inside speak for itself.
The next card was back to the beach, and I again used my stencils. I created “sandy” footprints to walk along the front of the card. Inside, I added the other features for some color that compliments the front of the card.
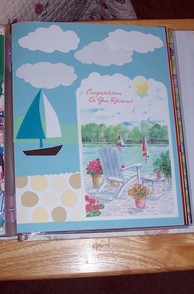
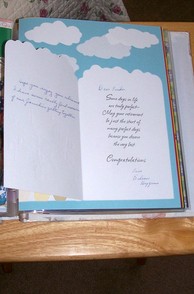
That was almost my favorite one, until I saw this card. I’m not really sure where the inspiration came from, but I really wanted to finish the rest of the scene on this card. I used the beach stencil one last time for the sailboat, and I free cut the rest. It is my favorite page of the the entire retirement scrapbook album! And I think mom likes it also.
I hope this album might inspire you to create one for the retiring teacher in your life. It could also be great as a year-end gift for a current teacher, perhaps sponsored by a talented class mom who is willing to be very hands-on with the project. Have fun with it — the possibilities are endless!


