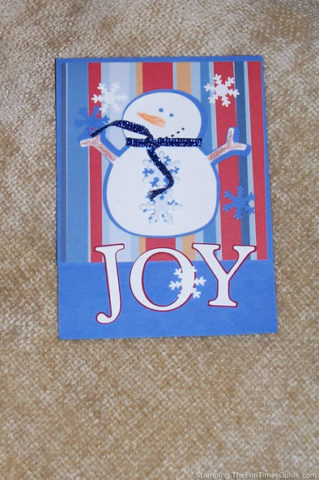
I made this Snowman Buddy card as my Christmas card last year.
It’s never too early to start thinking about Christmas, so I wanted to share this fun idea with you now.
I will be estimating card and paper sizes from what I recall using…
Paper & Envelopes
I had several shades of blue cardstock and patterned paper (8.5×11) with stripes or stars or other designs with complimentary blue colors.
Each card was created with part of one blue cardstock sheet and one patterned sheet. The cardstock was the base, and a small rectangle of the patterned paper was added to the front.
The rest of the patterned paper was made into an envelope for a nicely coordinated look.
The Details…
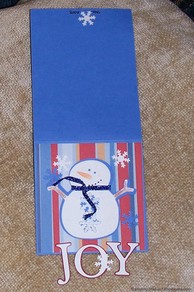
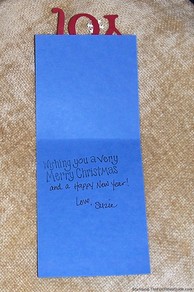
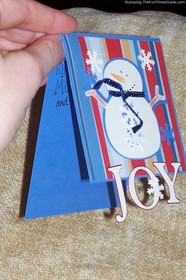 The base card was about 4×10, folded from the top down so that about 2 inches remained showing.
The patterend paper was then added (with double sided tape) to the front panel, leaving a small border all the way around.
The word JOY was cut from white cardstock on my Cricut Expression machine at about 1.5″ using the Plantin Schoolbook cartridge, and again using the “shadow” feature and a complimentary background color. Some of the backgrounds were red to match a stripe in the paper, as in my card. Others used white as a background and the base cardstock color as the letters JOY. The letters were attached to the top of the patterned paper by the very tippy top of the letters, so they would hang over onto the empty 2 inches that we left showing. I used my thin-tipped glue pen for that.
Must read: How To Know Which Craft Glue To Use When
The snowmen were cut with white cardstock from the Doodlecharms cartridge at about 3 inches, and again with the “shadow” feature using the same blue color as the base card color. The face and arms were colored with pencils and markers to detail the eyes, carrot nose, face and arm color.
I used very thin, wire ribbon to tie a scarf around each snowman, then double sticky taped the whole snowman to the patterned paper section.
Using a Marvy paper punch with a snowflake design, I punched white and blue snowflakes. Each snowman had been cut with 2 holes (for buttons) on his belly, and I glued a blue snowflake on top of each one. Then I used 2 white snowflake brads to punch through the blue snowflake and secur the brads by folding the metal parts under the white snowman. Then I used double sticky tape to secure the white snowman to the blue shadow snowman.
The last step was to scatter a few snowflakes on the card and secure. And voila! Your first Christmas card!

