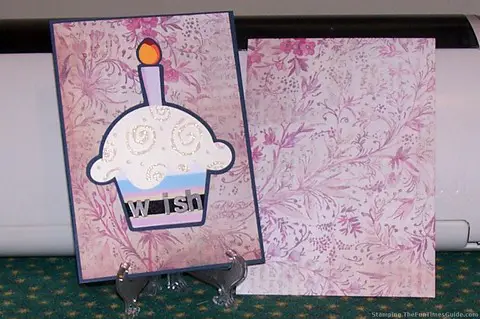
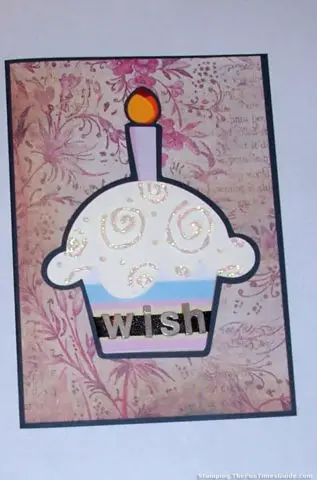
This birthday card was inspired by the dusty rose paper that forms the background and envelope.
It is a sheet from one of my DCWV paper stacks. It has wispy flowers, leaves, and words with an aged look — like a page that an old book of poetry might have.
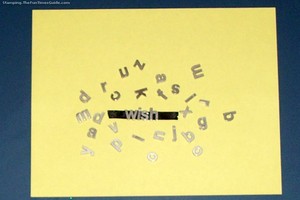 I thought this would be a good pairing for a word from my stash of metallic letters. (I’ve had them for a long time and no longer know the manufacturer.)
They are about a 1/2-inch tall, with a slit in the back.
It’s hard to tell from the card, but they slide along the dark blue ribbon, which has been glued to the back of the cupcake wrapping.
How To Make Birthday Card
- The card starts out as dark blue cardstock (5×7″ when folded).
- The dusty rose paper is cut slightly smaller to adhere to the front.
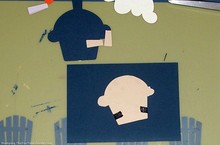
- The cupcake was cut on my Cricut Expression machine (Doodlecharms cartridge) at 5″. I cut it on light tan cardstock, along with one cut using the “blackout” feature.
- I glued the 2 papers together to give the card more stability since I would be adding the metal letters. (They are not especially heavy, but I didn’t want to take any chances of the ribbon detaching.)
- The Cricut makes it easy to create the embellishments for the cupcake. I used another sheet from the DCWV stack with pastel colors that complement the dusty rose paper for the wrapper and candle.
- The frosting is a piece of embossed paper, with raised swirls and stars. I added sparkle to it with Tulip Glitter (in crystal sparkle).
- The flame is made from red, orange and yellow scraps, and I wish I had shaped them to be a little more messy than this. (Maybe next time!)
- I found a scrap of dark blue ribbon exactly the size of the slit in the letters. Fortunately, I had the W-I-S-H letters!
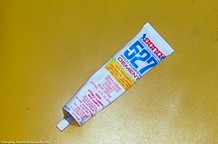
- I used a stronger adhesive than I normally use for paper — to make sure the letters would not come off. The glue is Bond 527 multi-purpose cement. It’s actually much stronger than I probably needed for this project, but I use it for all my non-paper crafts. It is especially good to glue metal-on-metal or metal-on-wood. So I glued the ends of the ribbon to the back of the cupcake.
- After decorating the cupcake, I glued it to a dark blue “shadow” cut from the Cricut, then glued it onto the card front.
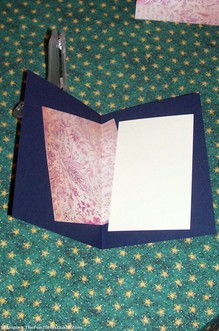
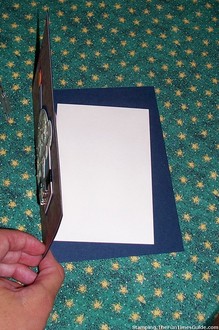
- Inside the card, I added a square of the dusty rose paper, crossing it over the middle fold, with a cream rectangle for my written sentiment.
I don’t have any W-I-S-H letters remaining, but I plan to make this card again just using regular letters or stickers — and you can too!
Must read: How To Know Which Craft Glue To Use When

