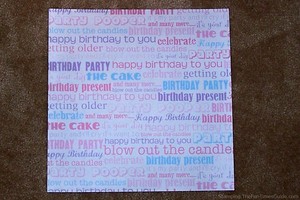
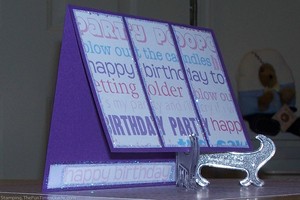
 This is a nice and easy birthday card, based on a 12″x12″ sheet of birthday paper from a DCWV paper stack.
The great thing about those value packs of paper is that each sheet is in there 3 times, giving you the option of creating several cards using the same design. This is great for making invitations or thank you cards.
I started this card with 8.5″x11″ purple cardstock folded in half.
My plan was to cut a large section of the birthday paper into panels for the top and to use one line of “happy birthday” from the card as the message at the bottom.
I started with the message…
First, The Message
Once I chose the “happy birthday” I wanted, I used light purple cardstock to create a border behind it.
I centered it vertically on a 8.5″ piece, with about 1/8″ border on top and bottom.
I left all the length until I determined exactly how wide the base card would be.
I centered the message on the INSIDE of the card, 1/8″ from the bottom. So that the message would show, I cut off the bottom edge of the FRONT of the card, letting 1/8″ of the dark purple show above the message.
Next, The Panels
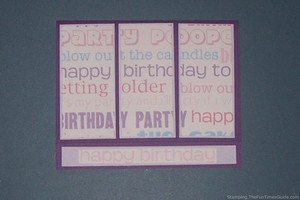
I wanted the top panels to be as wide as possible, with 3 or 4 panels on the card. Each panel of birthday paper is centered on a panel of light purple cardstock. I thought 2 inches would be good, so I cut a 2″strip of scrap paper and used that to mark the card.
Since the base card is 8.5″ across, I could fit four 2-inch panels, but that didn’t leave enough room for a border in between each panel. So I decided to use three 2-inch panels. I cut the light purple panels (2″x4.25″) and then 3 panels of the birthday paper, making sure the light purple showed as a very small border all the way around.
After securing the papers together (with my Tombo Mono permanent adhesive double-sided tape), I placed them onto the base card with equal borders all the way around and in between each panel.
Finally, Some Added Pizaaz
Truthfully, this was how I intended the card to be when I started making it, just like this. But it needed a little something more.
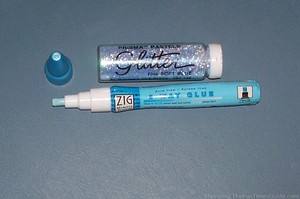
Searching through my stash of embellishments, I came across some glitter (Prisma Pastels Glitter in fine soft blue). It was perfect!
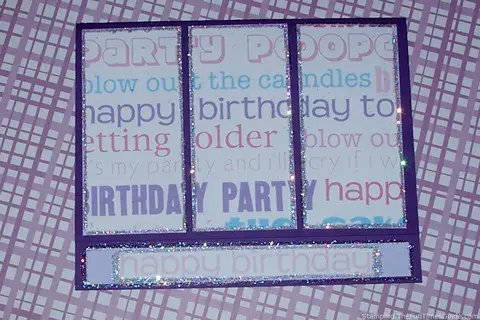
Using Zig Memory System 2-way glue with a chisel tip, I ran glue around all the edges and covered them with glitter.
I haven’t worked with glitter for a long time, and forgot how messy it can be! But I love the effect and will keep it close at hand for other projects. And if you don’t have glitter among your craft supplies, check out your Christmas decorations — maybe you have some leftover glitter from stockings!
Then, I found a complimentary piece of purple paper to use as an envelope and made it like this.
Go glitter!

