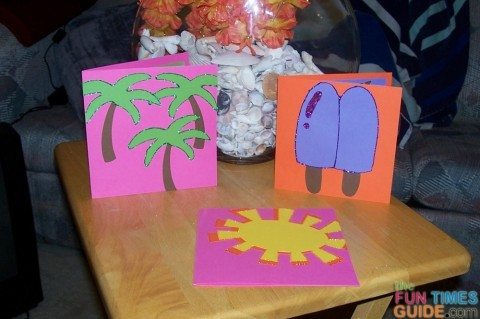
These 3 colorful sparkle cards are super easy to make.
I used images cut from my Cricut Expression and Stickles glitter glue in primary colors.
I used them as Birthday cards, but you could use any sentiment on the inside (Happy Summer, Get Well Soon, Thinking of You), or even leave the inside blank.
See how I made each of these fun sparkle cards…
First, The Paper
All of the paper is 12″x12″ or 8.5″x11″ Recollections cardstock.
I wanted the cards to be very colorful, so I purposely chose bright paper, using colors that I might not normally put together.
Each card has 3 colors, and I used the extra paper from each image for the inside of the card.
All of the images are cut from the Doodlecharms cartridge.
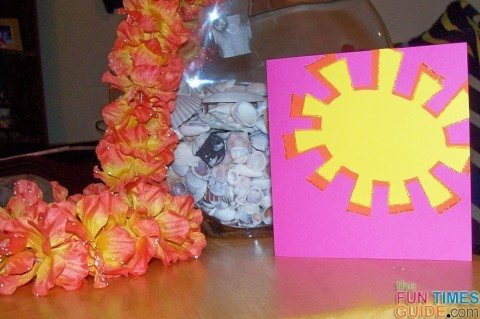
Card #1: Sun
The base 6″ square hot pink cardstock.
The orange sun is 5″ and the yellow sun is 4.5″.
I used random sizes of leftover orange (4″x5.5″) and yellow (2.5″x5.5″)paper for the inside — mostly so there would be some extra thickness there.
The sentiment “Happy Birthday” is cut from the Plantin Schoolbook cartridge 1.25″ on the Roly Poly setting.
View the inside of this glittery Sun card here.
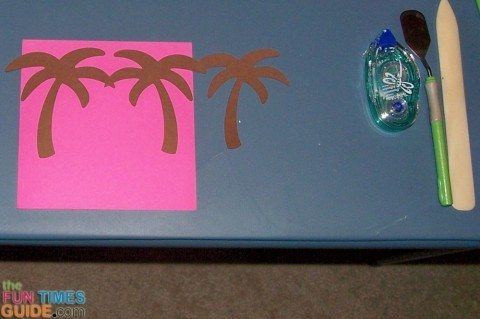
Card #2: Palm Trees
The base is 6″ square hot pink cardstock.
The palm trees are 4″ brown using the border setting, and the leaves are 4.5″ green on the same setting.
The inside green piece is 5″x4″.
The sentiment “Birthday Wishes” is cut from the Lyrical Letters cartridge in brown at 3″.
View the inside of this sparkly Palm Trees card here.
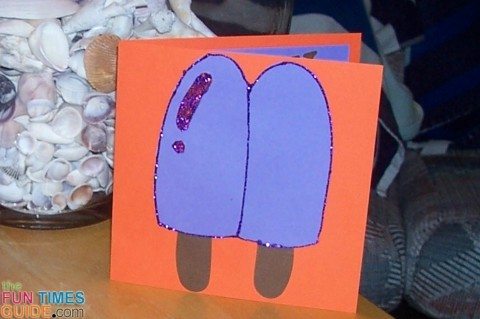
Card #3: Popsicle
The base is 5.5″ square bright orange cardstock.
The popsicle is 5.5″ purple; cut at that size again in brown for the handles.
The inside purple pieces are 5″x3″, 3.5″x1.5″ and 3.1″.
The letters are cut using the Plantin Schoolbook cartridge 1.25″ on the Roly Poly setting in brown.
Each image is outlined in a matching color of Stickles glitter.
The palm tree leaves and popsicle are full outlined, while the sun is only outlined on the rays, with the orange just on the ray’s edge.
The glitter needs several hours to fully dry before the card can be placed in the envelope.
View the inside of this fun sparkly Popsicle card here.
How To Make Matching Envelopes
The envelopes were made using this method.
The Sun and Palm Tree cards need a full piece of 12″x12″ cardstock, placing a corner at the top of the card and folding it around the card.
You can see on the Sun card that I needed to add 2 slim pieces of orange paper — because when I folded it down, it did not meet the other edges of the card. This was very easy to do and could be done for any larger-sized envelope, or anytime you just want to add a pop of color.
Must read: How To Know Which Craft Glue To Use When
I hope you enjoy making these fun sparkly cards!

