Teachers Valentines Gifts
It seems like we just finished Christmas and Valentine’s Day is already fast approaching!
I wanted to think of fun (and useful!) DIY Valentine gifts for all the teachers in my son’s Parents Day Out program.
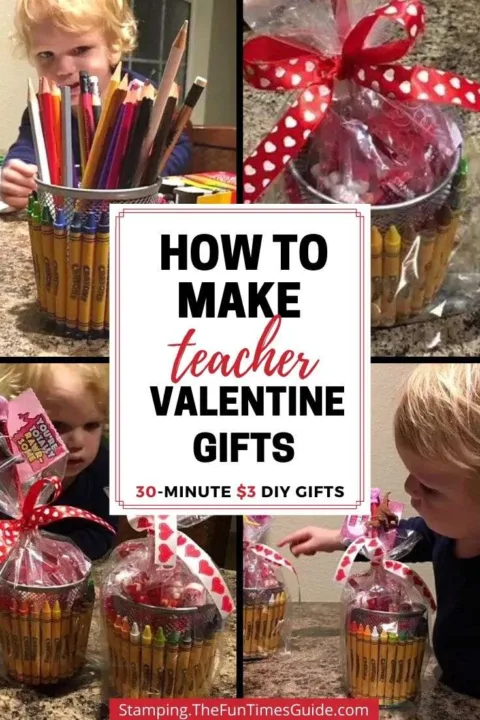
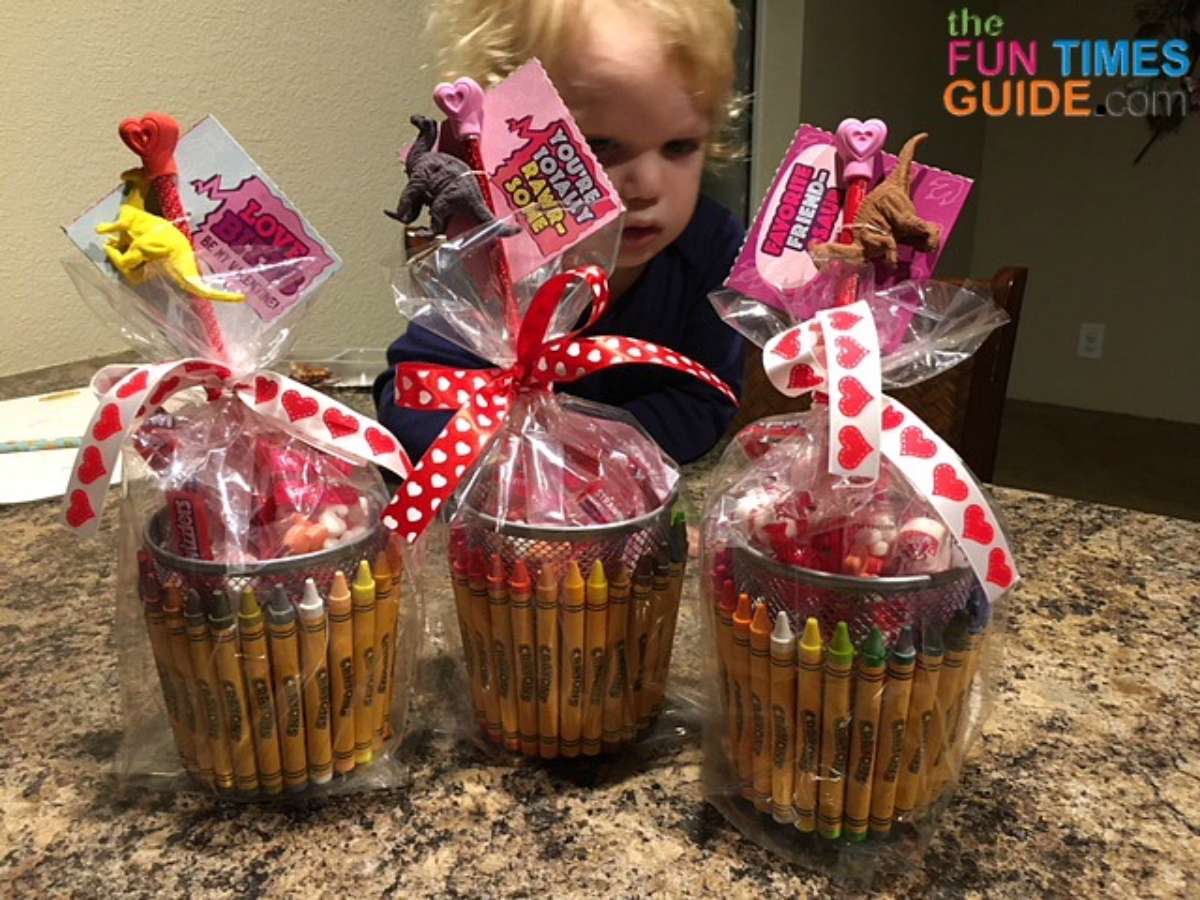
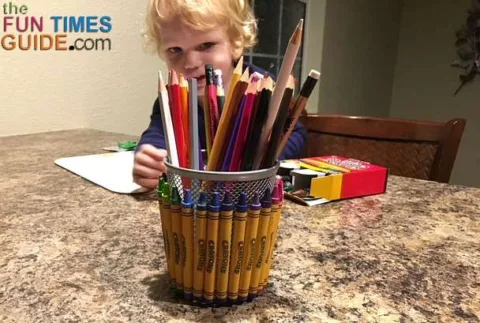
I saw a clever crayon idea on Pinterest and decided to add my own little spin to create a Valentine’s gift candy basket for teachers… which also works as a desk pencil holder once all the candy is gone!
I needed to create 10 (because my son has a lot of teachers) — so I gave myself a budget of $30, which worked out to $3 per teacher gift basket.
These DIY teacher Valentine gifts were fun and easy to make!
Here’s how I did it…
Materials Needed
These are the supplies I used to create 10 DIY teachers Valentines gifts:
- 10 wire mesh pencil holders
- 6 boxes of 48 crayons (these no-name crayons are slightly smaller than the Crayola brand)
- Modeling clay (already had)
- Glue gun (already had)
- Glue sticks (already had)
- 1 package Valentine pencils
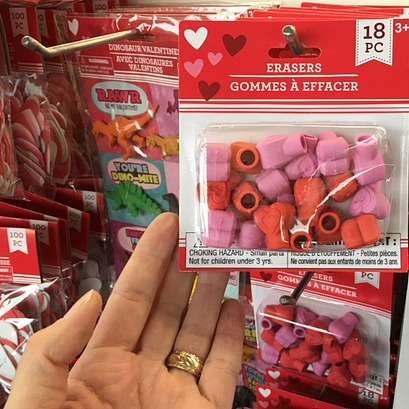
- 1 package of Valentine-themed pencil tip heart erasers
- 2 packages of 6 Valentine dinosaur cards (similar to these and these)
- Clear cellophane loot bags
- 2 rolls of Valentine ribbon (anything red, white, and/or with hearts)
- 1 nickel from our spare change jar (to create spacing between crayons)
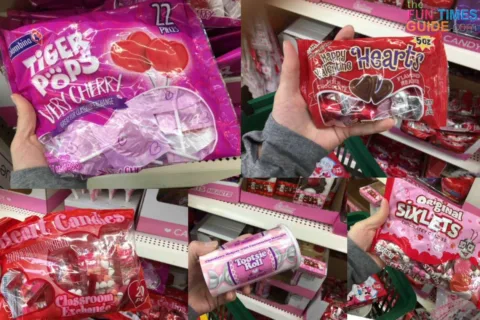
- Assorted Valentine candy (basically any candy that is red, white, or pink)
How To Make Simple DIY Teacher Valentine Gifts
First, I went to the Dollar Tree store — so I could stay within my $30 budget to make 10 DIY teacher Valentine gifts. Dollar stores are great places to get inspiration for any special occasion. With everything $1 or less, it’s the only store where you know exactly what everything costs!
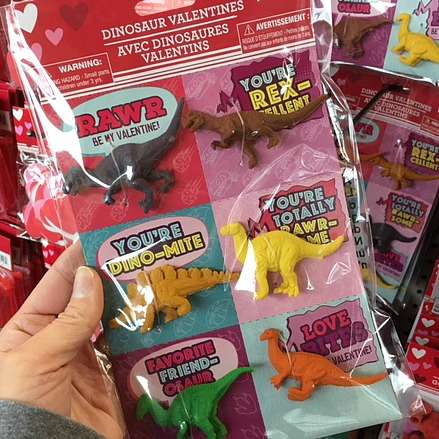
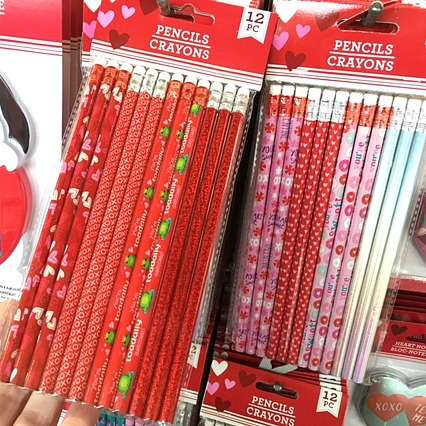
Once I had all of my supplies and was ready to work on the project, I plugged in the glue gun to get the glue hot.
These are the steps I used to create each teacher gift basket, one at a time:
STEP #1 – I started by dividing up the candy into 10 wire mesh pencil holders. Then, I emptied the candy out of one of the pencil holders into a separate dish — so I could start the process of gluing the crayons.
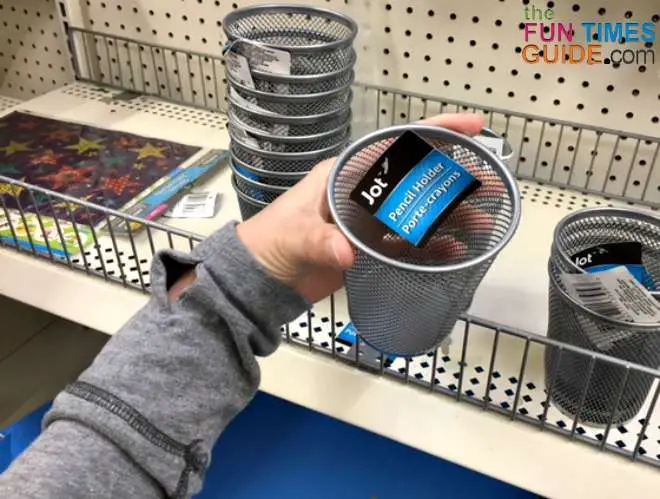
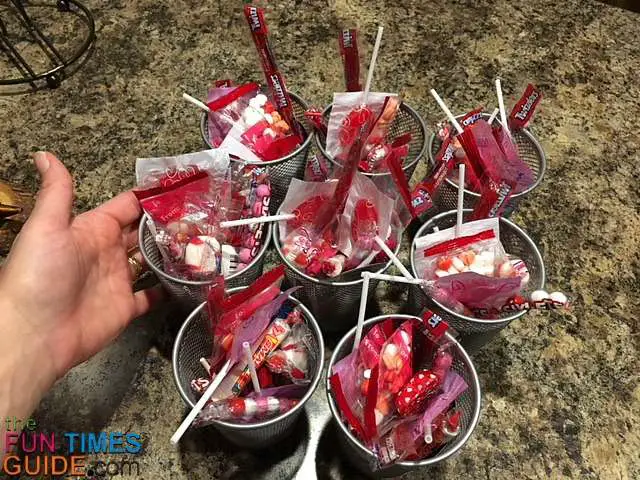
STEP #2 – I organized 28 crayons from dark to light in a hue sequence — in the order to be placed around the perimeter of the wire mesh pencil holder.
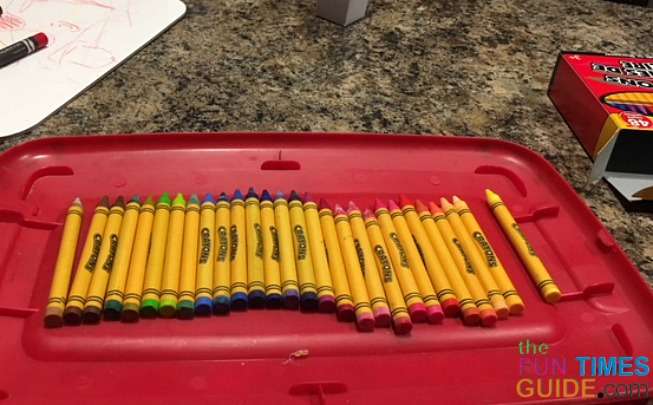
STEP #3 – I started with my first crayon in the order line-up (according to hue) and added glue to the back seam — so the crayon logo would be visible. I held the crayon in place until it set securely onto the metal mesh.
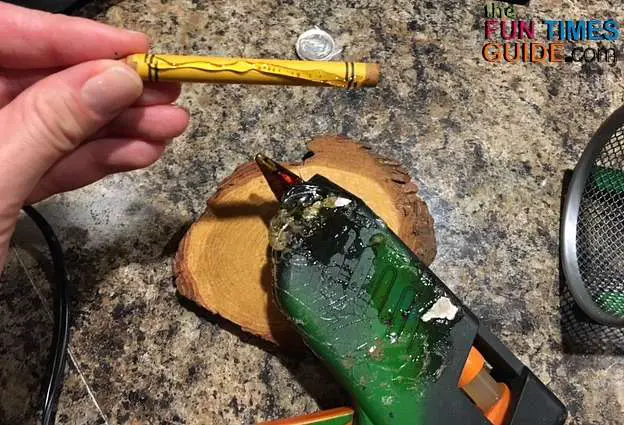
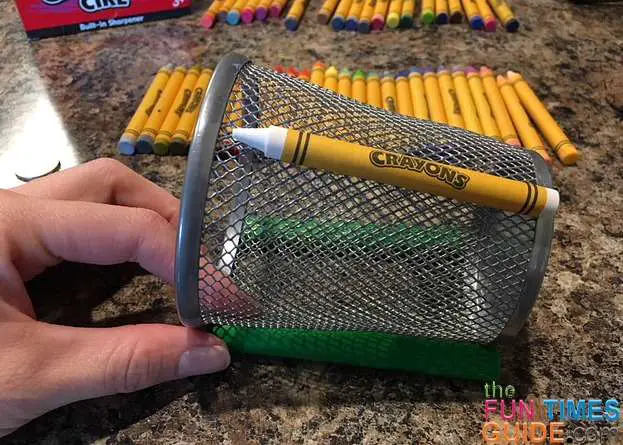
TIP: The easiest way to secure the wire mesh pencil holder on its side is by using a couple rolls of modeling clay underneath. The clay keeps the pencil holder from rolling while you’re gluing the crayons in place!
STEP #4 – Then, I moved on to the next crayon — adding glue to the back, and lining up the crayon base with the bottom metal base ring again. This time, I used a nickel as a spacer between the top of the 2 crayons (as seen in photo) — because the wire mesh pencil holder is wider at the top and not a true cylinder shape. A nickel is the perfect spacer!

TIP: It’s important to not place the crayons too tightly to each other at the base — or there will be too much of a gap once you get to the 28th crayon. (The gap won’t be big enough for a 29th crayon.) I used a penny to create the same approximate gap of spacing between each crayon.
STEP #5 – As I added crayons, I continued to rotate the curved top of the pencil holder and adjust the modeling clay — to continue holding it in place.
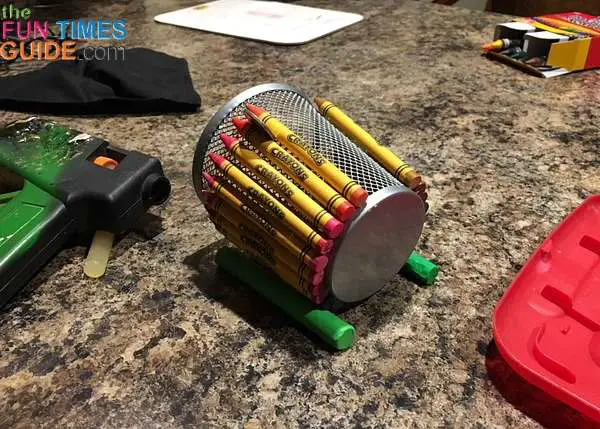
STEP #6 – I kept repeating the process of rotating, spacing, and gluing until all 28 crayons covered the perimeter of the wire mesh pencil holder.
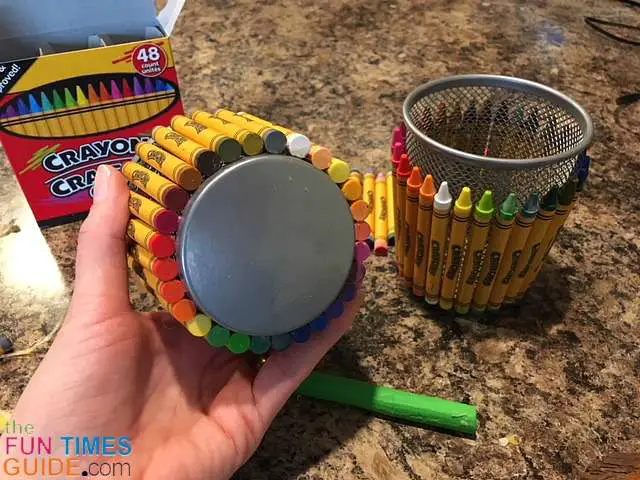
TIP: You can see that I lined up the bottom of each crayon with the bottom metal base ring of the pencil holder, following the grid lines up — as seen here.
STEP #7 – Then, I re-filled the completed crayon/pencil holder basket with the Valentine’s candy.
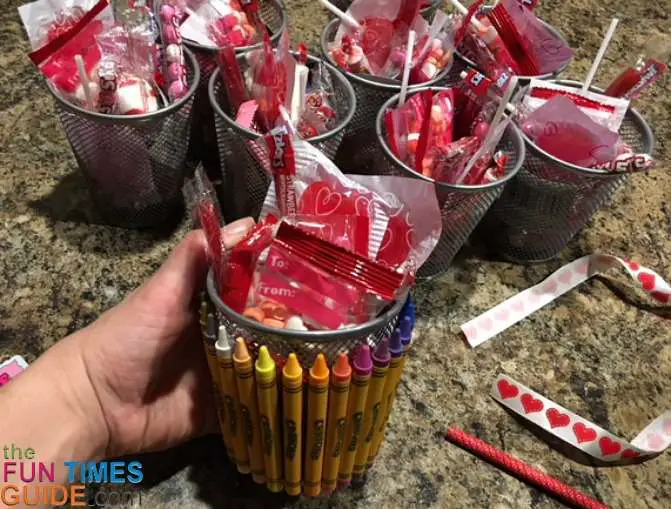

STEP #8 – I placed the crayon-covered pencil holder filled with the Valentine treats into a clear cellophane loot bag.

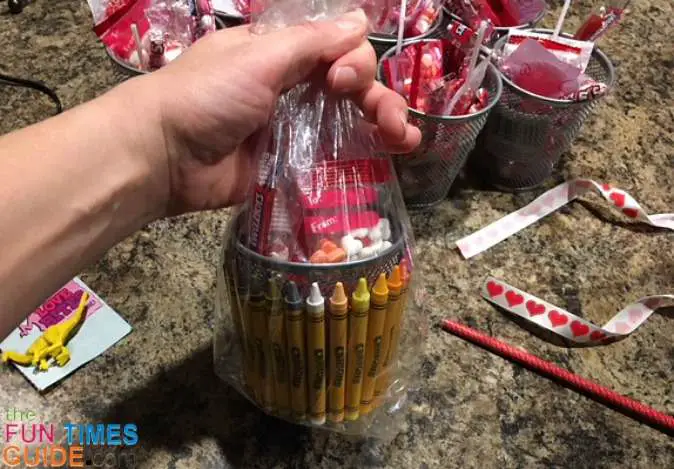
STEP #9 – I cut a length of Valentine ribbon and tied a bow — leaving a small hole for the pencil to be placed.
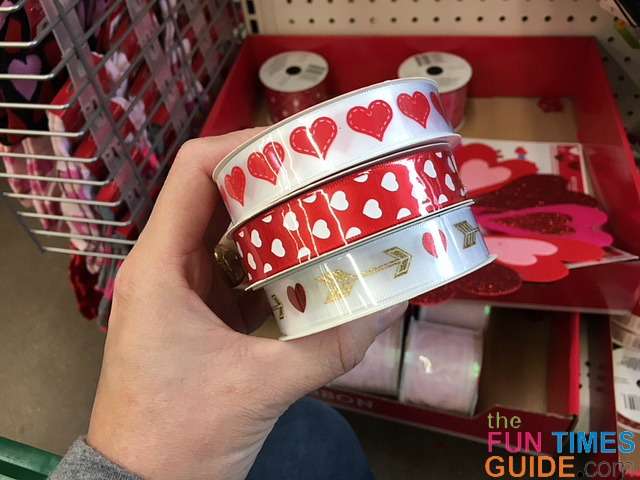

STEP #10 – Next, I inserted the eraser end of the pencil into the loop which holds the dinosaur in place on the dinosaur Valentine card — and placed the heart-shaped eraser tip onto the eraser end of the pencil.
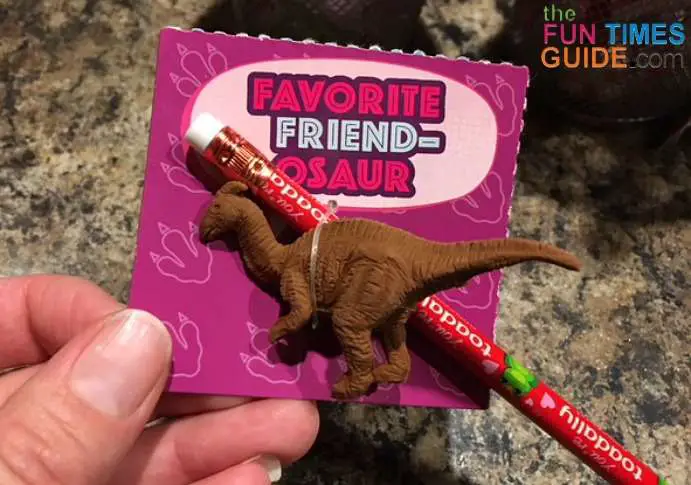

STEP #11 – Finally, I inserted the pencil into the finished teacher gift basket via the small hole at the ribbon knot — leaving the Dino Valentine card and heart eraser exposed.
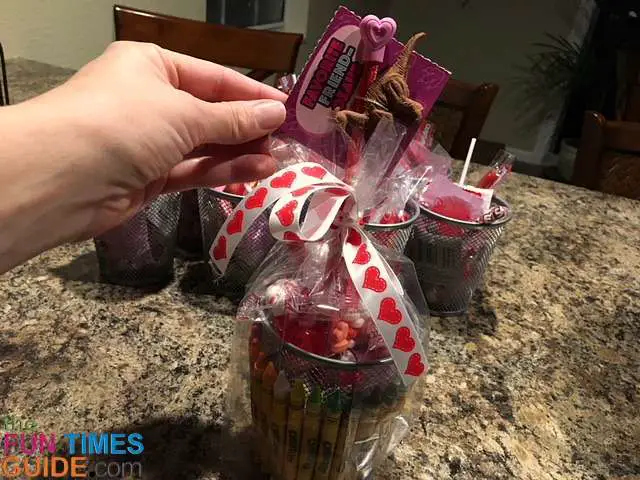

The Bottom Line…
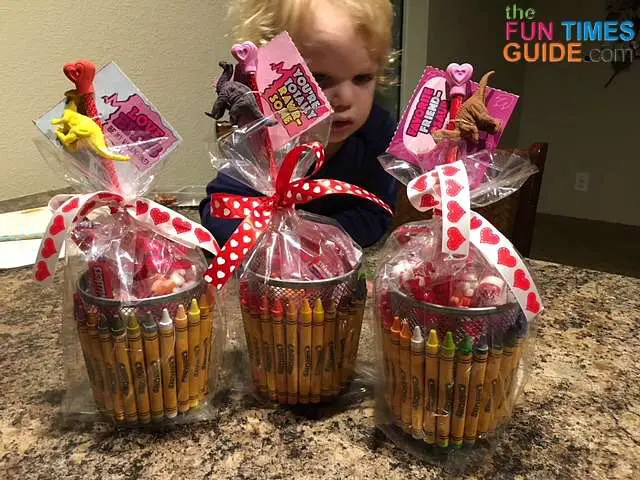
I love how these DIY teacher Valentine gifts turned out!
Each teacher gift basket includes 1 little dinosaur that’s attached to a dinosaur-themed Valentine message — which I think adds a cute, boy touch and worked out perfect as a gift coming from my son.
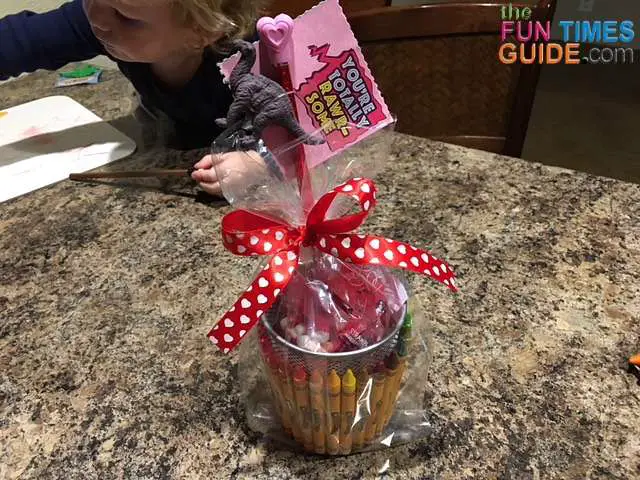
I think these DIY Valentine gifts would be super cute for anyone with a desk job — if the gift is intended to come from a kid.
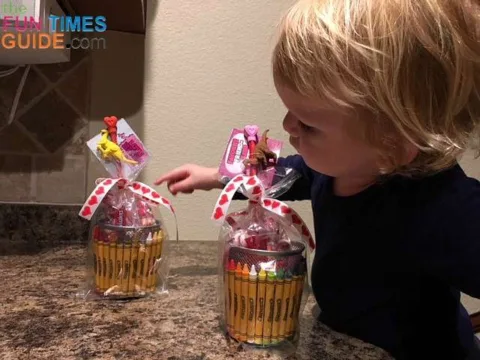
I used to loathe the constant commercialism and bombardment of all the holidays. But now that I’m older with an almost 2-year-old son, I can start to appreciate the purpose of these celebrations again.
It seems to me that life has become one big hurry. I mean… we’ve already returned back to the reality of our everyday lives with the blur of the Christmas whirlwind behind us and the fresh start of the New Year.
But I like that Valentine’s Day is another chance to tell the special people in our lives how much we appreciate them — or at least that we spent some time thinking about them with a thoughtful gesture.
Since my son has started a Parents Day Out program (one day a week), I get a few hours of toddler-free time to do whatever my little heart desires. And it’s important for me to let his teachers know how much I appreciate them for taking such good care of my son.
I hope you enjoyed this handmade teacher gift basket tutorial. Happy Valentine’s Day!
Like this post? Save it to read again later… or share with others on Pinterest:
