For this Mother’s Day card (which could also be used as a Birthday card), I used up some star-shaped letter embellishments that I have been wanting to use.
Mine are made of a thin silver metal with a hole punched in it for an eyelet. They came in a kit complete with 100 silver stars and 100 silver eyelets.
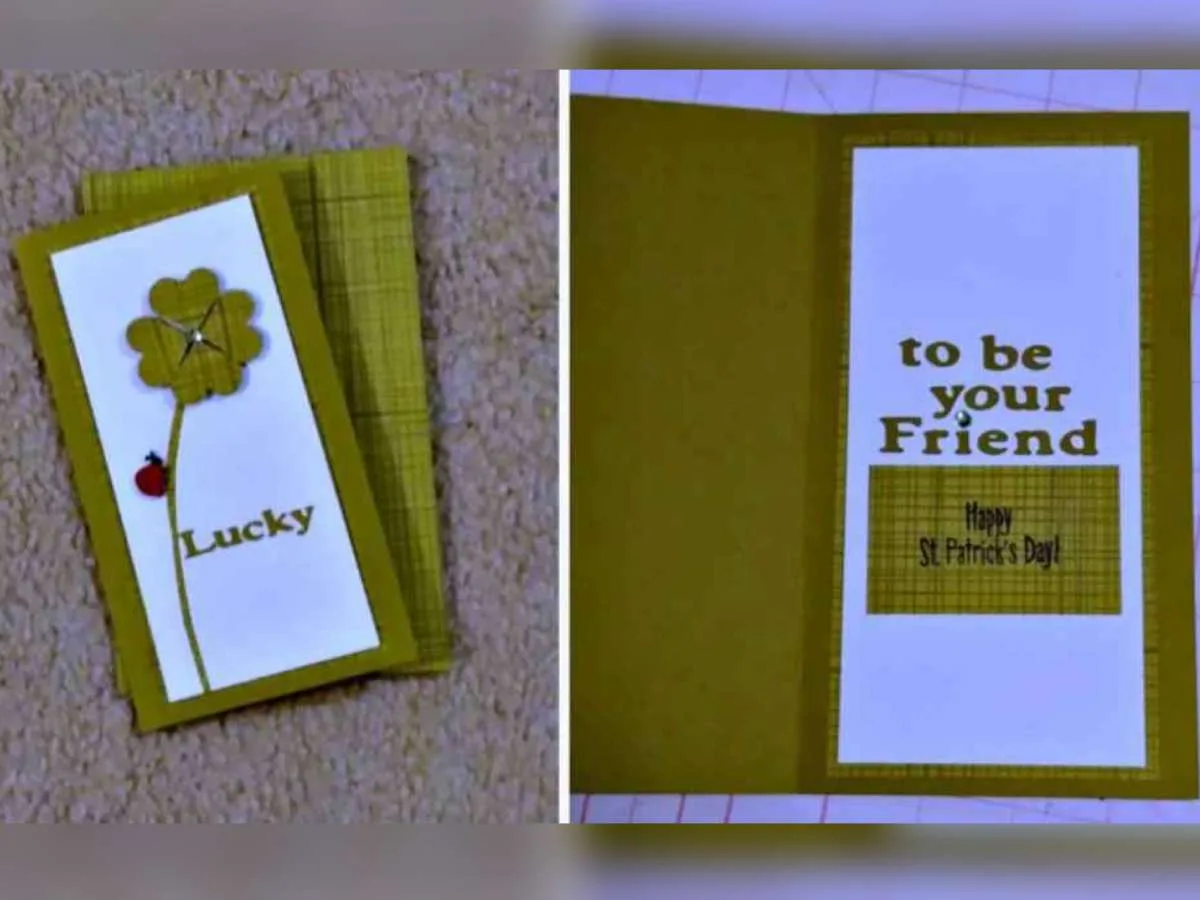
You can achieve the same effect with a star punch and letter stickers — which might actually be better, because you can make paper stars especially to match your project.


Using Ribbon On Cards
This Mother’s Day card also uses a small amount of thin blue ribbon.
You can use any scrap ribbon that you already have, purchase a length of ribbon specifically to match your project, or purchase a Ribbon Scrap Pack or a Ribbon Value Pack. (I have the Scrap Pack, and the ribbons appear to be the exact ones pictured.)

I haven’t used ribbon on my cards before, so I also got a Ribbon Glue.
I was hoping it would be some sort of magic, special just-for-ribbons glue, but it is really just an ordinary, clear, liquid glue with a tiny tip.
I could have used an Elmers Memory Book Glue Pen, Aleene’s Fast Drying Glue Pen, or EK Success ZIG Dual Action Glue Pen that I already own.
Must read: How To Know Which Craft Glue To Use When
The Details Of This Card
I selected my background paper (from DCWV Spring Pack) with stars on it as well as 3 colors of complimentary cardstock paper. I used one color of cardstock paper for the card base, and the other 2 (blue and rust) for the letters M O M.
Instead of the silver eyelets from the kit, I used matching colors from my own supply like these. Using the hammer, eyelet setter and setting mat from the Making Memory Tool Kit, I secured each star to a small square of the cardstock. Then I cut around the shape of the star — leaving about 1/4″ of color showing — and glued these to my background paper (2-1/2″ x 5″). When using the tools to set eyelets, be sure to do your work on a very solid surface. (For example, NOT a card table!)
If you are making your own stars, use the punch to make one star for each color you want to use.
Use the letter stickers to spell “MOM”, or actually spell out your mother’s name. You can adhere the stars directly onto the background paper, or you can punch a hole and use eyelets. If you want to use eyelets, first decide where (on your star) the hole should be and use a pencil to make a dot. The Took Kit has a paper piercer that you place over the dot and whack with the hammer (again, on a solid surface). This will create the hole, and you can then use the eyelets to secure the stars to the background paper.

You could also skip the star shape completely and simply put your stickers onto the background paper.
The base of the card is olive green cardstock, 10-3/4″ x 5″, folded in the middle to open from the right (like a book). Adhere the background paper with your attached stars to the top of the card front. Cut another strip of background paper to be 5″ x 1″ and adhere to the bottom of the card. Cut a 5-1/2″ length of blue ribbon and glue it to the center of the open space. Use 1-1/2″ length of ribbon to fold a knot and glue to the blue ribbon anywhere you like. You will need to let this set for awhile with a heavy object on top of the knot. (I used the Making Memory Tool Kit.)
For the sentiment on the inside of the card, I used my Cricut Expression machine. Using the Lyricle Letters cartridge, I cut “You’re the best!” at 3″ in the rust cardstock paper. I made an envelope with the rest of the background paper using this method.
You can use any combination of paper, stickers, eyelets, and shaped punches to create unique cards each time. Have fun!