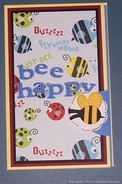
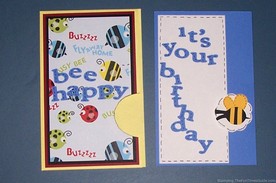
This is a new card style for me… it’s a pocket card with a pull-tab.
It’s now one of my favorite ways to make handmade cards!
I learned a lot while doing my first one, and the steps I describe will include measurements and such from that very first pocket card that I made. Be sure to read to the end where I will show a slightly revised pocket card with the recommended changes.
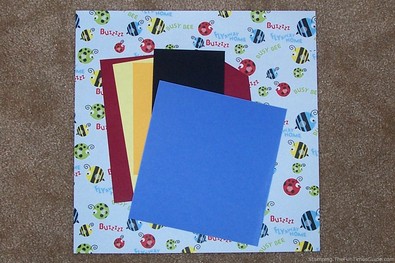
I started with a 12×12 paper with whimsical bees and lady bugs on it.
I also chose complimentary colors of cardstock to use.
I had planned to use the 12×12 as an envelope, so I would need at least 2 sheets. These came a from DCWV spring value pack, and there were actually 3 sheets.
Tips For Folding & Scoring
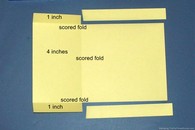
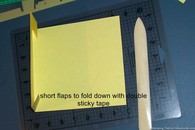
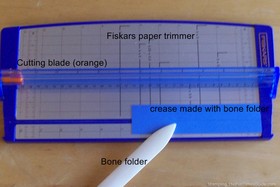 Light yellow 8-1/2×11 cardstock forms the base of this pocket card.
To make good folds, I scored the paper as indicated in the picture — using my Fiskars paper cutter and a bone folder. (It’s kind of difficult to see, but the crease starts at the bone folder’s tip and goes to the right.)
The paper cutter also has a scoring blade, but truthfully it’s easier with the bone folder. I also use the folder to make really sharp creases after a fold, especially on a card base. It looks more professional and helps it fit into an envelope easier.
Follow the photo to see where to cut along the scored lines. I used my Tombow Mono permanent adhesive tape to fully cover the short flaps and fold them down.
Making The Front Of The Card
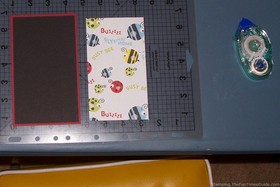 For the front of this pocket card, I cut a 3-1/4 x 5-3/4 rectangle from one sheet of my bee and ladybug paper, saving the other sheet for the matching envelope. (Keep in mind, the sheet has words on it, so make sure they face the right way before you cut!)
Then, I used red and black paper underneath, showing about 1/4-inch borders. Again, I used my favorite TOMBO adhesive tape to secure all these papers to each other and then to the card front.
Making The Pull-Tab
The next step is to make the blue pull-tab card for inside.
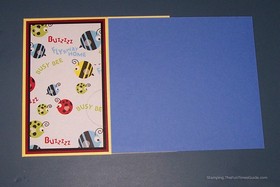 To be sure the rectangle card would fit inside the yellow base, I first started to tuck the blue sheet inside by the bottom corner, marking with a pencil where it hit the top part of the opening. Then I made the cut (it turned out to be 6-7/8").
I placed the whole blue sheet inside before cutting the width, because I wanted to finish everything else before I cut it. We’ll do that in a minute.
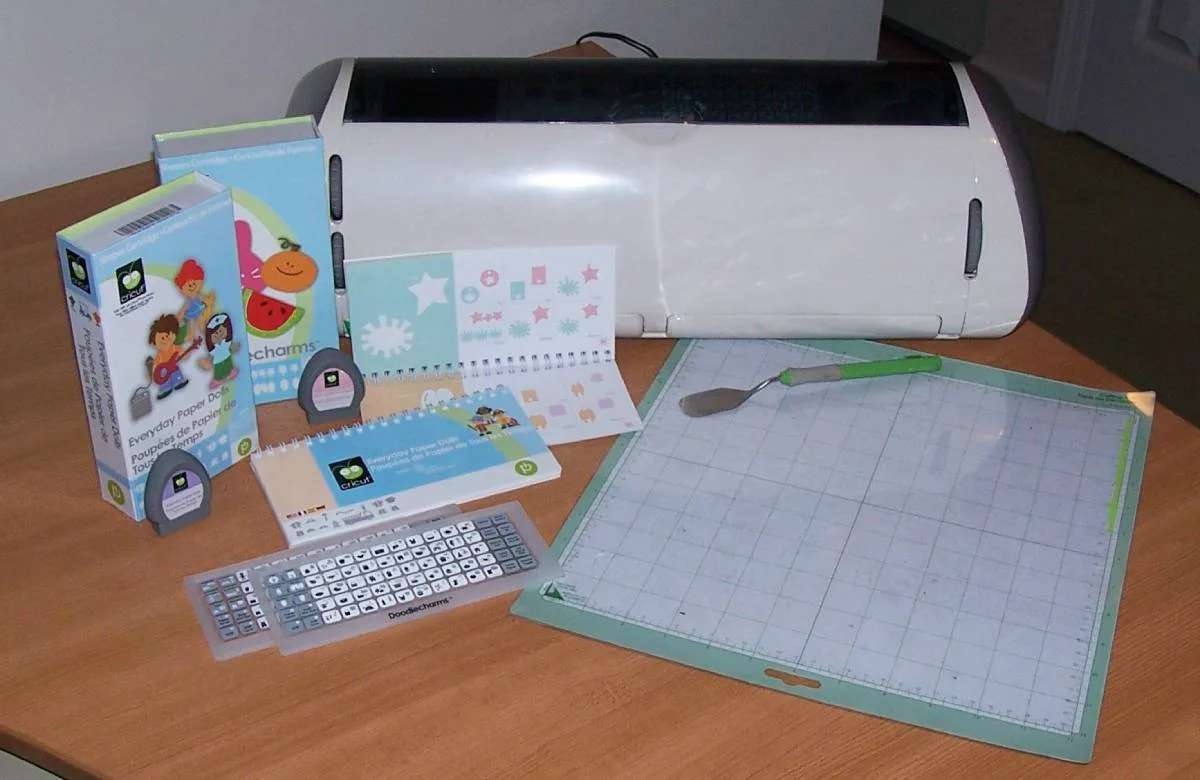
I used my Cricut Expression machine to make a cute bumble bee pull tab, from the Walking In My Garden cartridge. The pull tab itself is 1.25 inches. I used black and yellow paper scraps.
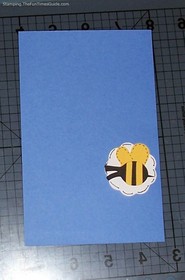 I popped on a white eye using Elmer’s Paint Pen (love these too). To add some bling to the wings, I added some Tulip Glitter Crystal Sparkles Paint from a bottle. It’s actually fabric paint, but I use this for lots of crafts, because it drys quickly and really does look like glittery crystal sparkles. Love it!
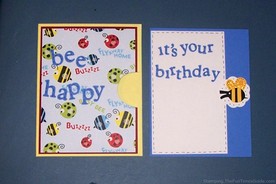
Using the Accent Essentials cartridge in the Cricut, I cut a white scalloped circle at 1.5 inches to adhere under the bee. This became the pull tab. Then, I used the Plantin Schoolbook cartridge to cut the letters for my message: Bee Happy (front) It’s Your Birthday (inside), using the same blue as the card.
I used the circle with the bee to determine the best spot on the front of the card to place the pulltab. I didn’t want it to cover any of the words, especially the bee.
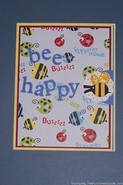
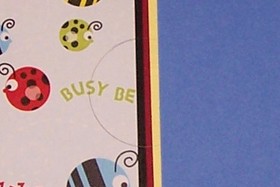 When I found the spot, I drew a partial circle around it (see picture). The idea is for the pull tab to be attached to the blue inner card and fit into the space cut out from the top card, overlapping it slightly. I taped only the right half of the bee, so there would be no tape to stick to the top of the card. Believe me, it’s easier than you’d think! (You can see this happening in the picture of the whole card.)
Once the hole is cut, and you confirm that the bee will indeed overlap the top card slightly, you can cut the rest of the blue card, so just the bare edge of blue shows under the yellow card. Then cut the bottom layer of yellow so there is a tiny layer of yellow under the blue card. Since you know where the hole is, you can now add the letters to the front of the card. I tried to make sure they didn’t cover any cute bees.
Then I worked on the inside card, adding a white card on top of the blue card, making sure it would not go beyond the bee and show on the front of the card. I drew the dash marks around the edge to add some dimension, then the blue letters. The word ‘birthday’ fits down the page. Once the blue card was finished, I tucked it into the yellow top card, and VOILA! The bee circle slightly overlapped the top card, just as I’d hoped!
You can also see it slightly overlaps the ‘y’ in happy, which I did not hope for! So I decided to make a 2nd pocket card of the same variety, with these improvements:
1) The card front is 5 inches instead of 4. This will allow both the top and inside cards to have more room for the words to fit.
2) At the very beginning of the card, after folding and cutting the light yellow card, I did not adhere the short flaps yet.
3) I only used one color under the cute bee paper (just red instead of red and black). It was easier to cut the partial circle with one less layer.
4) Once I cut out the partial circle and made sure the blue card would fit inside, NOW I taped down the short flaps, which made it much easier to cut out that circle.
5) I taped the "bee happy" letters so they would not be overlapped by the pull tab (this time).
I hope you have fun working on a similar pocket card of your own. The following video helped inspire me and demonstrates this process with different supplies and tools. Happy cardmaking!
I don't buy greeting cards or holiday cards anymore — I make my own! I also do some rubber stamping and scrapbooking. But mostly I enjoy creating handmade, one-of-a-kind cards. I’ve been an avid crafter for most of my adult life. My crafting addiction started with cross-stitching, then moved on to wearable art, projects with painted wood, fabric crafts, and then paper crafts — which has transformed primarily into card making. I also make the occasional wreath, snowglobe, and other holiday crafts.

