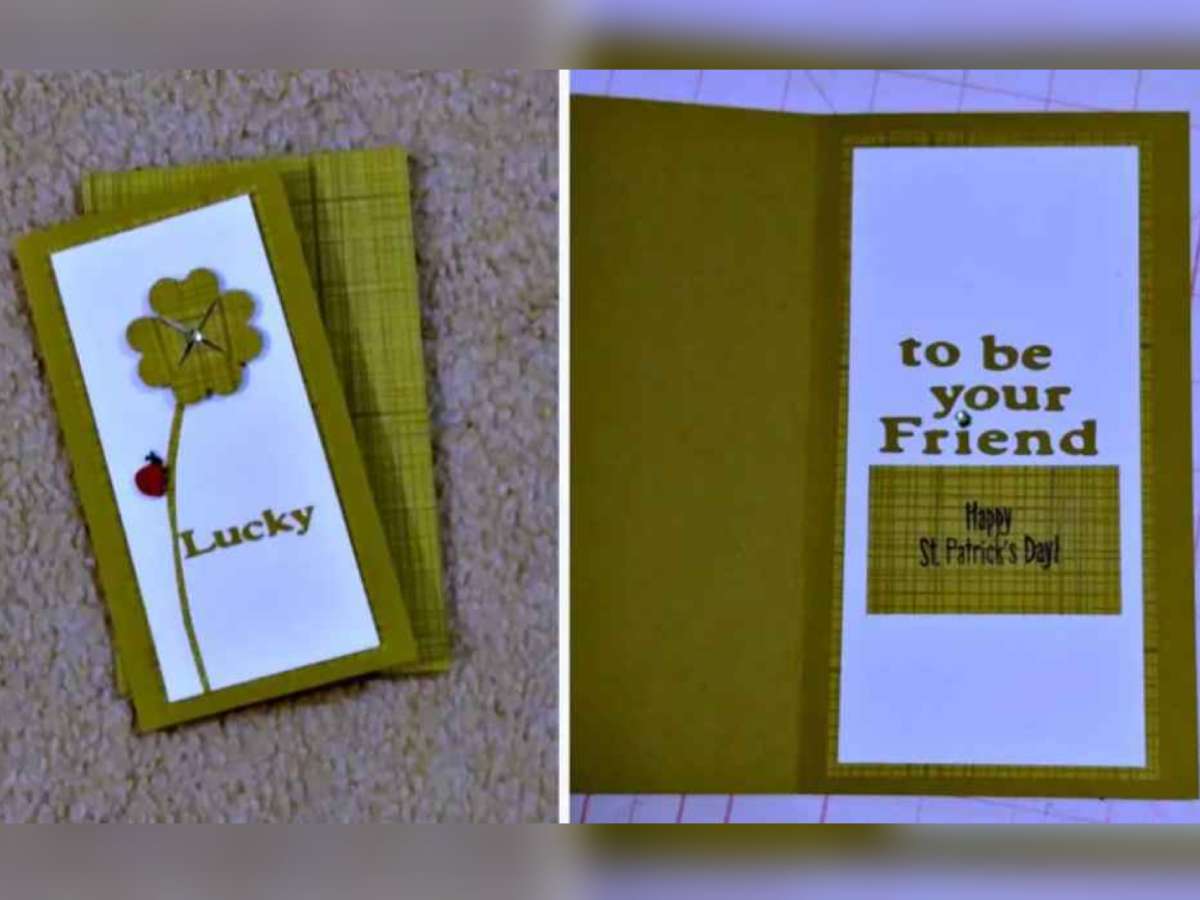
 If you’re like me, chances are you have several rubber stamp sets sitting around your craft space.
Either they’ve already served their purpose or they have so much dust on them you can’t even read the title on the package, right?
If that sounds familiar, then you are a great candidate for hosting a stamp swap!
Here’s how to organize a stamp swap…
The Invitation List
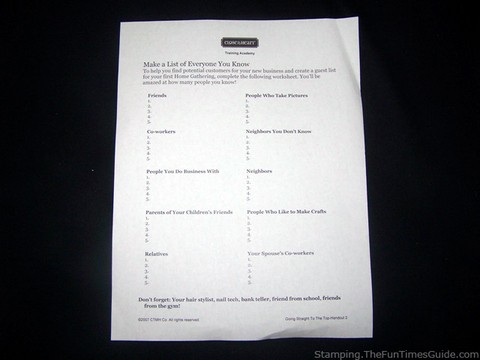
The first thing you need to do is make a list of everyone you know.
Remember neighbors, school teachers, doctors and their assistants, people at church or another local club you belong to. It can be anyone who you have come in contact with.
The object of the swap is to have many choices of stamps to choose from, so the more people you invite, the better.
This step will help you gauge how large of a place you will need for your stamp swap.
Determine A Place & Time
Next, you will need to decide on a date, time and location in which to have the swap.
One thing you might want to consider is holding your stamp swap at a local church or hotel meeting room. That way, you will have plenty of room for people to gather and talk while looking at stamps. But keep in mind, there could be a small fee associated with such a location.
Get The Word Out
Next, invite everyone you know!
I personally like using Evite because there are many styles to their invites, and Evite gives your guests the option to forward the invitation to someone else. It also gives you a place to poll your guests, or ask for a fee. (This works great to help cover the cost of your venue.) You will also get an email every time someone RSVP’s. This makes keeping track of attendance very easy.
You will want to send out your invitations at least 2 weeks in advance of your stamp swap. Be sure to include all the details, including exactly what a stamp swap is.
TIP: You might consider having an “expert” on site who can help answer any questions that your guests may have about a company or a certain way to use a rubber stamp. There are many local scrapbooking consultants who would love to come and share what they know with your guests.
Trading Rubber Stamps
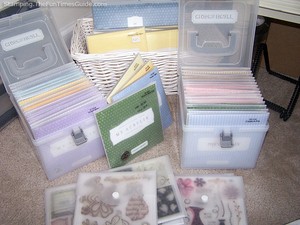 At my stamp swaps in the past, I realized that not everyone would have stamps from the same stamp company or stamps of the same quality as everyone else.
That’s why I let all attendees know up front that the stamp swap is like a trade.
You only agree to swap stamps if you think it is fair. If you don’t like the trade (or offer), you can feel free to politely say “No Thank You” or offer something else (or in addition) to the offer and see if the other person takes you up on that counter offer. Many times this works very well.
It’s The Little Things…
You may want to have light refreshments for your guests.
Some stamp swap organizers encourage all guests to bring basic supplies and maybe a paper pack (so they can try out the stamp sets they may want to purchase). If you do this, I would have some inexpensive baby wipes on hand — because using ink all day can get a little messy!
I would also have some scrap paper that people can use to test the stamp sets they want to trade for.
At The End Of The Swap
When your stamp swap is coming to a close, be sure and thank your guests for coming and taking the time to share the joy of stamping with others.
Encourage everyone to get together for future stamp swaps every 6 months or so. Remind them that stamp swaps are a great way to de-clutter your work space and actually use the products that you own.
By following these simple and inexpensive ideas for organizing a stamp swap, you will be a great host and you will be able to create new artwork without spending tons of money on new products!

