 Making a bud vase is very simple, and even very young children can do this with only a little help.
You will need:
- clay
- a plastic knife or popsicle stick
- a toothpick
- a newspaper
Types Of Clay
I decided to make my bud vase from air dry clay since it is what I have on hand.
You can use oven bake clay as well. Be sure to seal the inside with a waterproof sealant if you intend to use water in your vase.
I have also used Crayola’s Model Magic with very young children because some of the air dry and oven bake clays can be hard for them to manipulate.
How To Make Clay Bud Vases
- Cover your work area with newspaper or a plastic tablecloth.
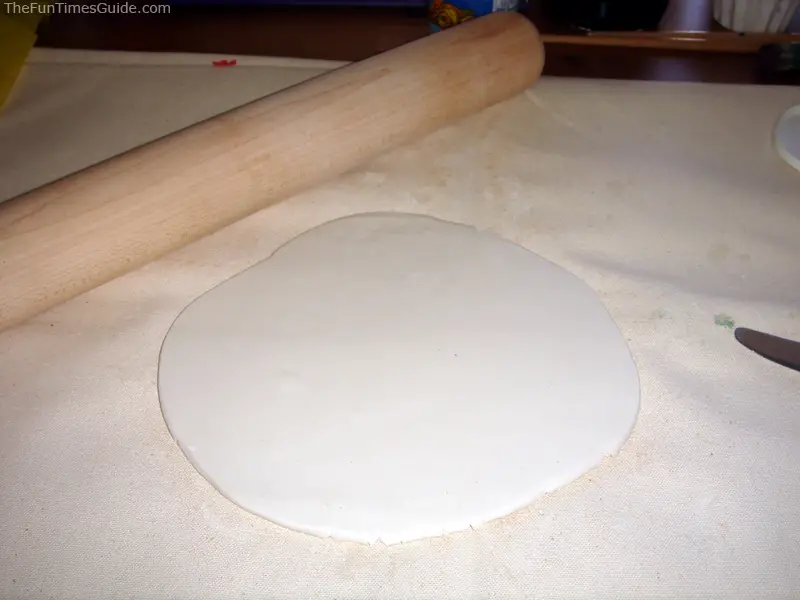
- Roll out your clay into a pancake. I would roll it to about ¼ inch thick. This does not have to be exact.
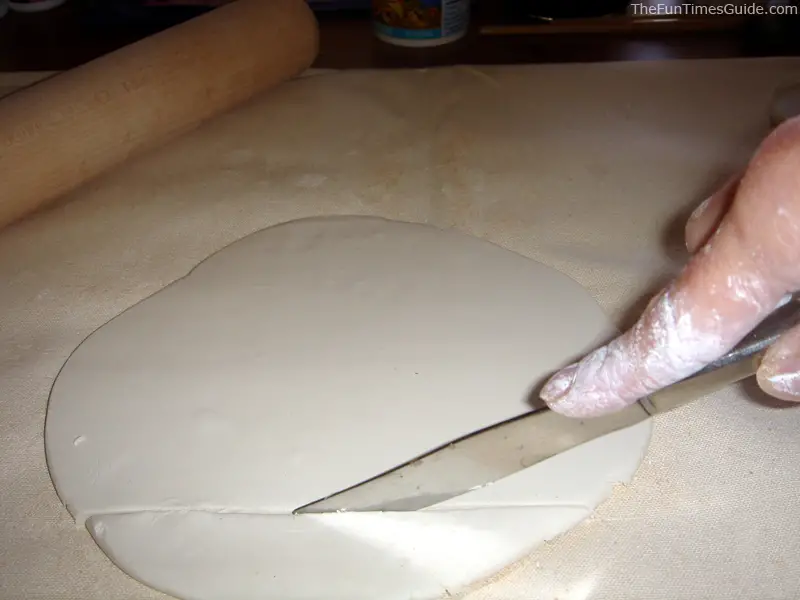
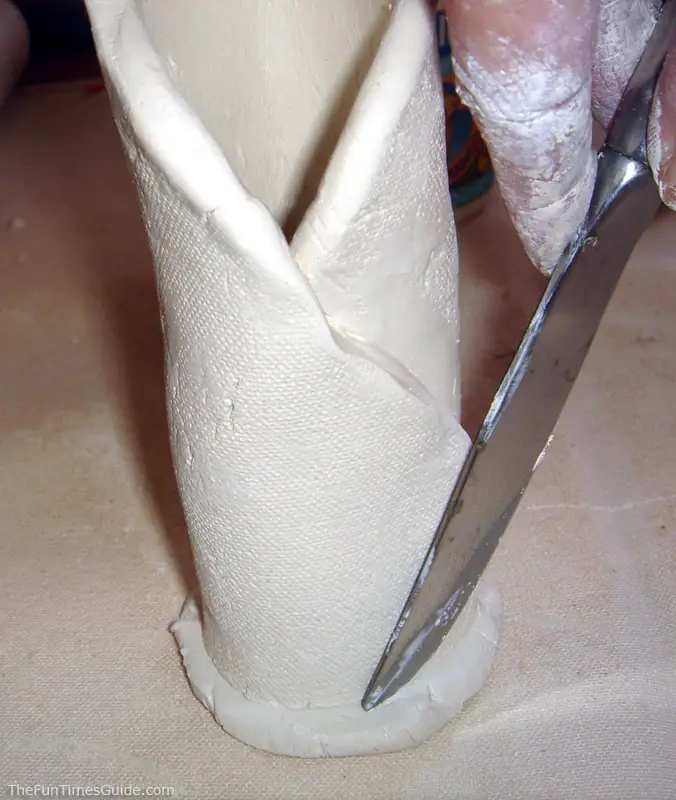
- Now, take a plastic knife or a popsicle stick and cut a straight line across the bottom of your pancake. This will be the bottom of your vase.

- Take a few sheets of the newspaper and roll it up tightly so that it is about 1” thick. Place it on top of the clay.
- Pick up the edge of the clay and begin to roll the clay around the newspaper. When it is rolled up completely, set it aside for a few minutes.
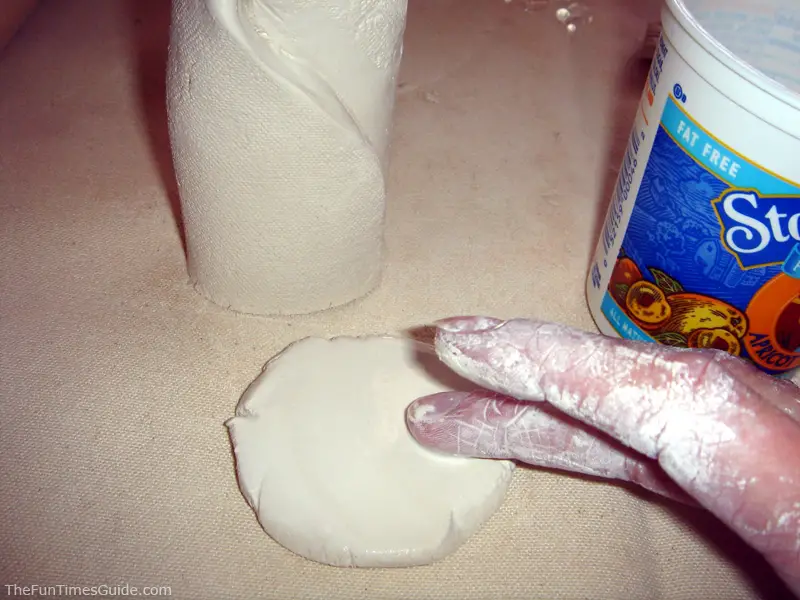
- Now, take the piece of clay you cut off and roll it out again to the same thickness. This will be the base to your bud vase.
- Take the rolled up clay and carefully remove the newspaper from inside. Stand the rolled clay on the base and draw around the bottom with the toothpick.
- Set the roll aside again, standing it up. Cut out the base along the toothpick line you just drew.
- With the toothpick, score the base – this means that you draw little lines all across the top of the base. Make it look like a checkerboard.
- If you are using a natural air dry or oven bake clay you will need to dip your finger in some water and gently wet the lines you just made with your finger. This acts like a glue for the clay and helps it stick together.

- Now, set the rolled up clay on top of the base and using your finger, gently seal the top and bottom together. To do this, rub your finger along the place where you joined the rolled up clay to the base. You should do this just hard enough to make the crack disappear. Once again, if you are using natural clay, wet your finger with a little water when you do this step.
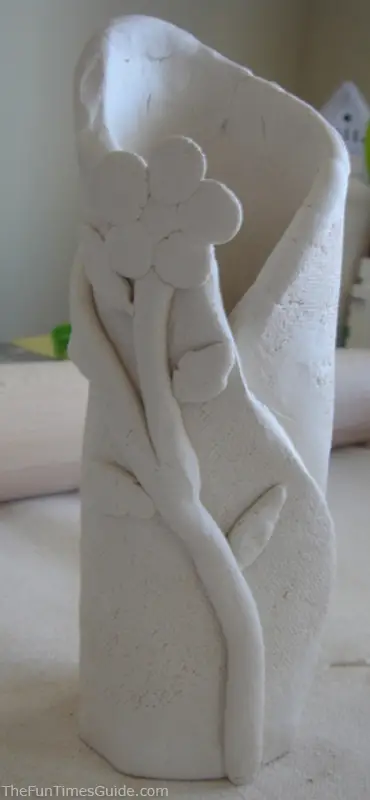
Wa-lah… your vase is done!
You can use more clay to decorate the outside or wait until it is dried or baked and use paints to decorate it.


