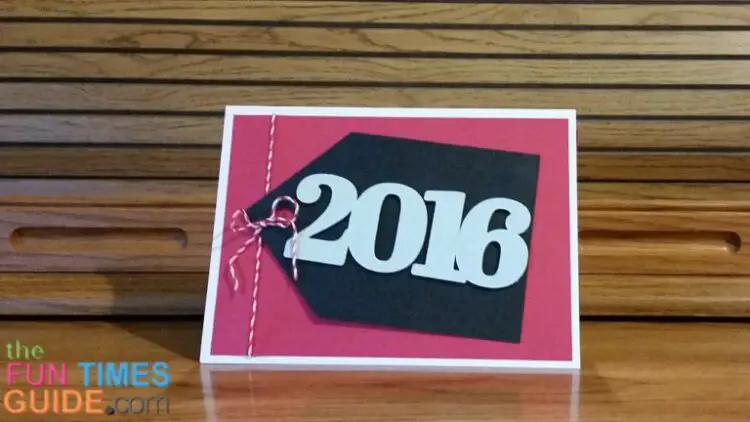
Showcase your graduate’s special year with this handmade Graduation card.

Here’s how to make your own graduation cards like this, step-by-step…
White Card Base
The base of my card is 5 x7” folded white cardstock, from a value pack like this.
While I enjoy creating custom cards completely from scratch, it’s also nice to use ready-made cards, especially when making multiple cards.
I have several graduations this year, so I was glad to have a value pack on hand.
Red Card Panel
The next panel on the card is red cardstock (6-¾” x 4-¾”).
I cut 2 of these panels — to use one on the inside of the card.
Cut 18” of red & white striped baker’s twine and secure the middle to the red panel with a piece of tape. This will be the back of the panel – set it aside for now.

Make A Black Tag From Scratch
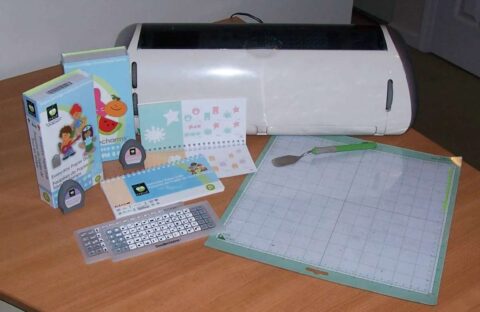
To create the black tag (made from black shimmer cardstock), I used my Wild Card cartridge (liner on p. 34) and my Cricut Expression — set at 5-½”.
If you don’t have a Cricut, you can cut a tag shape from hand.
Here’s how:
- Cut a rectangle 5-¼” x 3-¾”.
- From the left side, go in 1-½” and draw a straight line.
- On the left edge, mark the middle of the tag at 1-5/8”.
- Cut a straight line from this middle mark to your line at the top edge, then another one to the bottom edge. This will create the pointed end of the tag, with 2-¼” slants.
- Use a hole punch to make a hole about ½” from the point.

I’ve been using sheets from my DCWV Christmas and Winter Glitter Cardstock Matstack for several years (it’s now out of stock), and I chose the color champagne for the numbers on my card.
You can use any glitter cardstock you have, or even scraps of glitter paper if you are making a single card.
Numbers For The Year
The Days and Dates Cartridge for the Cricut has a wide variety of numbers to choose from. I used the 2016 version on p. 26, cut at 2”.
No Cricut? No problem! There are a variety of thick stickers that will do the trick. — like these or these.
Once my numbers were cut, I attached several pieces of foam tape, cut to fit the back of the numbers.

Then I placed the numbers on the black tag — in approximately the center — careful to avoid the punched hole.
The Bow On Front
Turn the red panel face up and place the black tag on it, gently pushing down on all your pieces of foam tape.
Pull one end of the twine through the hole, and tie a simple bow. The bow can be as big or small as you like, just be sure to pull it tight.
Attaching The Panels
Attach the tag to the red panel — angling it slightly.
Then attach the red panel to the front of the folded white card.
I used double-sided tape to do both of these.
The Sentiment Inside
Finally, attach the extra red panel to the inside of the folded card.
I used black ink on the Happy Graduation stamp from my Hero Arts Celebrate Everyday polyclear stamp set on a scrap of white paper for the sentiment.

And you’re all set!
If your white card did not come in a package with envelopes, you can make a matching envelope using these steps.
Other Graduation Cards Featuring The Year
- A Fun Way To Include Money In A Graduation Card
- Black & White Handmade Graduation Card
- How To Make A Graduation Cap Card
- Incorporate School Colors In Your Graduation Cards
- Banner Year Graduation Card Idea
- How To Turn A Graduation Card Into A Gift Card Holder
I don't buy greeting cards or holiday cards anymore — I make my own! I also do some rubber stamping and scrapbooking. But mostly I enjoy creating handmade, one-of-a-kind cards. I’ve been an avid crafter for most of my adult life. My crafting addiction started with cross-stitching, then moved on to wearable art, projects with painted wood, fabric crafts, and then paper crafts — which has transformed primarily into card making. I also make the occasional wreath, snowglobe, and other holiday crafts.