 I have heard nothing but rave reviews for the Cuttlebug by Provocraft, so I decided to order one.
I love the site Custom Crops, and their prices are quite reasonable, so I got my Cuttlebug from them.
Cuttlebug Embossing Machine
With the Cuttlebug, you to use their plastic and metal dies to cut and emboss paper. You can also use the dies of several other popular cutting machines.
I wanted to be able to emboss the paper and cutouts I use to make my handmade cards and other craft projects.
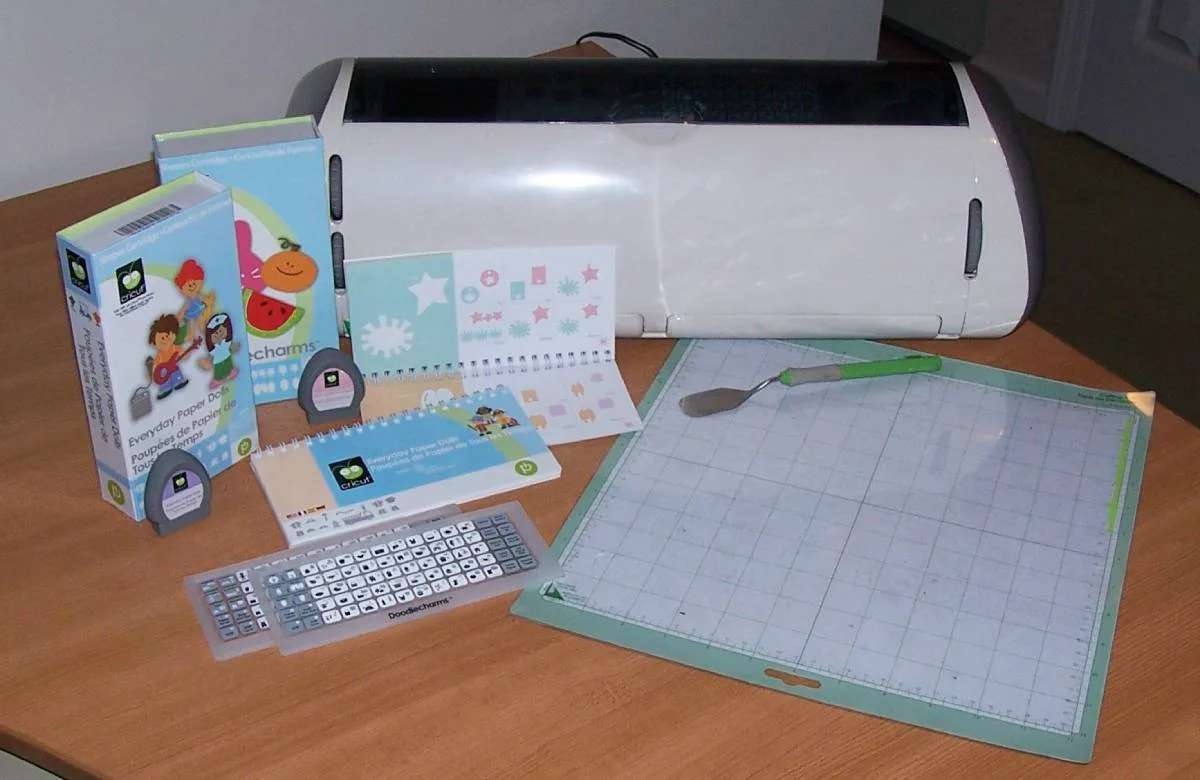
Because I have a Cricut Expression machine for cutting paper, I was less interested in that feature, but I couldn’t wait to start embossing!
First Impressions
My first reaction after opening my Cuttlebug was that it is smaller than I thought it would be.
I have seen them at Michael’s and Hobby Lobby, but for some reason I expected it to be bigger.
It comes completely assembled, except for the handle. There are very easy-to-follow instructions as well as a tool to attach the handle; it is very simple.
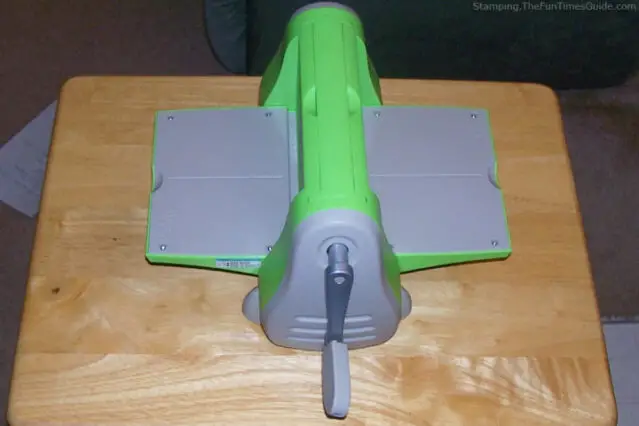
The machine comes with 2 attached side trays folded up.
Using Suction To Stay In Place
To use the Cuttlebug, you place it on a flat surface and simultaneously open both sides so they are parallel with your table.


Opening the sides at the same time is supposed to create suction and hold the machine onto the table. Mine did not seem to do that, but I don’t think the machine could move because it is pretty heavy (weighs about 9 pounds).
I tried a couple of different tables and never felt the suction, but it did not cause any problems.
Cuttlebug Embossing Folders
It comes with 4 plates that you have to use with the embossing dies and paper. They’re about 6 inches long and 2 different thicknesses. The instructions are very clear and include diagrams on how to assemble the plates and dies.
The 2 marked “B” are basically used to hold the embossing folders closed while “A” is used to create a tight seal when you roll the plates through the machine. The “C” plate is for using dies from other cutting machines.
One of my plastic plates has very sharp edges that need to be shaved off. Another plate has a crooked sticker. This is not really a problem, but it’s misleading to the eye when you’re trying to line up the paper and embossing folder.


How To Emboss With The Cuttlebug
The embossing folders come in many sizes.
A set of the smallest size came with my Cuttlebug machine. There are 4 celebration stamp images about 1-3/4 inches square.
You place your paper inside the folder, close it, place it between the 2 B plates, put those on top of the A plate, and push it all into the machine. Then you crank the handle and it all comes out the other side, with the image embossed on the paper.
 I also bought an embossing folder called “Birds and Swirls” that embosses an image about 4″x5.25″. This is the largest folder and the primary reason I wanted a Cuttlebug. I have seen many cards and projects with embossed images from this size folder.
For me, this is too small for many of my cards. I tried to find a way to use a larger piece of paper and send it through the machine more than once, lining up the edges, but it won’t work with the design of the machine. I know I could use the embossed image on just part of my card, but honestly this is not worth the expense.
For this reason, I exchanged the Cuttlebug for another product. Custom Crops has a great exchange policy, so I got the Design Studio for my Cricut machine. (I will review the Design Studio once I get it!)
Back to the Cuttlebug…
Cuttlebug Cutting Dies
Along with the 4 embossing folders, there is a cutting die. The image is a stamp outline about 1-3/4 inches square. The die is metal on one side and foam on the other.
The foam side says “When using Cuttlebug Machine place foam side up”. The problem is, I did not initially know this was a cutting die! On the foam side, the stamp image is cut into the foam. I’m looking at this thing thinking “what the heck is this, how could this possibly cut paper?”.


This is where the instructions are vague, assuming the reader knows what this piece is. It does not say “cutting die” on it, and it does not look like it would cut paper. So I tried it, reading what I could of the instructions (which were not clear on how to arrange the paper, die and plates). Sure enough, it cut the image!
How To Cut With The Cuttlebug
So to cut out a variety of images, you would need to use one die for each image. The same is true for embossing.
With the Cricut, I can cut literally hundreds of images from just one cartridge.
Since the embossing doesn’t meet my needs, and I have no desire to purchase dies for cutting since I have the Cricut, I am very happy with my decision to return the Cuttlebug.
I have several friends who love theirs, and they are able to use the cutting plates from other machines (ie Sizzix and QuicKutz). The Cuttlebug instruction booklet does not mention them by brand name, but they clearly describe how to use the plates and materials from other companies.
Even though the Cuttlebug is not for me, it is a machine that is very easy to use. And I like that there is a huge variety of embossing and cutting options. As I said, everyone I know with a Cuttlebug just loves it, so perhaps you would like it too!
Here is a sandwich guide for die cutting with the Cuttlebug machine.
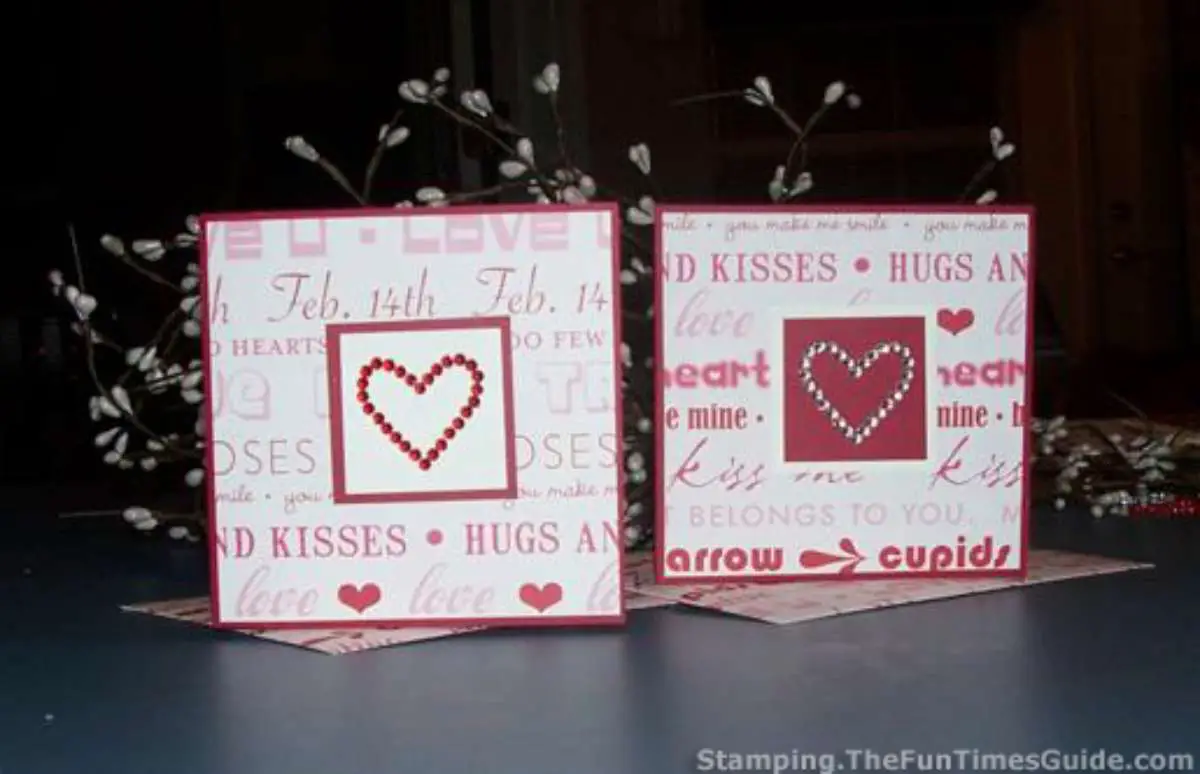
I don't buy greeting cards or holiday cards anymore — I make my own! I also do some rubber stamping and scrapbooking. But mostly I enjoy creating handmade, one-of-a-kind cards. I’ve been an avid crafter for most of my adult life. My crafting addiction started with cross-stitching, then moved on to wearable art, projects with painted wood, fabric crafts, and then paper crafts — which has transformed primarily into card making. I also make the occasional wreath, snowglobe, and other holiday crafts.