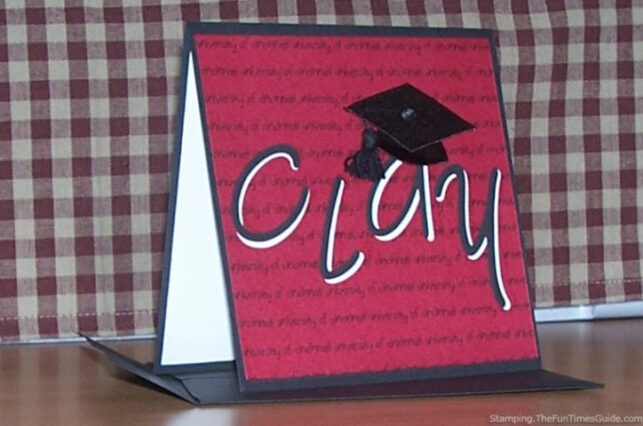
During this season of graduation ceremonies, I made a graduation card for my friend Clay.

Clay is graduating from the University of Cincinnati with a Bachelor’s Degree in Industrial Design.
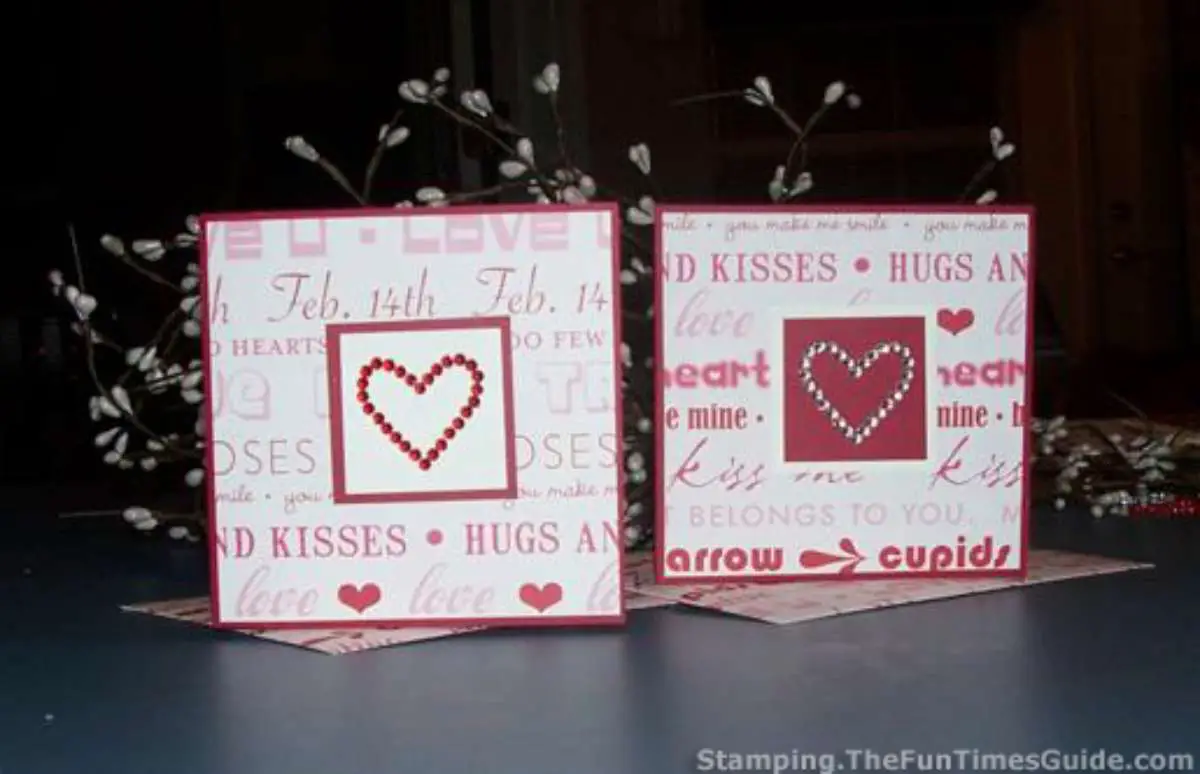
His card was inspired by this package of stickers by Jolee’s Boutique from Hobby Lobby and the university’s colors of black and maroon.
In keeping with Clay’s work in design, I wanted to keep the card clean and simple.
See how I made this graduation card, step-by-step…
Making The Background
The card’s base is 10×5 black cardstock folded in half.
To personalize the card for Clay, I created a Microsoft Word document with the words “university of cincinnati” repeated with single-line spacing.
Rather than use a formal or complicated font, I used the more contemporary Boopee font.
I wanted all the letters to be lower case, which required me to carefully change the letters that automatically capitalize (like Cincinnati).
Once the ink was fully dry, I cut a 4.75″ square from maroon cardstock, being careful to cut from the words and not the blank margin.
Graduate’s Name On The Outside
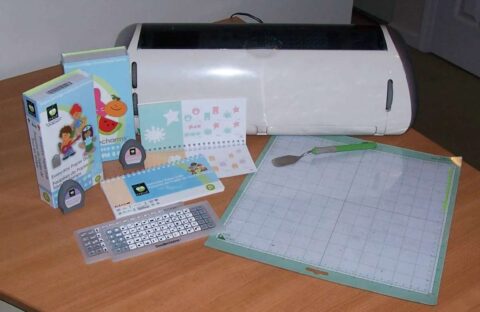
 I used the Cricut Expression Wild Card cartridge to cut 2.25″ letters to spell Clay’s name.
This cartridge doesn’t have a ‘shadow’ feature, so I used black and white to create depth to the letters.
I have also learned to experiment with the size of letters and other cuts from this cartridge, as the cuts do not always appear to match their stated size. These letters, for example, are not really 2.25″ (the “y” is close). I’m not sure what’s up with that, but practice makes perfect! I write notes in the booklet for this cartridge each time I learn a new tip.
Before gluing the letters, I tried several placements for the black and white letters. I tried white on top, black on top, slightly to the bottom or top, left or right. As you can see, black on top, to the left and top of the white was the winner — strictly my preference. There is no right or wrong way to do this, just go with what you like.
To glue down the letters, I used my favorite Memory Makers tweezers and Sakura glue pen. The graduation cap sticker is self-adhesive, and I placed it to look like it is sitting on the letter “a”.
Must read: How To Know Which Craft Glue To Use When
Inside The Graduation Card
 Inside the card, I attached a 4.75″ white cardstock square.
Using Wild Card Cricut cartridge, I cut the phrase “you did it!” Again, the size is deceptive, because this was cut at 4″, and it measures less than 3″. I always use scrap paper to test the size before using my good paper.
I chose the red on top of black, repeating the placement of top and left from the front.
Making Graduation Cards Without A Cricut Machine
The black envelope was cut from a piece of 12×12 cardstock.
Using graduation stickers like these, you can create a personalized graduation card even if you don’t have a Cricut Expression.
Here’s how:
- Use your computer and printer to print the graduate’s name.
- Make a panel with the school name like this one.
- Center the graduation cap sticker on a 2″ white square, placing that in the center of the panel.
- Use the other stickers from the pack to add embellishments.
Even more handmade gradaution card ideas on Pinterest.
I don't buy greeting cards or holiday cards anymore — I make my own! I also do some rubber stamping and scrapbooking. But mostly I enjoy creating handmade, one-of-a-kind cards. I’ve been an avid crafter for most of my adult life. My crafting addiction started with cross-stitching, then moved on to wearable art, projects with painted wood, fabric crafts, and then paper crafts — which has transformed primarily into card making. I also make the occasional wreath, snowglobe, and other holiday crafts.